
Repairing your own car is a rewarding and sometimes cathartic activity. Yes, it’s still fun even after the skinned knuckles and the invention of curses that you’ve never used before! What’s not so fun is running into a part that either requires a special tool to remove or the existing tools that exist are not suitable for the task. Or, maybe you want to do a modification for your car, and the parts to do so don’t exist. It’s time to work those folds in your brain and get creative. Have you ever created your own tool or car part?
Most of my creative antics happened back when I was much poorer and had only one Smart Fortwo. Yes, that was a long time ago! I wasn’t even old enough to drink alcohol back then. I worked at McDonald’s and put most of my money into my car. Sadly, the American aftermarket for the Smart Fortwo has usually been on the pricy side, which sucks when your paychecks are just hundreds of dollars. Thankfully, replicating the parts seen in the aftermarket sometimes isn’t too hard.
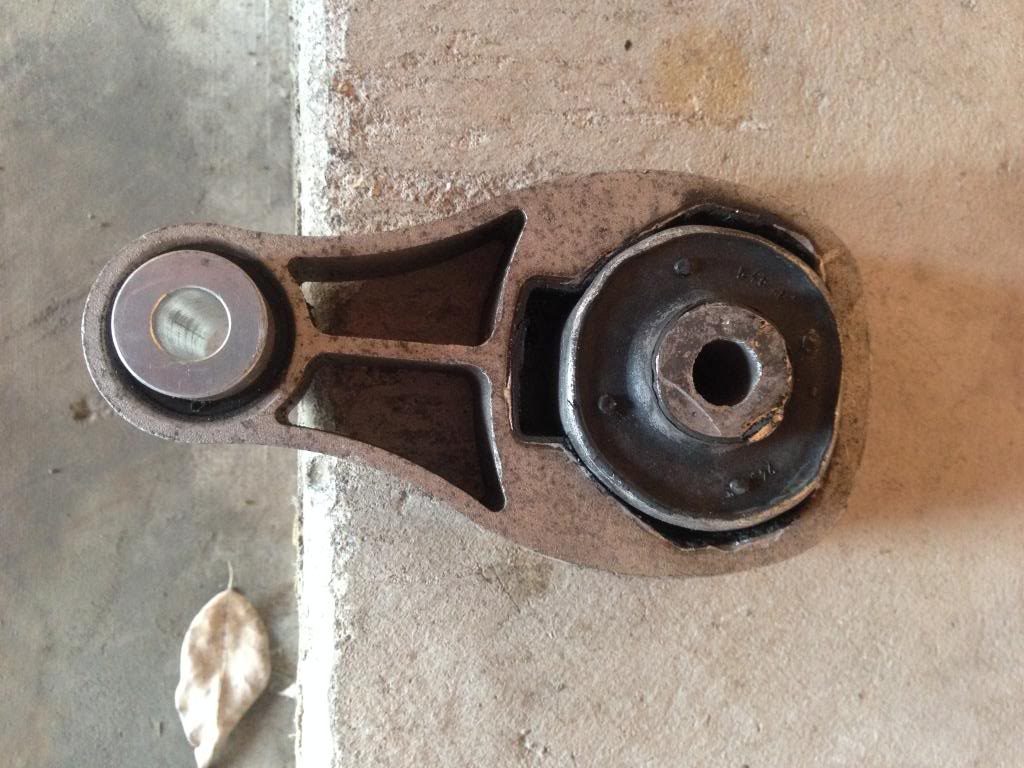
One of my first custom modifications was to my Smart’s lower motor mount. The stock one, pictured below, is soft and rubbery. It’s great for daily driving, but it’s one of the reasons why old Smarts feel so sluggish. The powertrain cradle gently rocks with each gearshift, amplifying the “bucking” feel that some journalists complained about.

Smart tuners found out that if you replace the soft rubber mount with a hard rubber one, you get more vibrations into the cabin, but the car feels much sharper. A hard rubber mount, pictured below, costs $100 to $130 or so, depending on who you buy it from. That’s not a lot of cash, well, unless you’re living on McDonald’s wages in 2013.
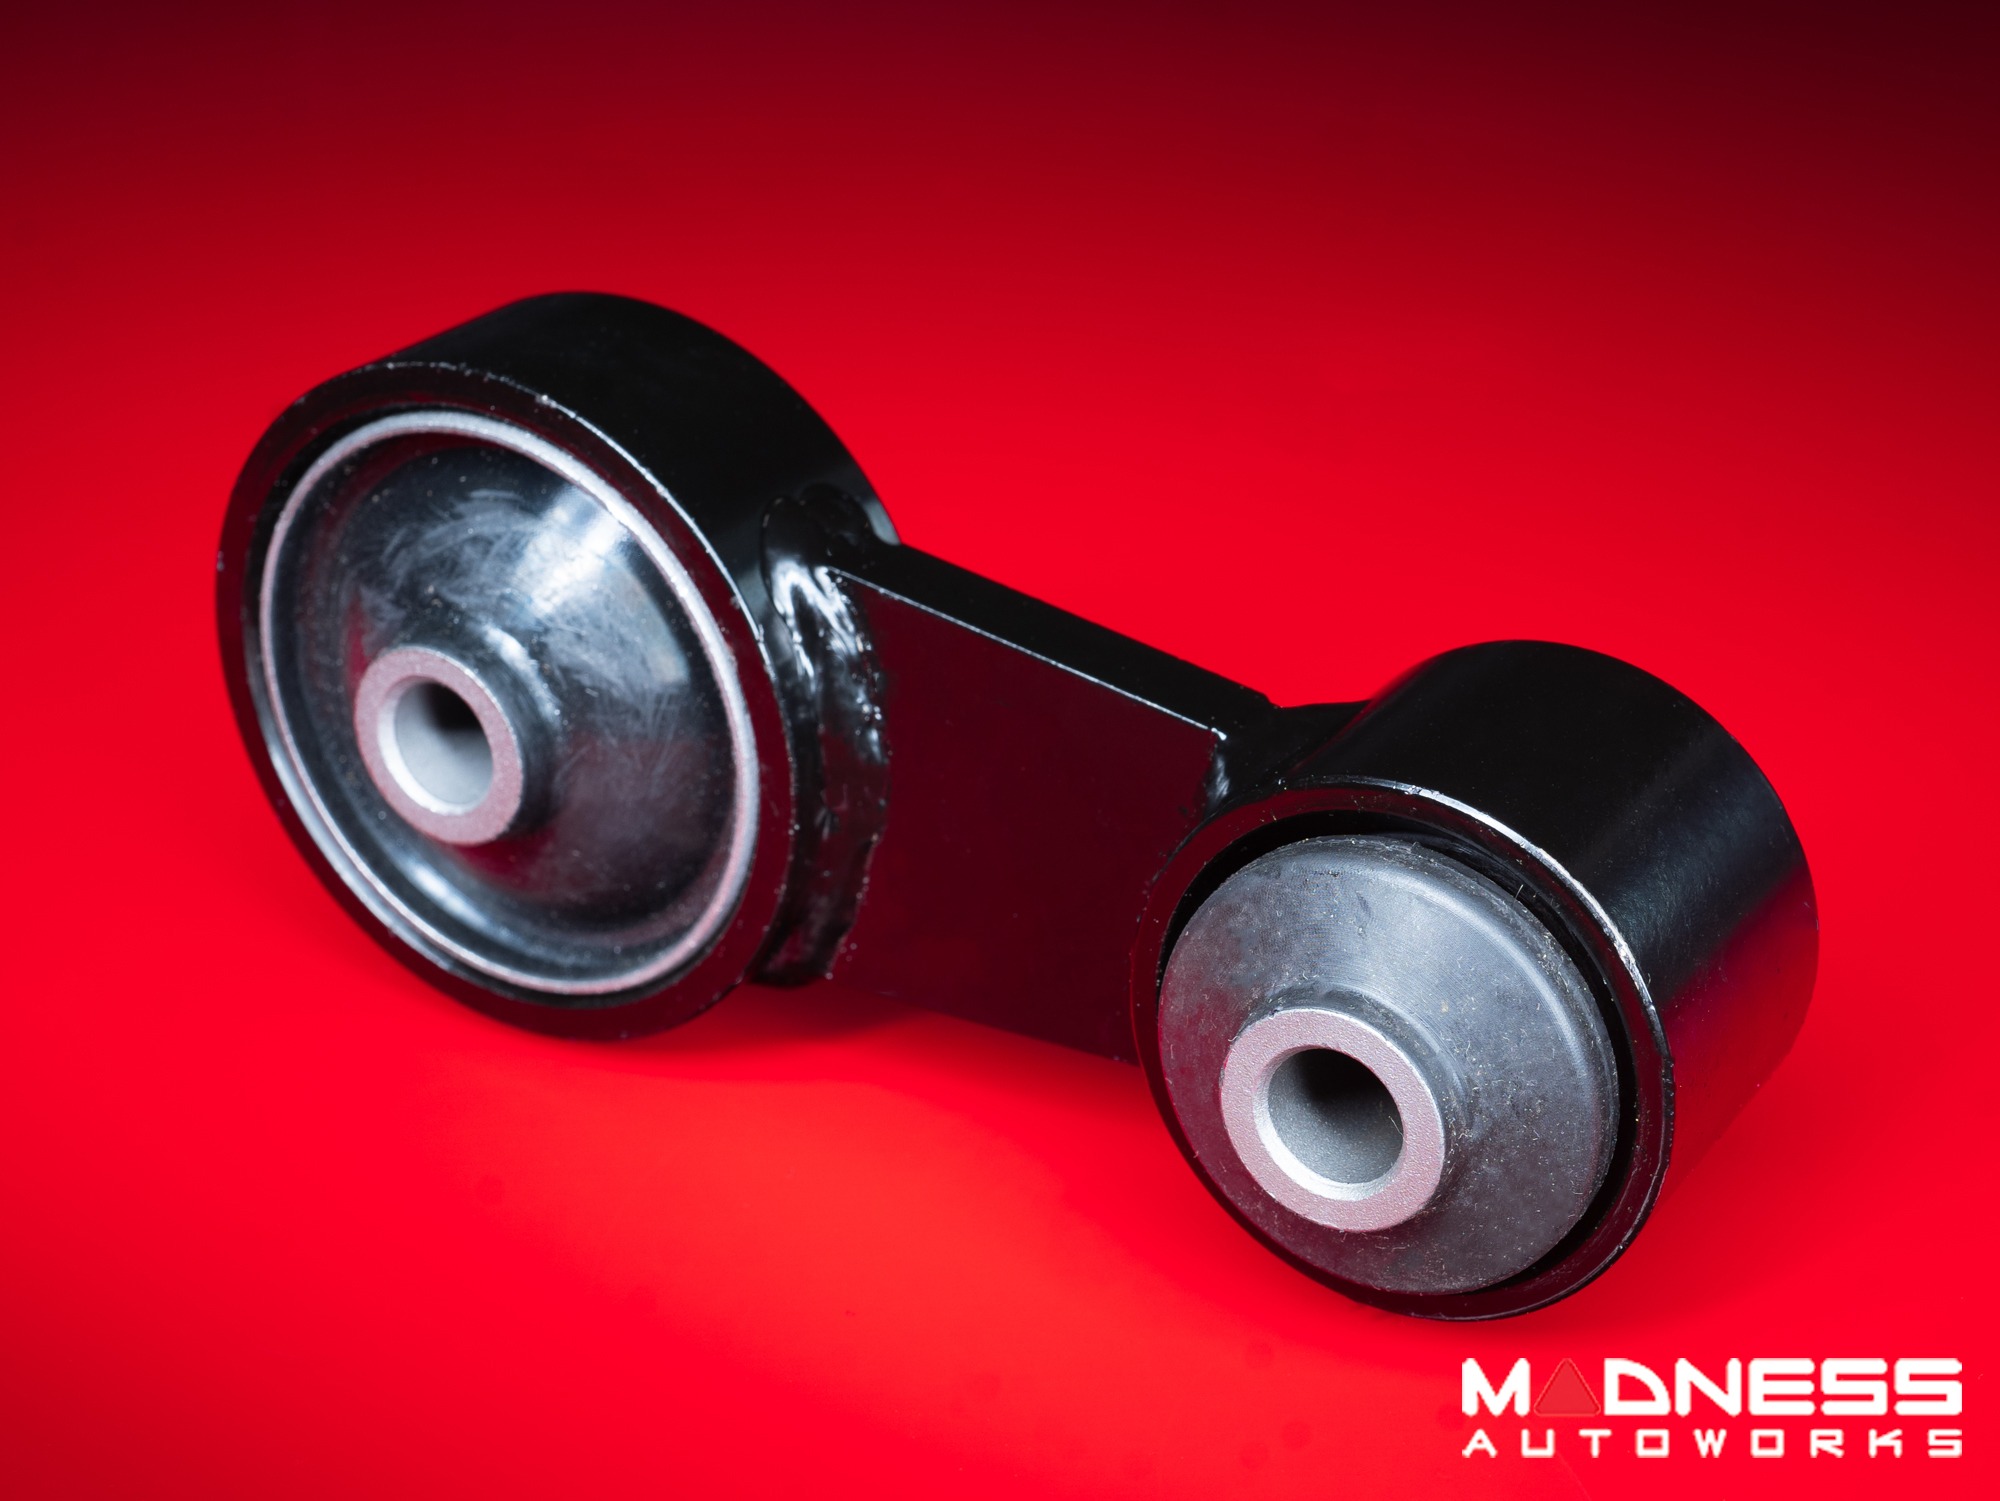
So, I created my own. I used a knife to cut the soft rubber out of the original mount. Then, I bought a hard rubber suspension bushing for a few bucks on eBay.
Once it arrived, I grabbed a cheap sledgehammer from Harbor Freight and bludgeoned the bushing into the mount for the factory engine mount. I then used the motor mount bolt to align the bushing. I spent maybe $30 on the whole project, and my car felt just as sharp as the cars with the fancy $130 mounts. My car is still using the mount today, over 120,000 miles later.
Back in 2020, I bought a 2008 Smart Fortwo for just $1,200 to take on Gambler 500 adventures. There has been a 1-inch lift kit commercially available for the Smart Fortwo since basically forever. But it didn’t sit well with me that the lift kit for Smarts, which largely consists of rubber suspension spacers, is $300 on the low end or over $400 depending on the time of year.
Some Smart owners figured out that you can get most of the effects of the lift kit by buying a set of hockey pucks for about $15, drilling holes into them, and then installing them on top of your rear springs and on top of your front struts. Geometry isn’t as good as the proper lift, but that doesn’t matter if your goal is to beat the car up off-road. Sadly, I couldn’t install my pucks because my struts were too rusted out to be messed with, so I took the car off-road with a stock suspension.
Here’s where I turn things over to you. Have you ever made your own car parts or tools before? Why did you do it?
Top graphic images: Mercedes Streeter


The closest I have ever gotten is some custom hose creation.
The only things I did that even remotely fit into this conversation are:
I replaced tubing that ran from the gas tank to some sort of vent on a Datusn 510 s/w with some plastic hose and a couple of hose clamps.
And I put a C-clamp on a brake line to the left rear caliper of my Peugeot 504 when it started leaking. Drove it that way for more than a year before I fully accepted that would look pretty sketchy in a lawsuit. I didn’t hit anyone and finally saved enough to get the job done right.
I had a 1998 Contour SE with the V6 and 5-speed. It bought the SVT Contour cat-back dual exhaust for it, I always liked the symmetry of dual exhaust for V6 and V8 vehicles. My friend, who happened to be a police officer, helped me install it at his house. It all bolted up well except the SE only came with single exhaust and there was no hangar for one side. So scrounging around in his misc parts bins (he also installed lights and radios in police cars), we found a rubber fingerprint roller. Drilled a couple holes in that and it worked great as an exhaust hanger, was still on there when I sold the car years later.
Cop buddies are the best! Or at least among the best. I had one that let me go for doing 110 in the 55 mph era on my Suzuki 550.
Years ago I basically refrabricated the rear suspension mounting bracket on a rusted out Subaru Brat using angle iron, nuts and bolts, it actually held up for a little while.
Mainly I just do electrical shenannigans, on my Harley I’ve added lighting and had to the LED resister deal, and redo a couple or harnesses. On my Bolt I replaced the front emblem with an led one for a Chevy Blazer, required some cutting into the grill to make it fit right but I think it came out ok, not bad from 5 feet away.
I used hockey pucks to do a transfer case drop on my old XJ. They held up fine for over a decade until I fixed the drive line angles properly.
All the time!
Here’s my Porsche engine mounts until I get “time” to install the right ones..
And here’s a small selection of tools from my workshop
If zip ties and duck tape count then sure. I also replaced a winshield washer fluid line with a 1/4″ irrigation line.
Edit: I also made a makeshift attachment out of bendy straws to attach to my vacuum to suck out the chunks of spark plug that broke off and fell in the cylinder.
I’ve never broken ceramic off of spark plugs, but what you did sounds pretty clever.
Bicycle brake cable housing as a clutch compression holder for a Saab 99, probably works on a 900 too. You press the clutch pedal, then work the cable housing into the gap on the pressure plate. Then you can unbolt and take it off.
3/4 inch galvanized pipe with a couple of angled cuts on one end. Apply to pushrod tubes on BMW airhead, then smack gently with a hammer. This will compress the chronically leaky pushrod tube seals, and stop them leaking for a while, until the thing shakes them loose again.
Much more so my dad, sometimes with me helping. He was converting an auto rickshaw to an EV most recently. Cannibalized many parts from a golf cart, but many brackets and other small parts needed to be welded up. It needed to maintain the existing throttle and brake controls and still look like an unmodified one, so it took some creativity. We spent about six hours just on the brake cable and assembly.
Past adventures have included lengthening a trailer, swapping it to tandem axles, outright building a 24-foot, 14k pound capacity trailer, and rigging up various small parts for different mowers, usually to fix parts that were no longer available.
I made a puller for the drive sprocket of a Honda CM250C out of a steel scrap and three bolts. I also replicated a BMW Airhead clutch disassembly tool for 1/3 the cost and made a piston support from red oak.
In the kludge department I rigged a 2×4 and a ratchet strap to hoist the cylinder heads on my F150. I also used a mouse pad as an anti vibration mount for a hot tub pump
“Have you ever made your own car parts or tools before?”
Me? Not if I can help it. My dad? Yes.
Screwdrivers became pry bars and chisels. English unit wrenches turned metric fasteners. Coarse threaded bolts were forcibly turned into fine threaded bolt holes. Pretty much anything became a hammer or a mallet. Household electrical cords became tow ropes, Coffee cans became mufflers. Nails became fuses. All with predictable results.
Why did he do it? God only knows.
Did he happen to grow up poor? In my family the ones that did would rather use what they have on hand instead of spending money, even when they have enough.
Not THAT poor.
I made a cam sprocket holder for a Fiat 1.4 using a 2×2 and some nuts and bolts. It worked..once. It was able to hold the sprocket in place while I removed the bolt (necessary to set the timing belt tension). When reassembling and torquing the bolt, the wood splintered just as the torque wrench clicked.
Does a beer can and a bunch of hose clamps to repair an exhaust leak count?
I’d say yes.
Over the years I’ve made this, that, & the other but at the moment what immediately comes to mind are two things.
Many years ago I made a tool for removing and installing a bicycle’s bottom bracket using directions from Sheldon Brown’s website https://sheldonbrown.com/ (in fact this was when he was riding upright bicycles and posting frequently and regularly, that’s how long ago this was. RIP Sheldon Brown. It was truly a sad day for so many people when he passed. His legacy lives on, fortunately, with his website which is an excellent and often entertaining resource for people wrenching on bicycles as well as everything else as some of the info translates well to other areas of bricolage.) The home-made bottom bracket tool came in unexpectedly handy a couple years or so ago when my kid had to replace some bushings on some front end components on their 1983 Mercedes 300TD and the tools my kid had rented from a local auto parts store turned out to be woefully inadequate.
The second example is when my kid & I couldn’t remove the spark plugs on our 1954 Panhard Dyna Z because the sockets we had were either too short to fit over the spark plug heads or too long to fit in between the spark plugs and the torsion rod towers (Panhards of the 50s and 60s had air-cooled flat-two engines that used torsion rods for the valves in lieu of springs. Pretty sophisticated technology!!) We resorted to taking a hacksaw to a long spark plug socket to cut it down to medium length (no local shops had medium-length sockets, especially ones with the rubber inserts for spark plugs) which worked a real treat.
I’m sure more examples will come to mind, probably at the proverbial 2 o’clock in the morning, lol.
being broke from buying a 32/36 Weber, I crafted a carb adaptor to fit it to my Subaru GL out of piano pinblock material.
The tool I was most proud of figuring out was for installing timing belts on an EA82 Subaru. They have two: you install the first one, then have to put a certain amount of tension on the cam gear to install the second one. Counterclockwise. There’s a pin socket for this, but I had blown way too much money on the car, so I used a self-adjusting oil-filter removal tool designed to fit a 3/8 ratchet: it would bring the two ears on each side in to clamp the filter. I bent all four ears outward until it fit the cam gear, stuck my torque wrench in it, brought it up to spec, then installed the belt. Win.
Airbox adapter for Rochester B series single barrel carbs! I have a closed PCV system in my truck so I needed an airbox that supported a hose attachment for air return from the crankcase vent. These can be had in 5 1/4″ 4bbl carb format all day long for $20 but are impossible to source for single barrels. Learning FreeCAD and five prints later, and I have a nice adapter that lets me buy ubiquitous, cheap air filters and still have my functioning closed PCV system.
I was running a compression test and needed an adapter to thread into the spark plug well. Stupid me didn’t tighten the adapter enough and after unscrewing the test hose I realized the adapter was still in the well.
While the adapter had a hex head the well was too narrow to fit a socket nor could I get pliers or anything into there with enough grip to remove it. After more than a little panic, I used my 3D printer to print out a very thin-walled hex socket to unscrew the adapter and remove it.
I made a coilover wrench from a kitchen sink drain wrench. Little grinding and it works great.
Poured my own engine mount out of Urethane 2part mix. Still in service many years later.
Burnt the old out with a torch, saved the metal parts.
Used a kids applesauce cup and set the center ring the bolt goes thru in the middle and then pressed that into the larger ring then poured the mix in. The heat from it curing was enough to melt the sides of the applesauce cup which then adhered to the ring.
Tighter than stock and pretty much free other than the $30 for the quality mix.
I did that with a kit from McMaster-Carr. Also, later used it to fill voids in stock mounts to firm up the mounts cheaply without going full urethane (after buying some suspension stuff from a buddy that included urethane inserts for stock mounts—I can’t claim the idea was mine)
After reading through all the comments I have to say that 3D printers are cheat codes.
Am I jealous? Yes, but only a bit.
I have made a lot of hammers over the years. Almost anything can be a hammer when necessary.
I’m currently making a center console piece for my AW11 MR2, since the original plastic piece was cracked, the ashtray (which I wouldn’t use) intrudes in the driver space, and the short shifter I installed raised one shift cable into conflict with the original as well. Just finished an aluminum structural piece last night, working on a fiberglass overlay that will look like the original minus the ashtray/power port area, which I then plan to cover in leather.
I made my own lock ring for a K20 axel attaching to the half shaft. It is a paperclip bent to the right shape and (knocks on wood) has been working for a few autoX events.
I had to make a low profile, 2bbl adapted air cleaner for my 68 Valiant after installing the cheapest Sniper kit I could find for it.
A couple iterations of 3d prints and I had a sweet adapter that worked great for 1000 miles on Redwood Rally last year.
Second version will utilize the panel filter that I already had laying around and be incredibly weird to look at.
1997 Ranger 5 speed manual:
The rear transmission crossmember bushings were shot, and Ford does not sell the bushings as a separate replacement part.
Someone on a Ranger forum discovered a Chevrolet 1500 truck bushing was a close match..
Moog K200897 Leaf Spring Bushing https://www.amazon.com/dp/B01CACTIB2?ref=ppx_pop_mob_ap_share
After removing the old bushings from the crossmember, I discovered the Chevy parts were a loose slip fit..so I grabbed a tube of Fuze-it urethane adhesive (great stuff by the way) and bonded the bushings to the tubular sockets in the crossmember.
Let them set overnight and the fix is still going strong after two years.