

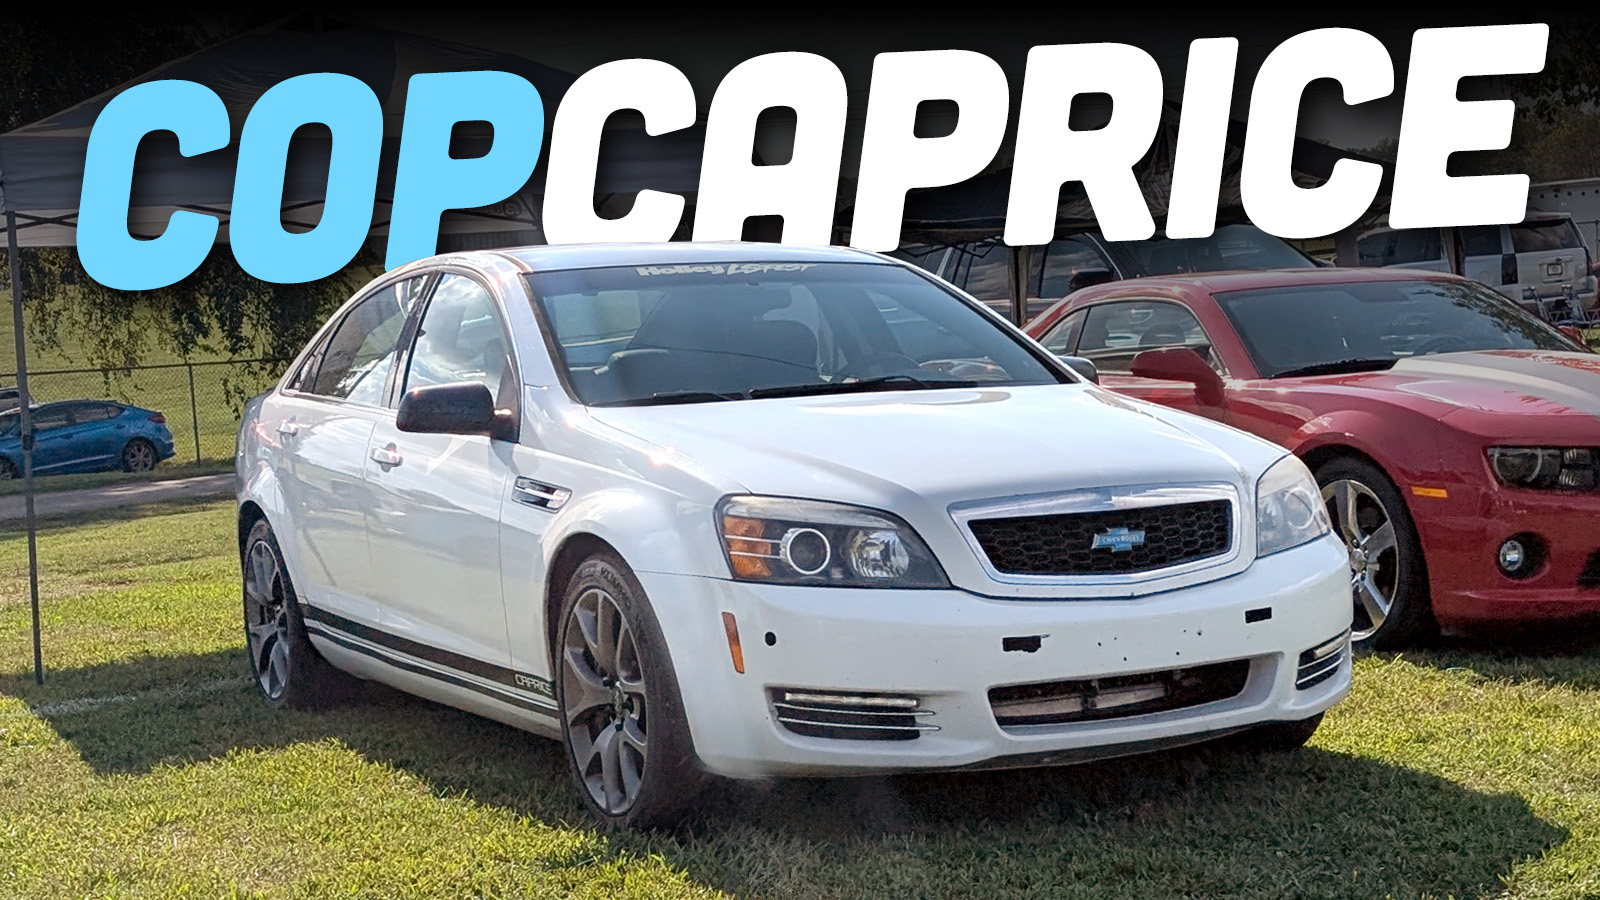
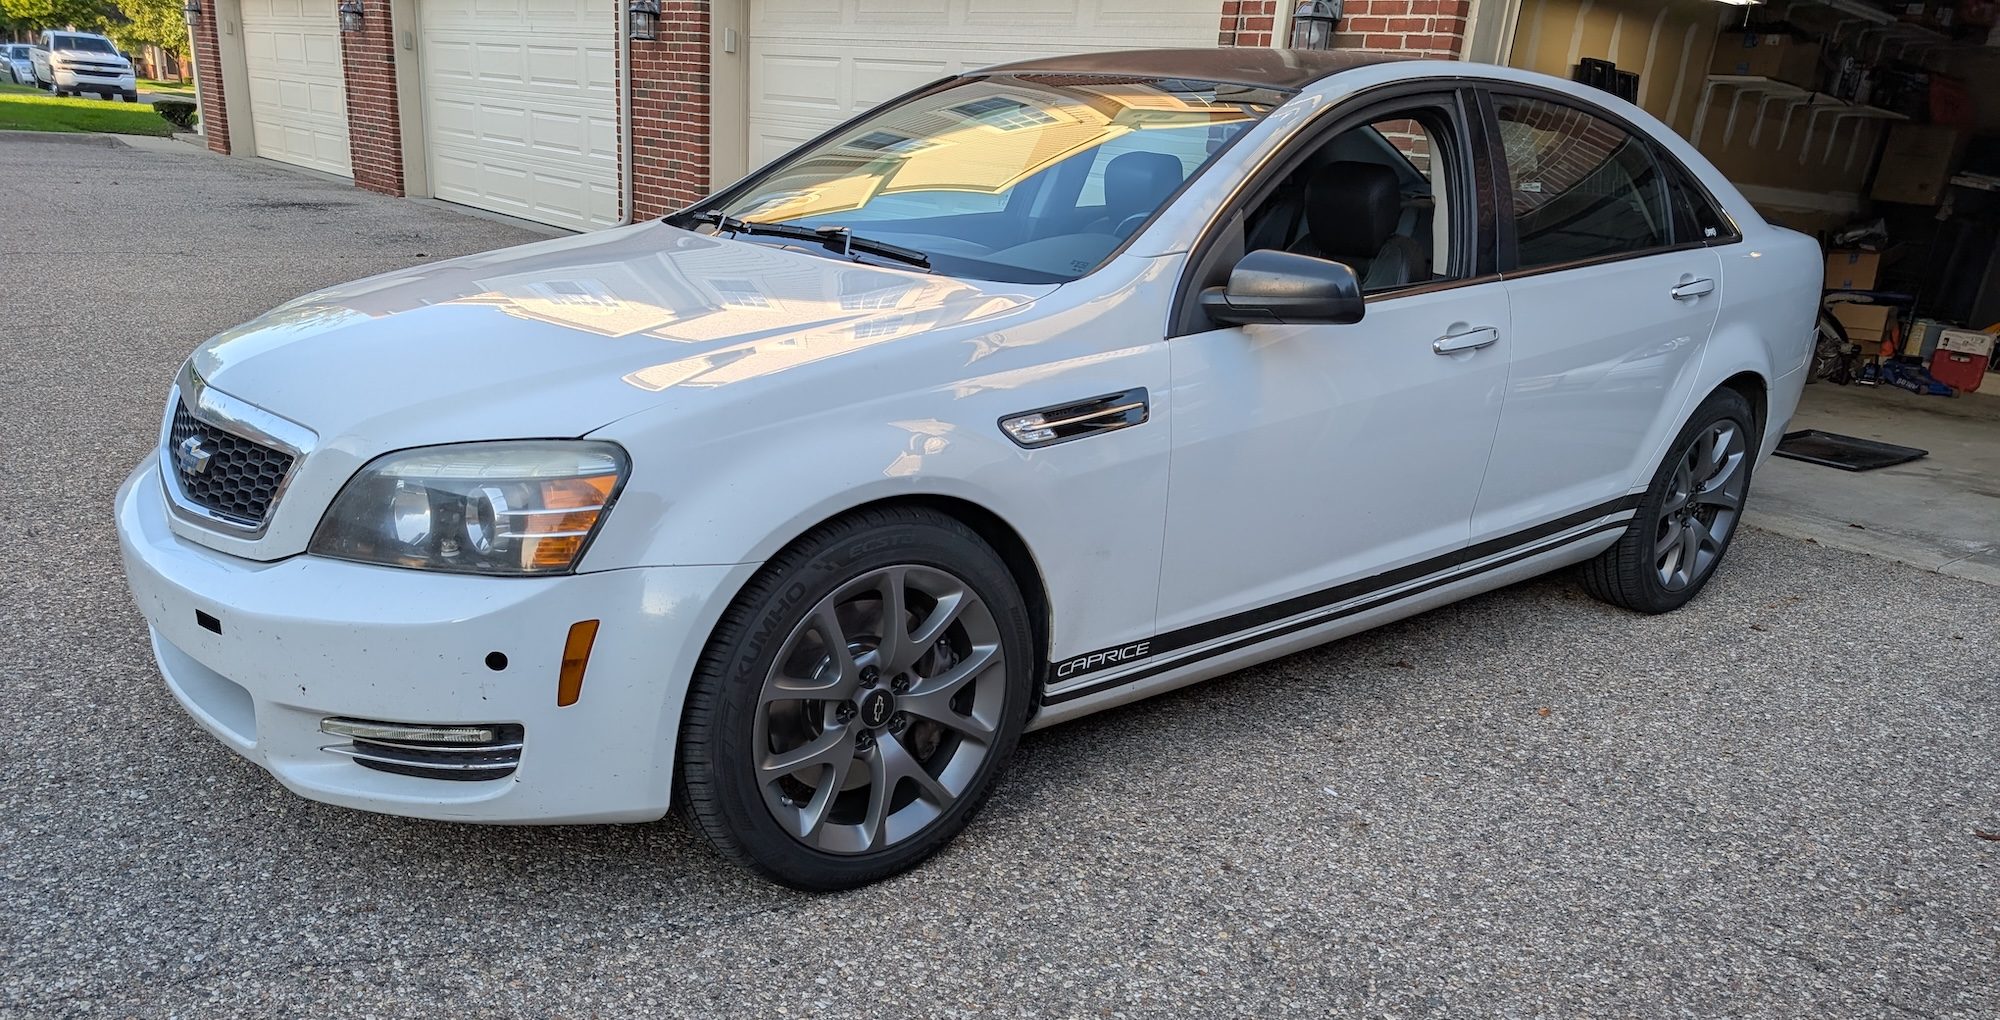
I have had my 2013 Chevrolet Caprice PPV since September of 2021, and in that time I have taken it many places. Every summer, there is a scavenger hunt that takes me from my home in Michigan to the Northeast. Every fall, a trip home to Minnesota and/or Iowa for Thanksgiving, and again in winter for Christmas. And then another in September down to Kentucky for LS Fest for a good time with my dad. This car is my road warrior, and it’s not perfect. But we’re getting there.
Like many enthusiasts, I have more than one car, and this one I bought with the intention of using it as a road trip vehicle. As mentioned in my Members’ Rides article, I wanted a modern, affordable RWD V8. And I did get it, but it’s been a big project to make it more of a civilian car and less of a police car, because I am not about that life. Details on that can be found over on Opposite-Lock in my Decopification series. But today, with some assistance from Kumho, I’m going to show how I’m making this old boat a little sharper with the help from the fifth-gen Chevy Camaro.


When GM went shopping for a platform to go under their next-gen Camaro, the Australians had one ready-made for the job. It was a little heavy, but the Zeta was more than fit for what the Bumblebee-gen Camaro was going to be.
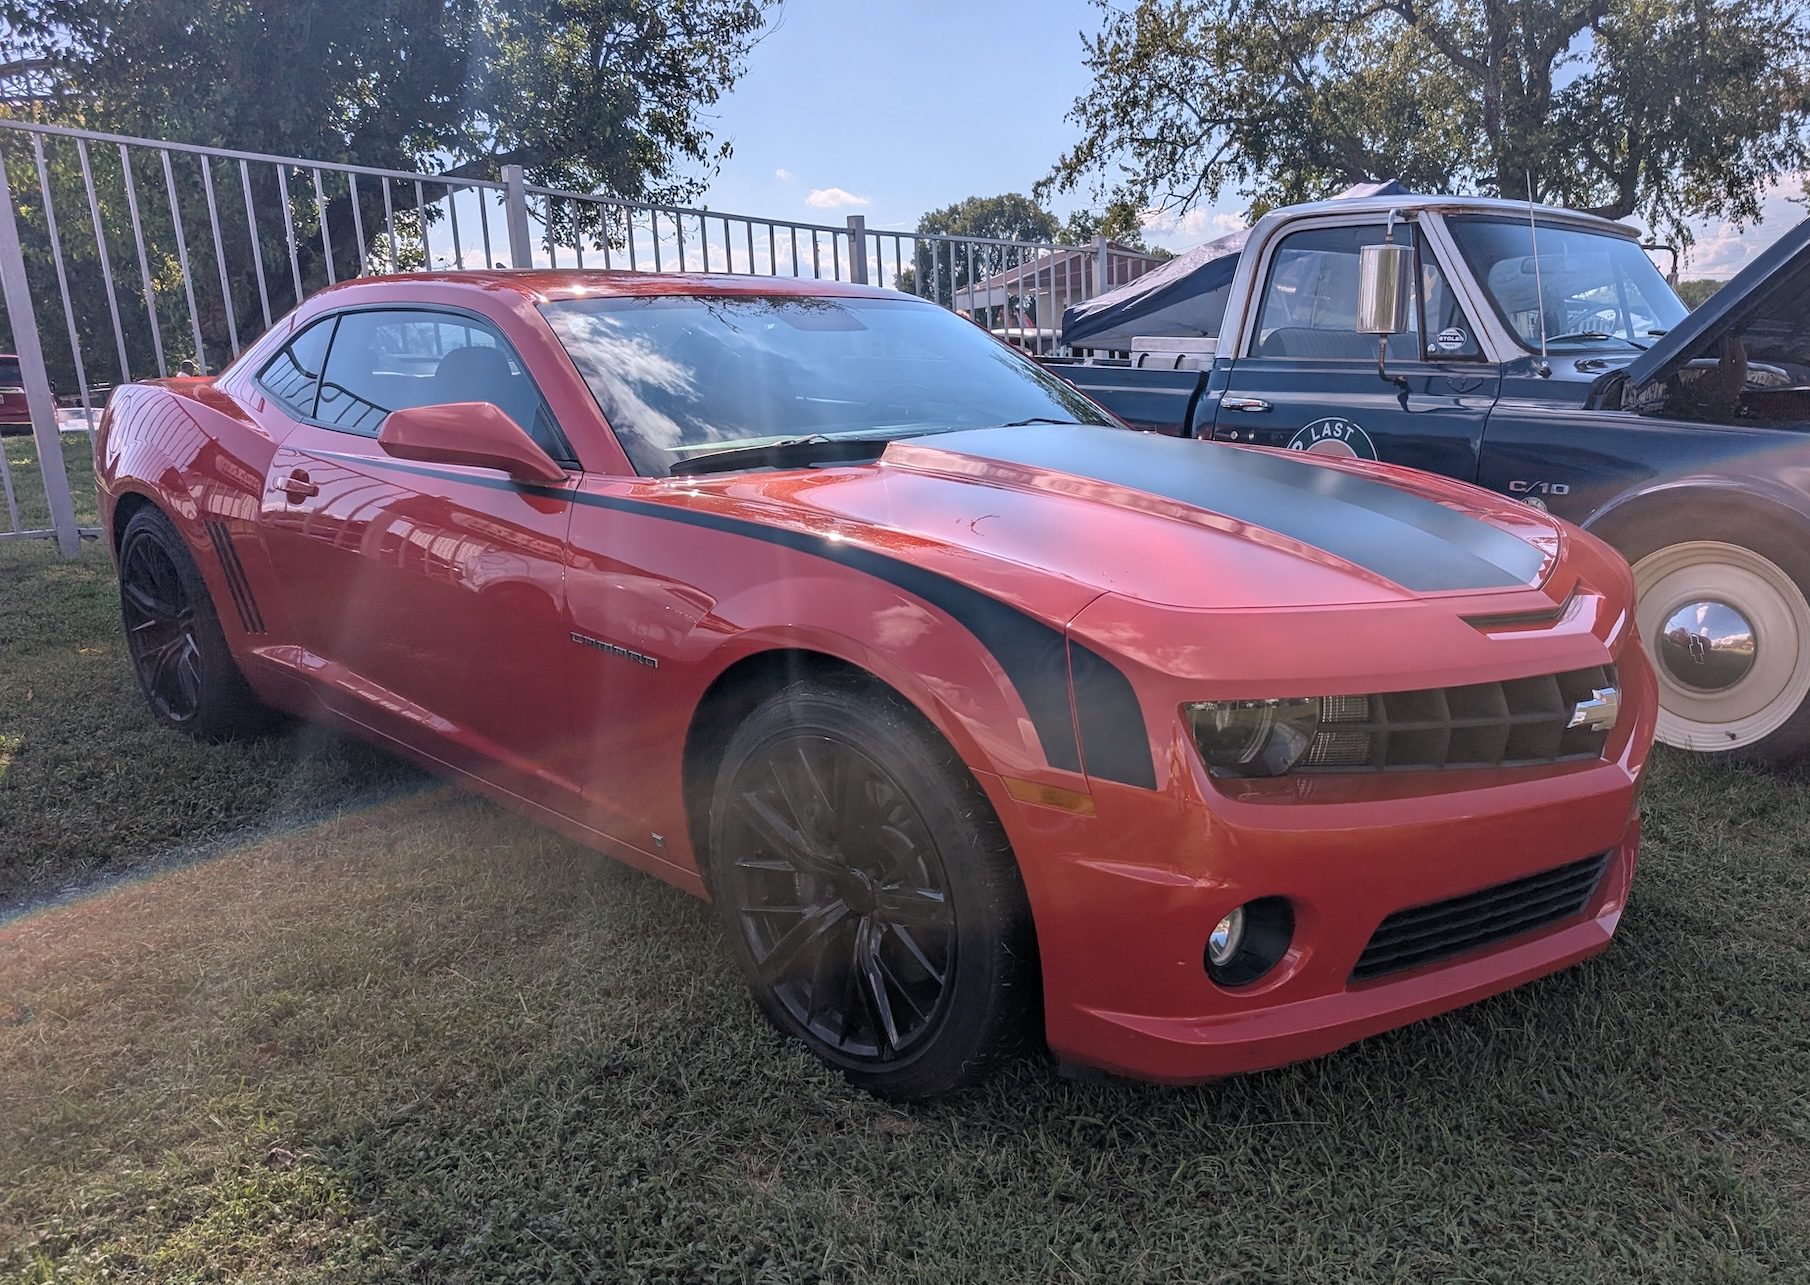
Thanks to this, the many captive-import Holdens here in America can lean on the Camaro as a source for parts. And in my experience, that has already worked out – aftermarket control arms are all marked “G8/SS/Camaro” and will work for all three. While there may be some differences, the major beat is that they all bolt up mostly the same, potentially with the need to embiggen some holes in the front subframe to make Camaro parts with larger bolts fit.
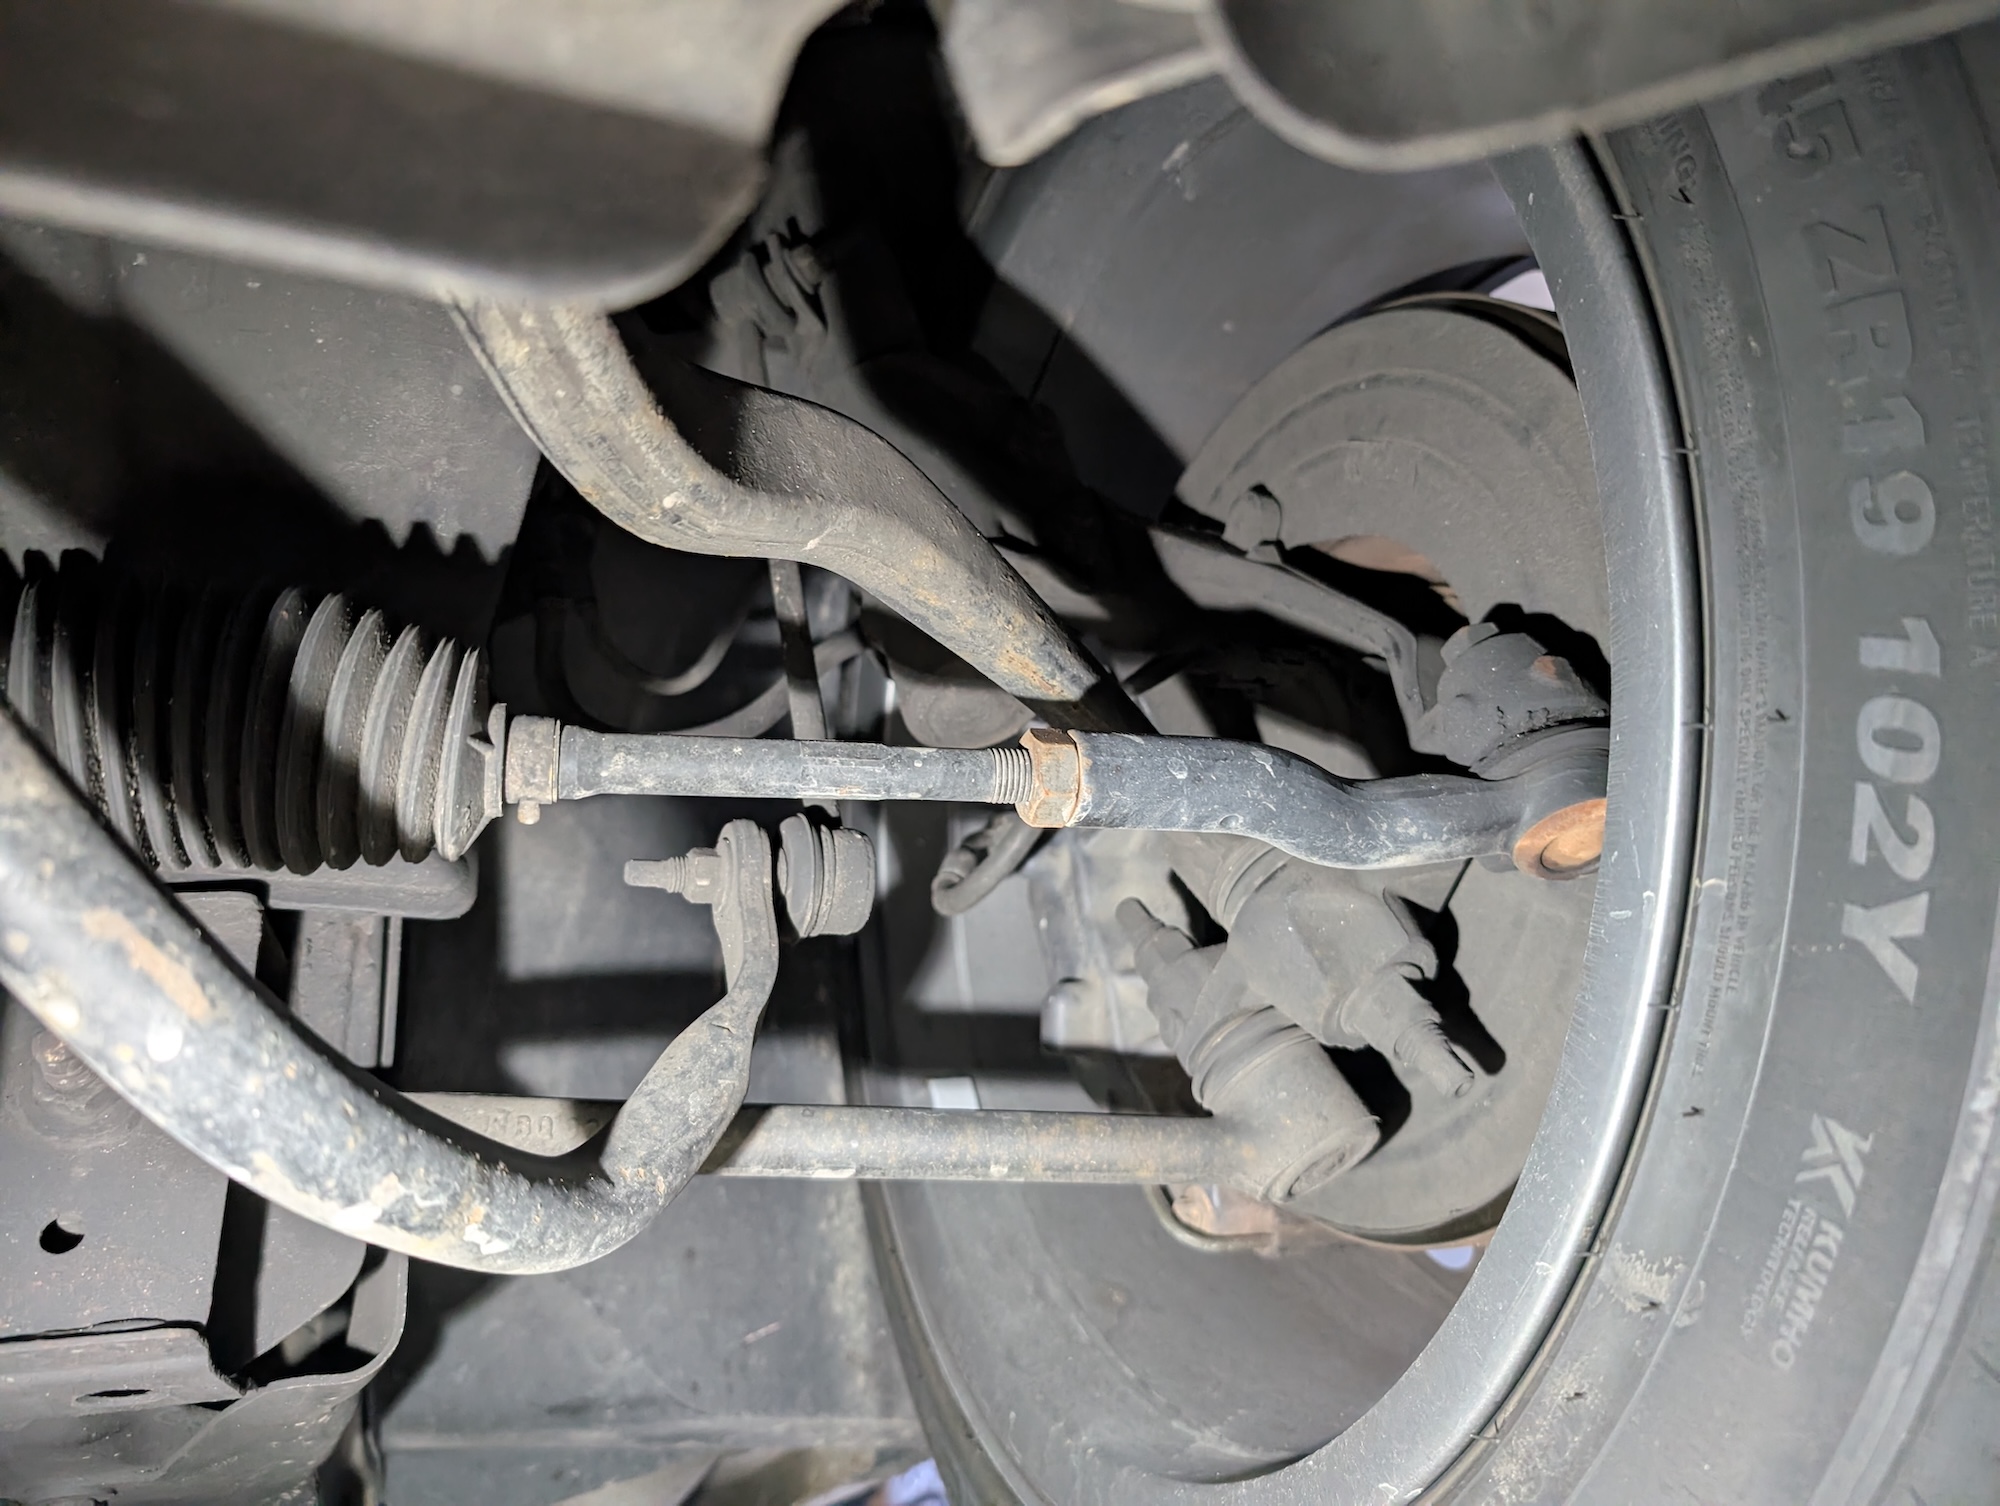
Meanwhile, in the rear, it is actually quite common for G8, Caprice, and SS owners to go looking for Camaro rear cradles to swap into their cars. It’s four bolts, not including the driveshaft, and it adds a 3.27 LSD [Ed note: That’s LSD as in “limited-slip differential” if you’re not already hip, but I bet you are – Pete], more parts support for things like CV shafts, and other than minor wiring, fits in the sedan bodies like it’s meant to be there. The spare tire tub may need to be trimmed for clearance for the Camaro’s straight sway bar, but generally folks are installing upgraded parts before bolting it to their cars, so a BMR or Whiteline sway bar with clearance is commonly pre-installed.

I, meanwhile, like things hard (hold for laughter) and went about this another way. Given that my old cop car is up to 200k miles, or was nearing it at the time I bought the parts, I was dealing with various squeaks and such from the rear end. An old boat like this that’s been used and abused in a prior life has a right to have some creaky joints, especially given its independent rear suspension. Among the concerns were wheel bearings, which annoyingly require a press to fit, and CV shafts. Despite the CVs being the same as the G8 and the Chevy SS, when I went to replace one (I accidentally melted a hole in a boot and couldn’t find a replacement boot), there were zero available for my 2013 Caprice. I risked the biscuit and went for a 2014 CV shaft, which fit fine despite not being marked as interchangeable for the 2013, but was oddly heavier. With the idea that replacement parts may not be as trivial as I had thought, I started to think about the future. Imagine that on a car of which 15k units were imported to the United States…

With that, I evaluated my options and opted against a whole new (to me) rear subframe with the requisite parts I wanted. For one, the Caprice PPV already came with the voidless subframe bushings from some high-performance HSV models. If I bought a Camaro cradle, I would need either inserts or to replace the bushings, which is a job in and of itself. Also, I’ve removed those bolts once before, and they have enough threadlocker to keep those things stuck to the body for the rest of eternity, so I’m not looking forward to removing them again. My car also already has a 3.27 LSD from a Chevy SS, so I would not be gaining anything with the swap in that regard. And finally, I had already replaced my toe links with Camaro 1LE toe links (almost the same as the PPV links but with an extra indentation in the stamped steel that goes the opposite way, and a different bushing), leaving me with upper control arms and knuckles as the last factory bushings in the rear. Well, that and the lower rear control arms, but let’s not talk about those…
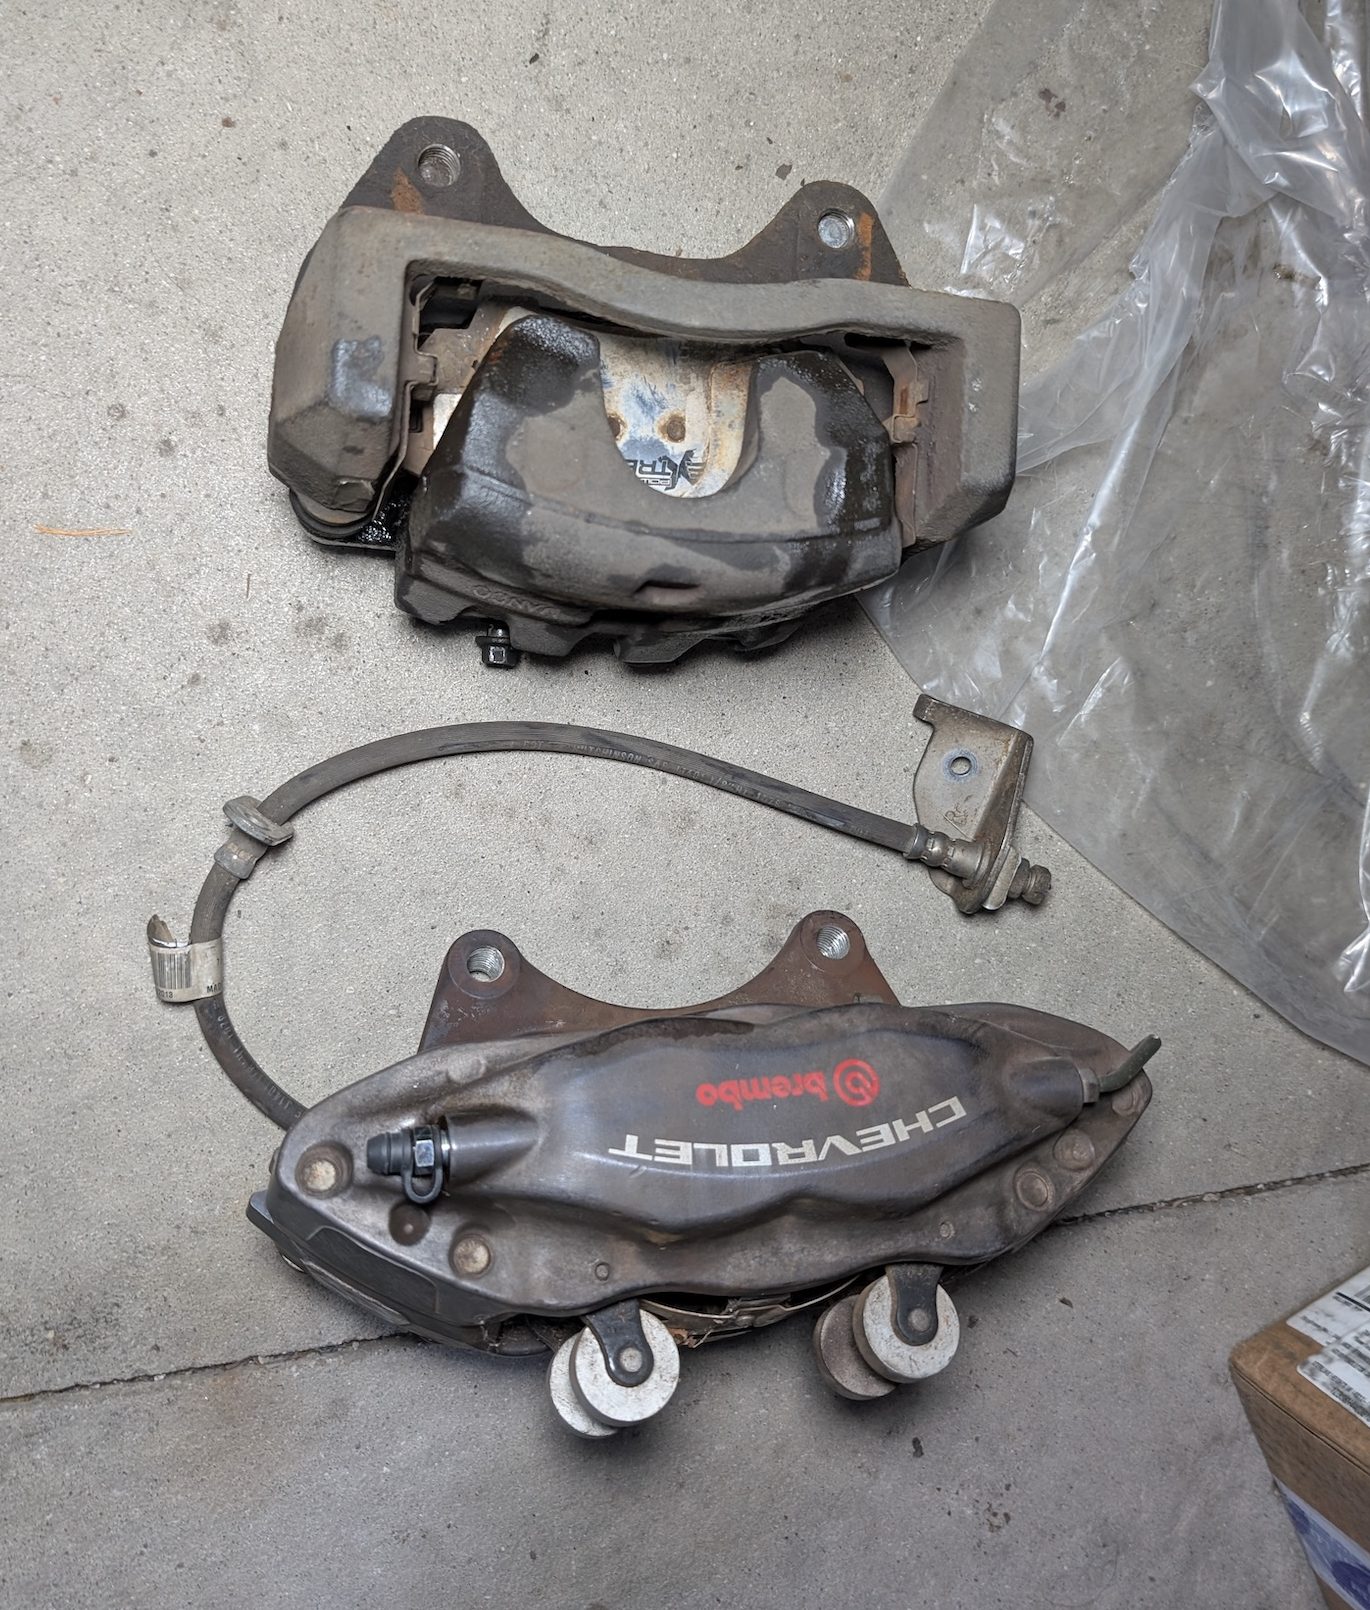
That meant that if I swapped the rear knuckles for Camaro ones, along with the requisite parts to make them fit, I would replace some of the last bushings needing replacing, increase parts availability, and maybe, just maybe, make this old cop car a little more sporting. Because, you see, fifth-gen Camaro SS models came standard with four-piston Brembo brakes on every corner, and that sounds a lot better than the heavy single-piston units the Caprice PPV came with standard.
One may ask, “What is the point of making a 4200lb curb weight sedan sporty?” To which I say, “Quiet, you!” Yeah, it’s not the most practical idea. It won’t ever set a record lap time at the ‘Ring (unless you go for the fastest American-badged Australian-built former police car). But it doesn’t have to be the most sporting vehicle on the road. What I want out of this car is to be a great road warrior with a little bit of sporty flair for ramps and twisty roads that the summer scavenger hunt puts me on. I want to enjoy myself, not fear the corners. And given the praise that this platform has received when under cars like the Chevy SS, I think that is certainly viable.
I have already upgraded the rear sway bar to a thicker one from a later model Caprice PPV, and swapped the police springs for G8 ones, which were softer but lower. The softer springs might have been a performance downgrade, but not a roadtrip one! But other than that, the rubber that meets the road is the biggest part of what would help give this car a sharper attitude, and I was going to upgrade that at the same time.
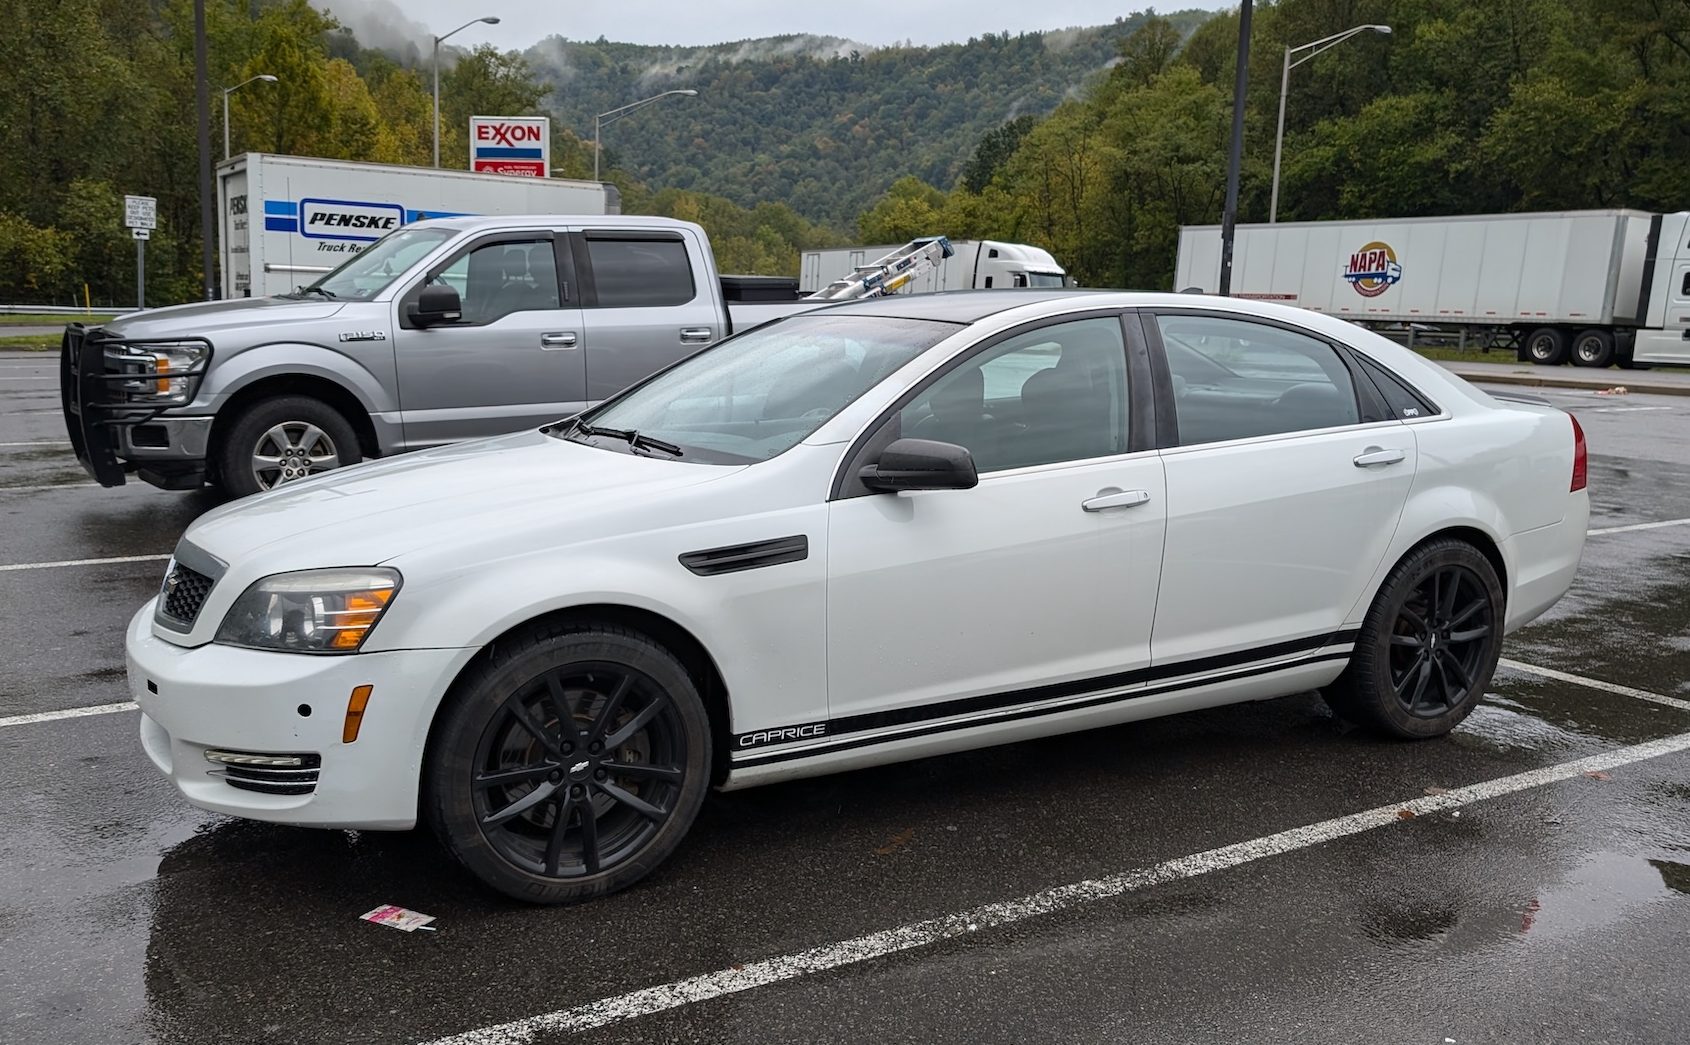
You’ll recall the black nineteen-inch Chevy SS wheels from the Members’ Rides article. Those were clad in some Michelin performance tires, but they were old, the fronts were summer-only, and the rears were getting thin enough to lose some confidence in the rain. And given that I was not a huge fan of glossy black wheels, I wanted to try something different.
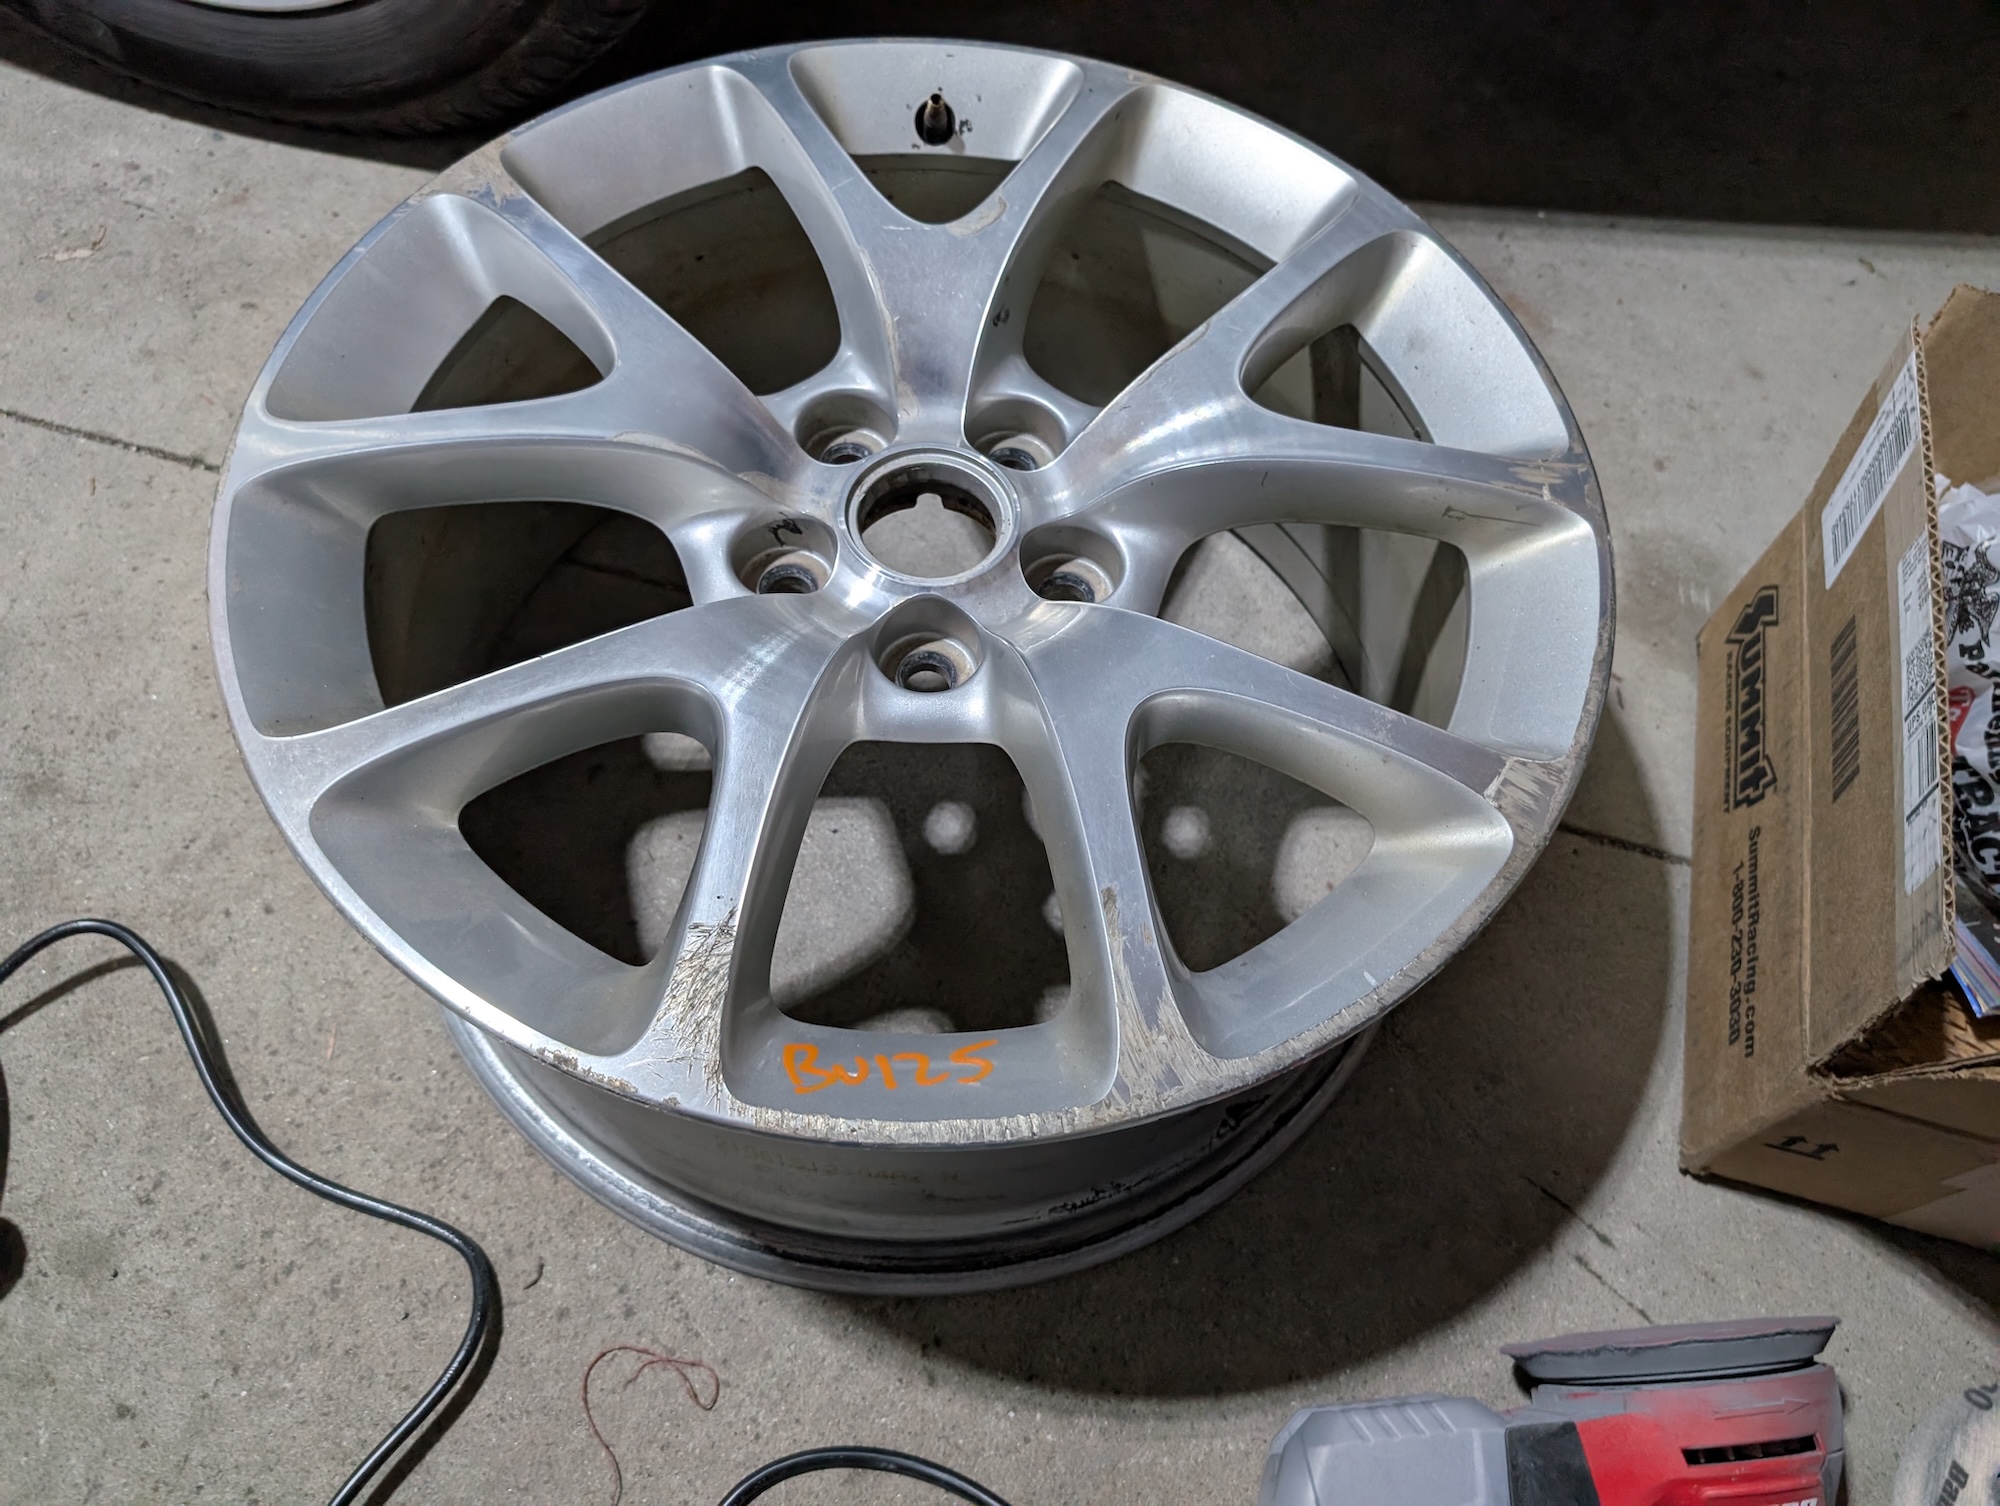
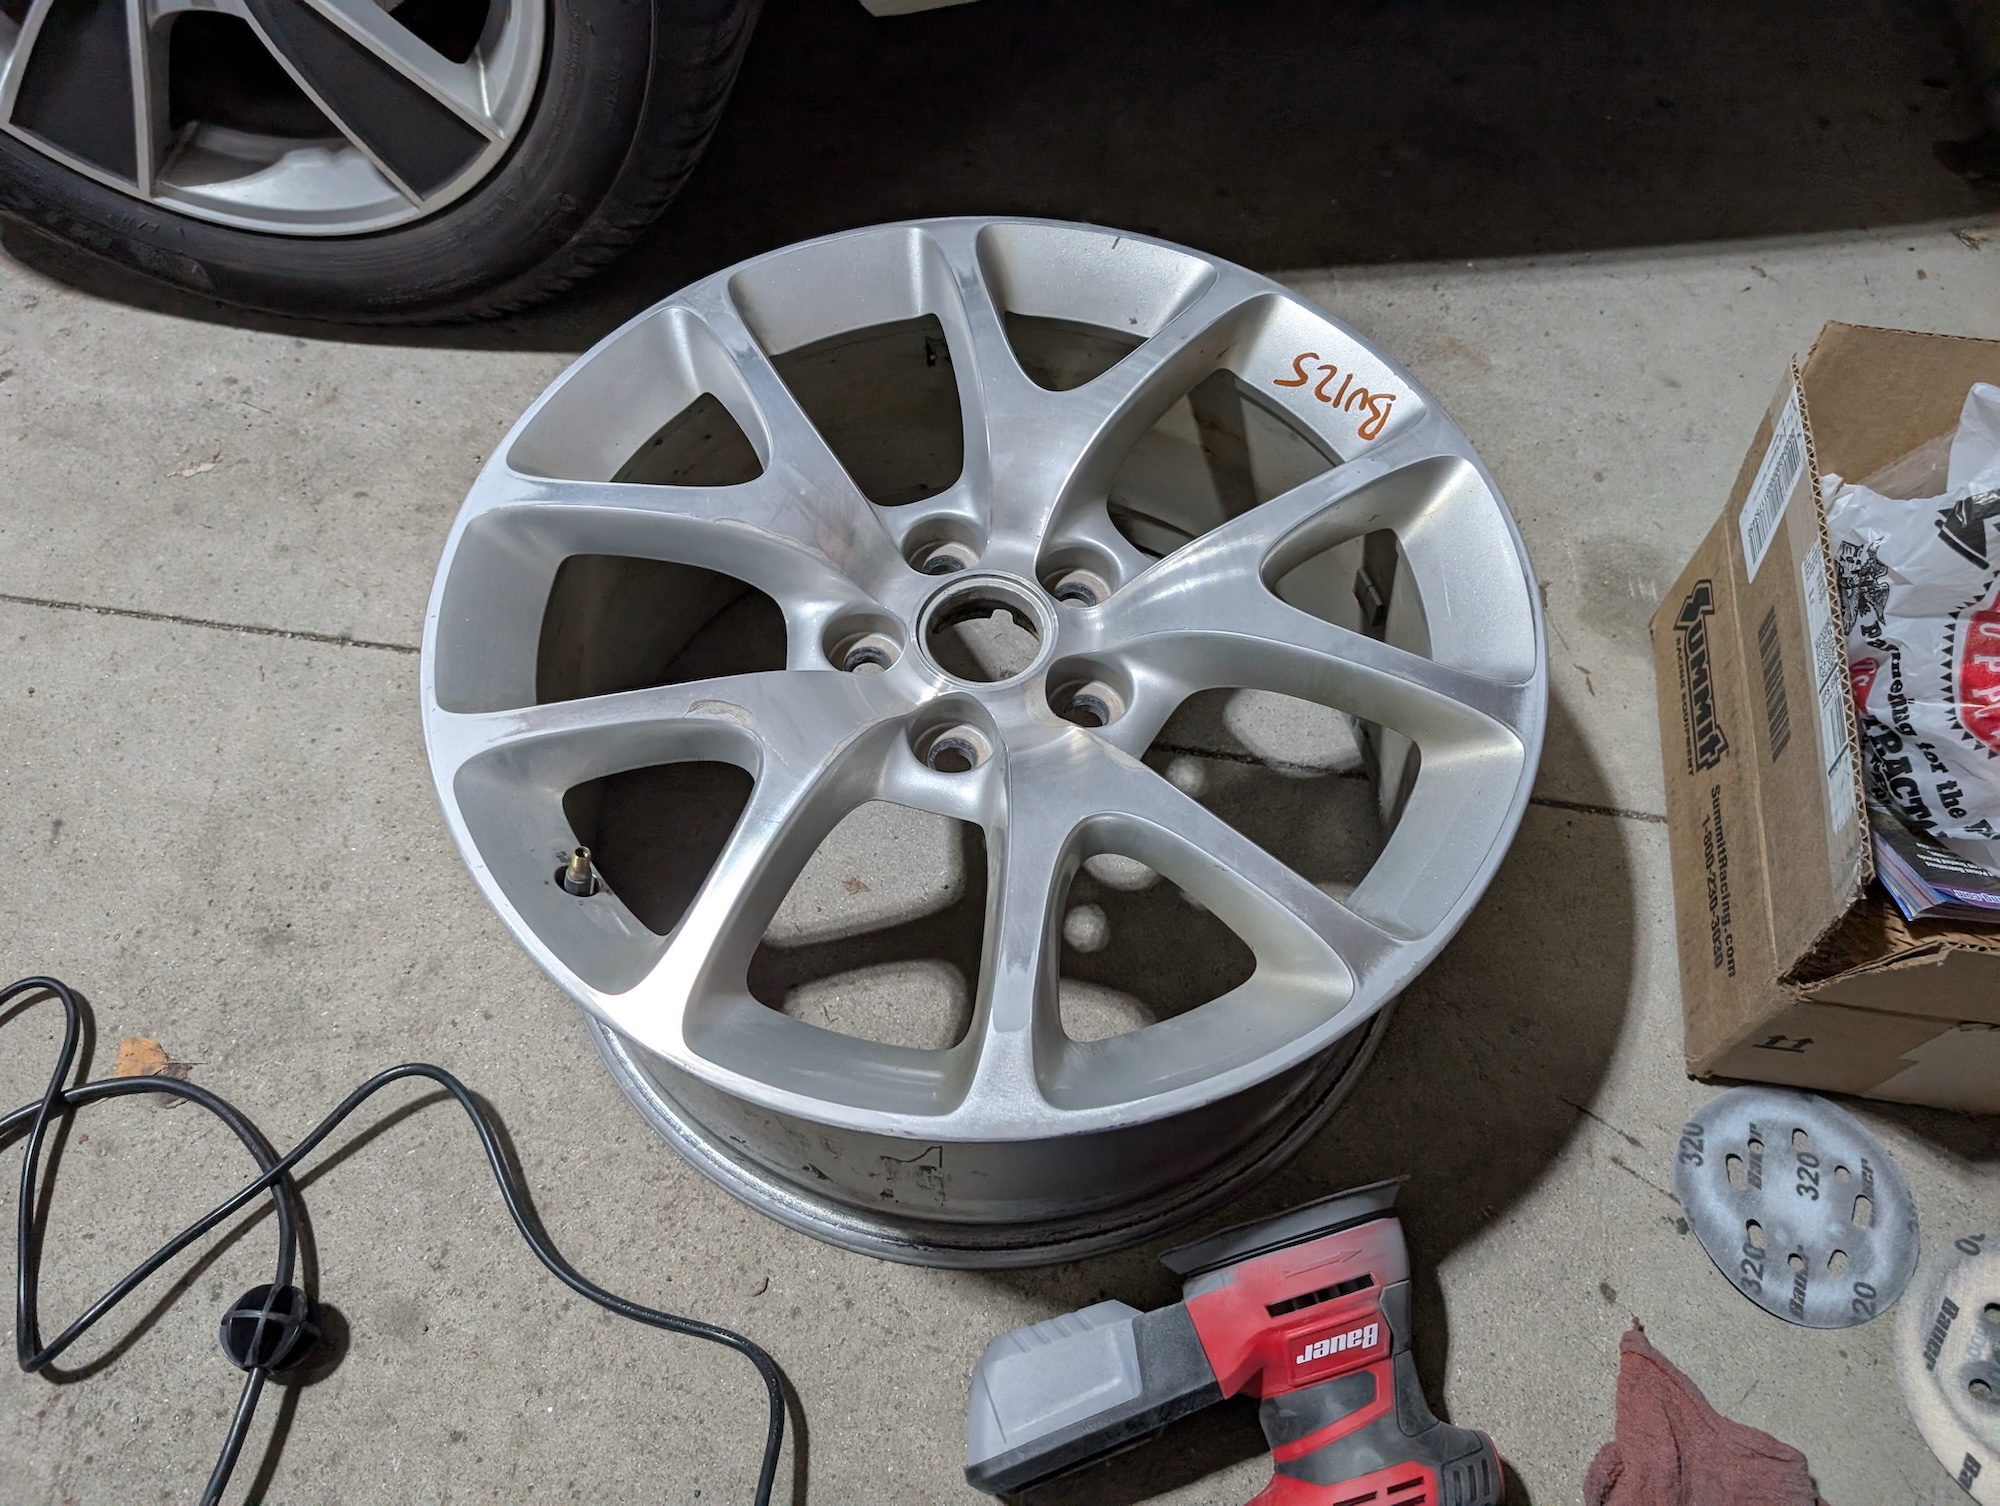
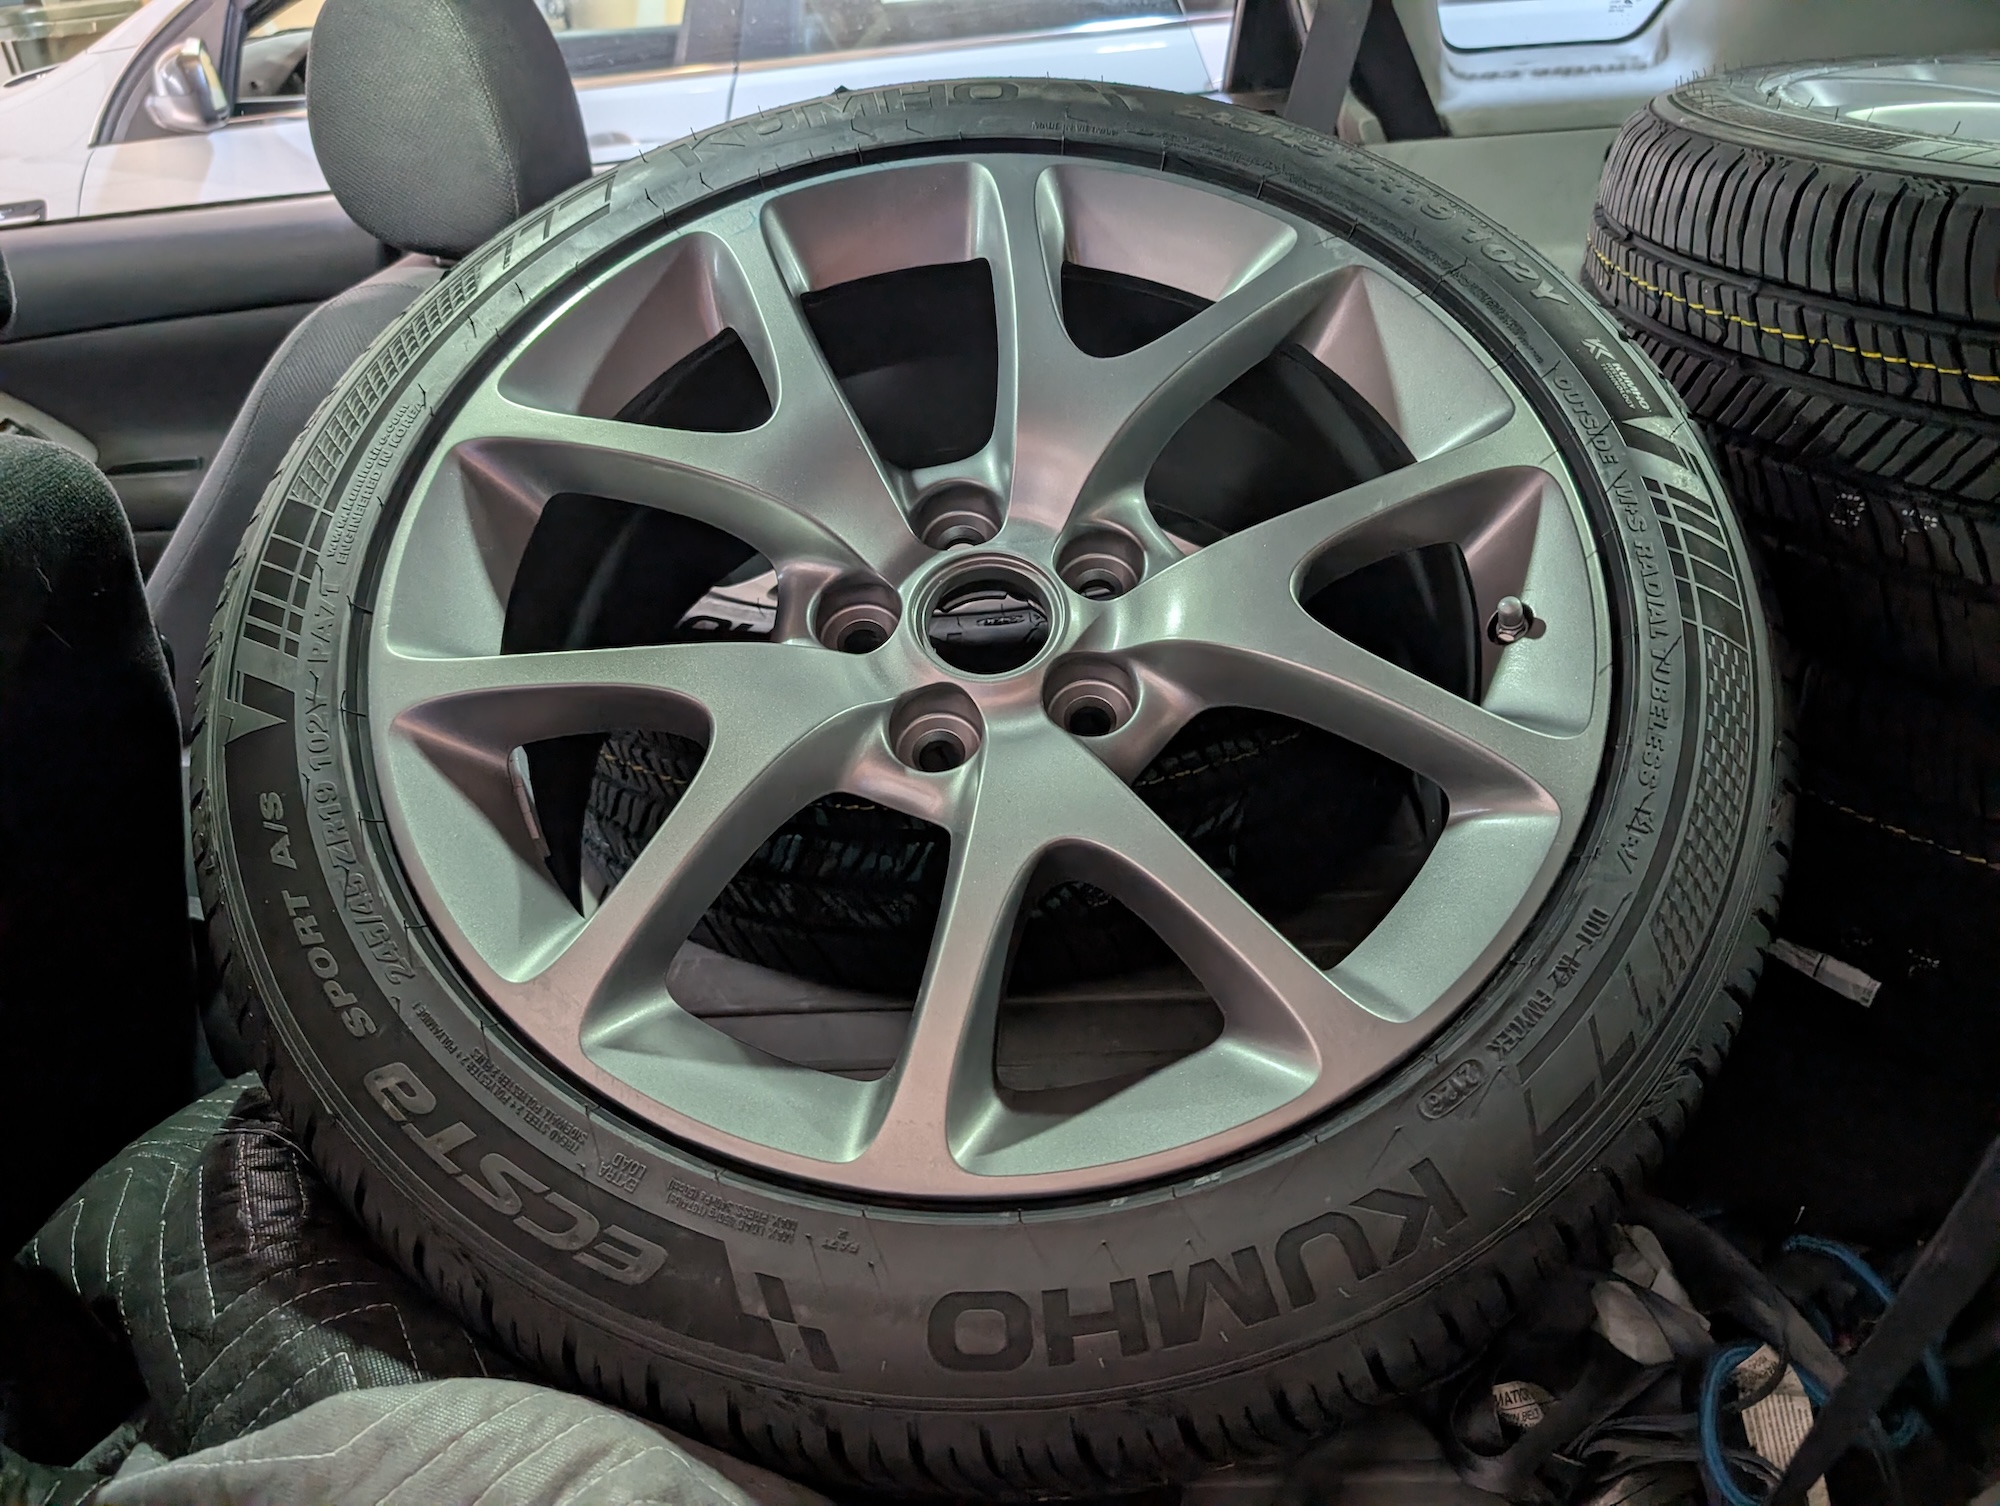
Enter the fifth-generation Buick Regal GS and its 19×8.5 wheels (10-spoke, REH option code). I found a set in a junkyard in Fort Wayne via car-part.com that a friend was able to pick up for me (thanks Josh!). A quick sanding to get the curb rash off and a trip to the powder coaters really transformed them. And after some conversations with Hardibro the Hardigree, we managed to get Kumho Tire to send me a set of their Ecsta Sport A/S in 245/45/19. I have a different set of wheels for the cold months, but for the warm ones I wanted something sporty, quiet, comfortable, affordable, and that wouldn’t make me anxious the second I saw a snowflake. After all, I live in Michigan. The Kumho Ecsta Sport A/S tires more than meet those requirements, at least on paper, and I was eager to get them on the car and on the road.
But first, I had to prepare the vehicle and set a destination. This started with going on friend-of-the-Autopian eBay Motors to take a look at what fifth-gen Camaro parts exist out there. Specifically, rear knuckles, rear upper control arms, and CV shafts. The upper mounting point for the knuckle is moved forward on the Camaro relative to the G8/Caprice/SS, necessitating the new control arms, while the CV shaft is a different length for the bolt-in wheel bearing and hub assemblies. Otherwise, it should all bolt in.
I found exactly what I was looking for in a couple of listings from J&J Auto Salvage. They were off two Camaros, each with under 100k miles. Given that the Caprice had almost 200k at the time I ordered the parts, it felt like I would get plenty of mileage out of these. The main concern as far as wear is the spherical bushings GM installed in the upper and front lower mounting points. The only replacement for these is to buy new knuckles or replace the bearings with bushings, which defeats the point of a spherical bearing. In any case, J&J sent me two BIG boxes of parts in remarkably little time. Being the next state over to their yard was definitely an advantage. I was shorted a few parts in my first box, but they promptly sent what was missing, and it arrived the next day. Good folks, would buy from again.
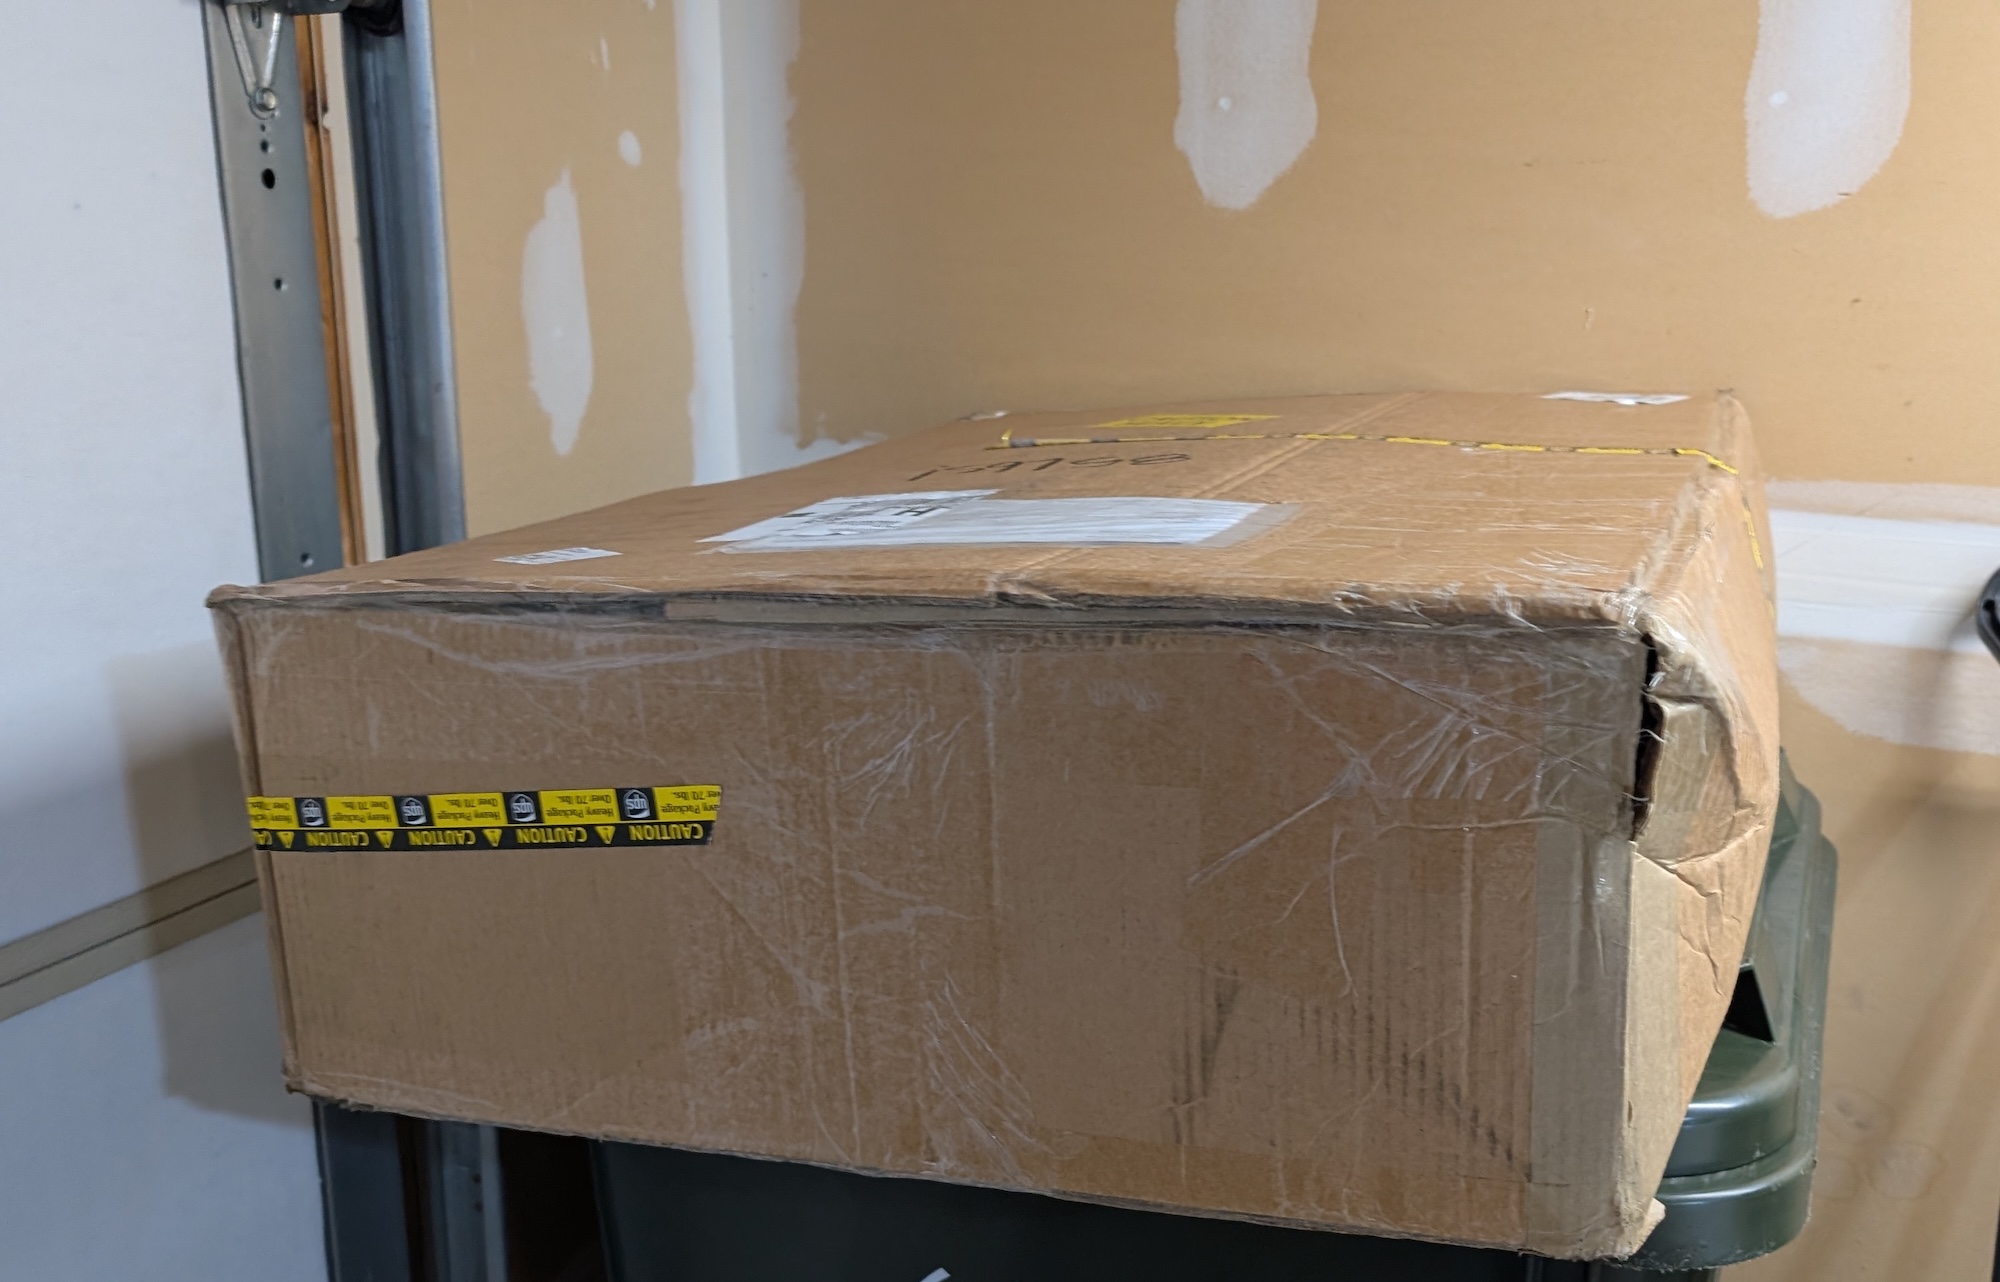
The only parts I ended up not having were one upper control arm, which was sourced new, extended wheel lugs, and all of the Brembo brakes. The brake calipers also came via eBay Motors in a deal so good, I didn’t mind that one showed up with a bleeder broken off inside of it. I fixed that, got new bleeders for all of the calipers, new rotors and pads, and found a long weekend.
Let’s get to work.
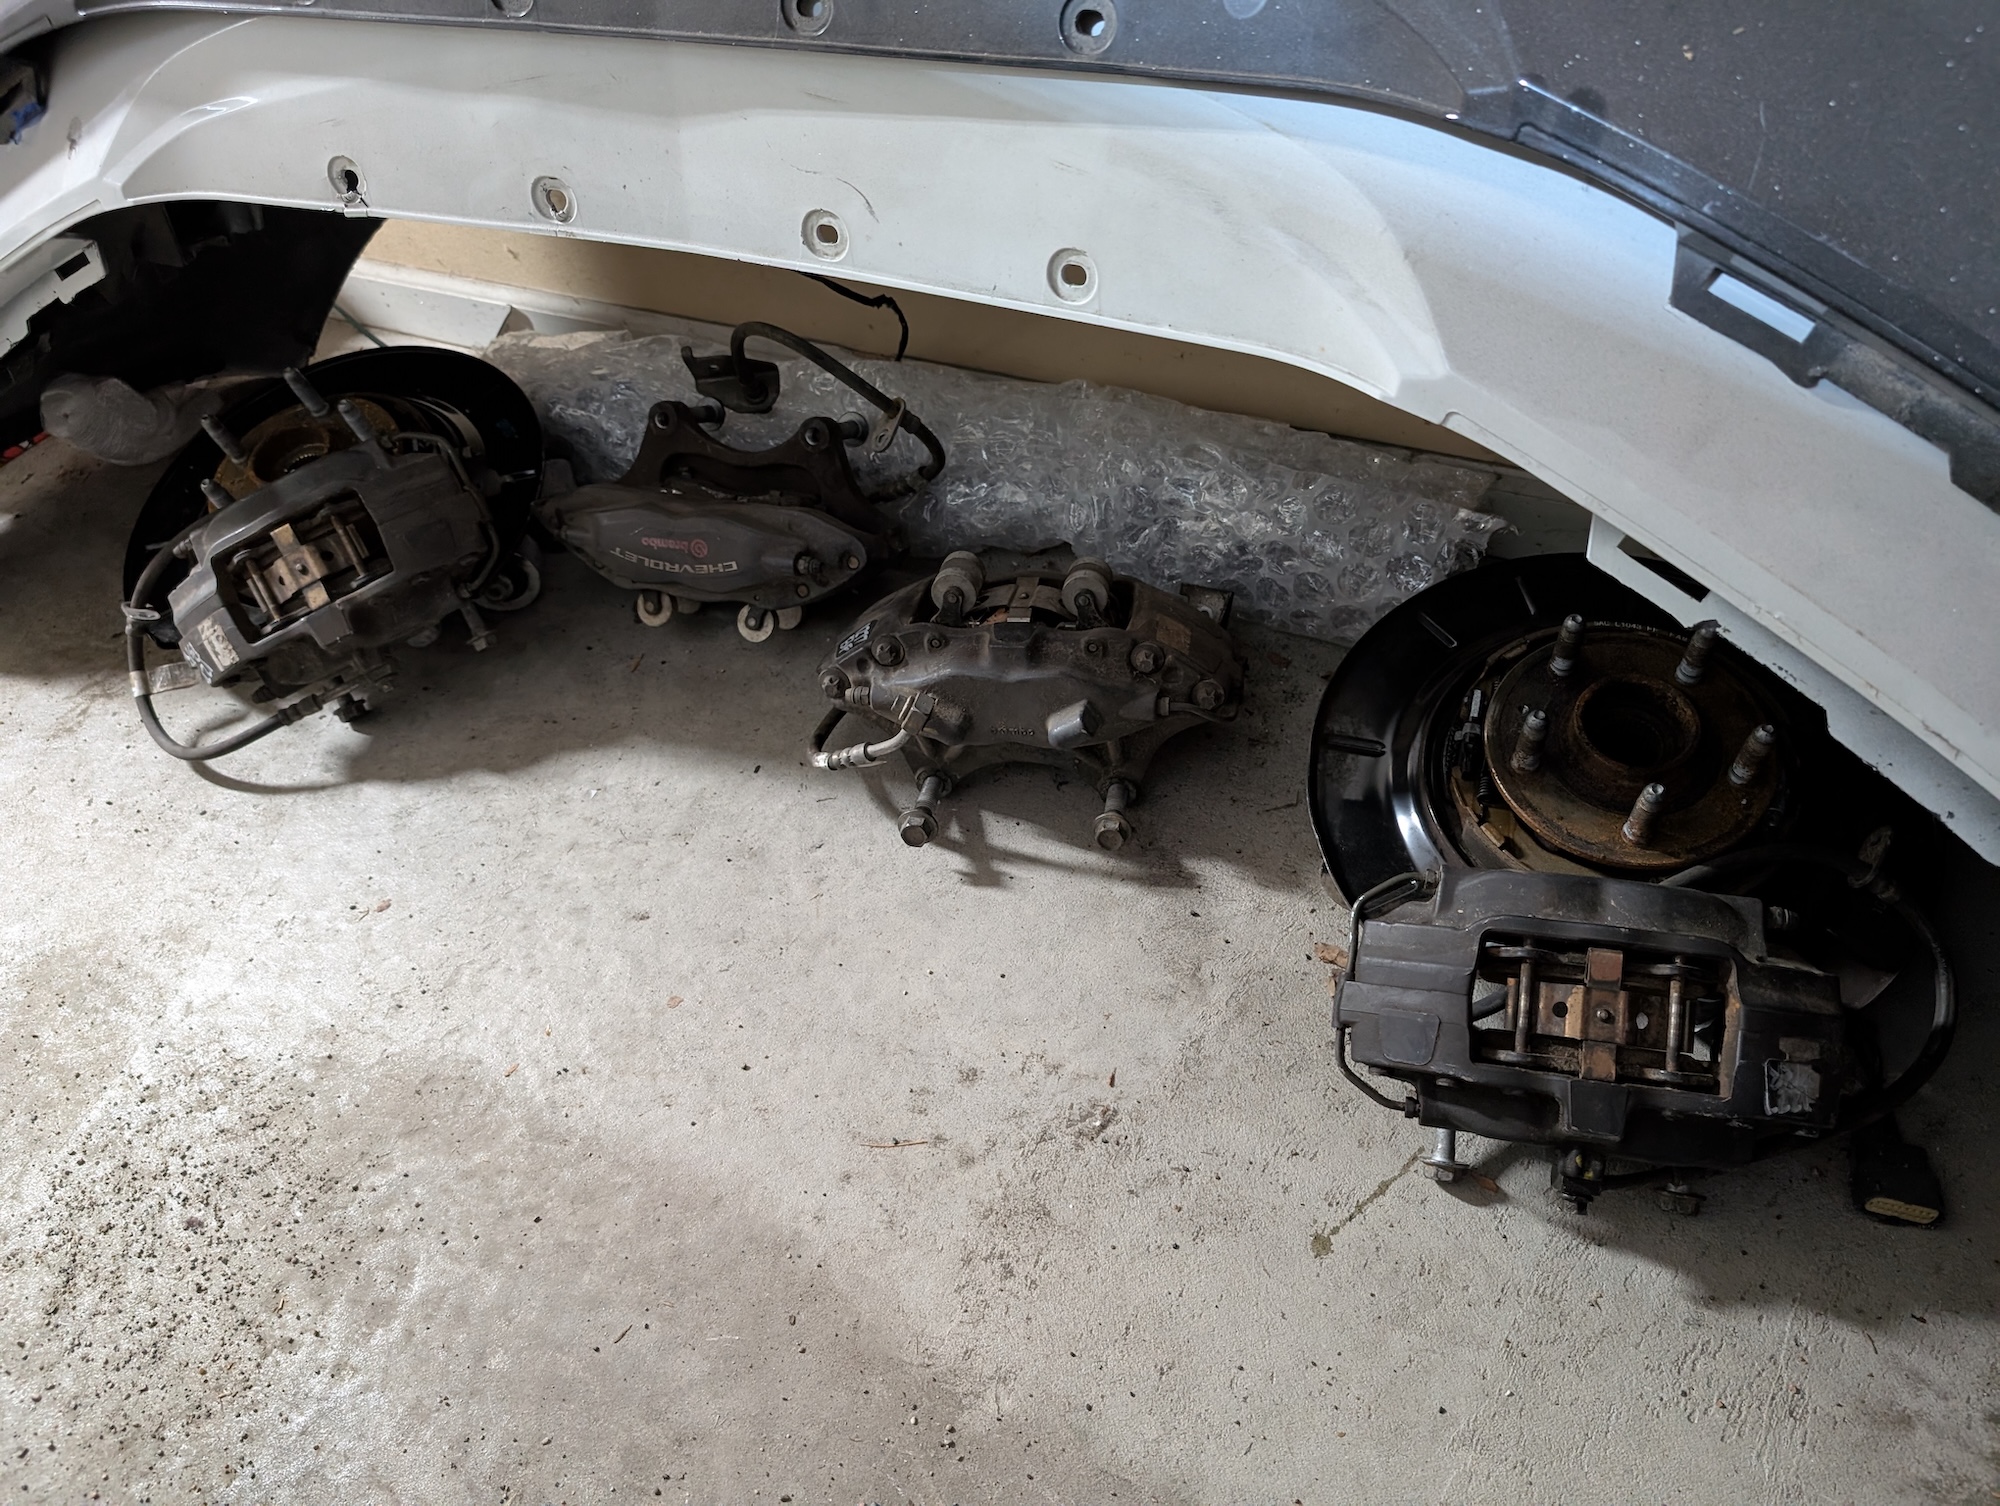
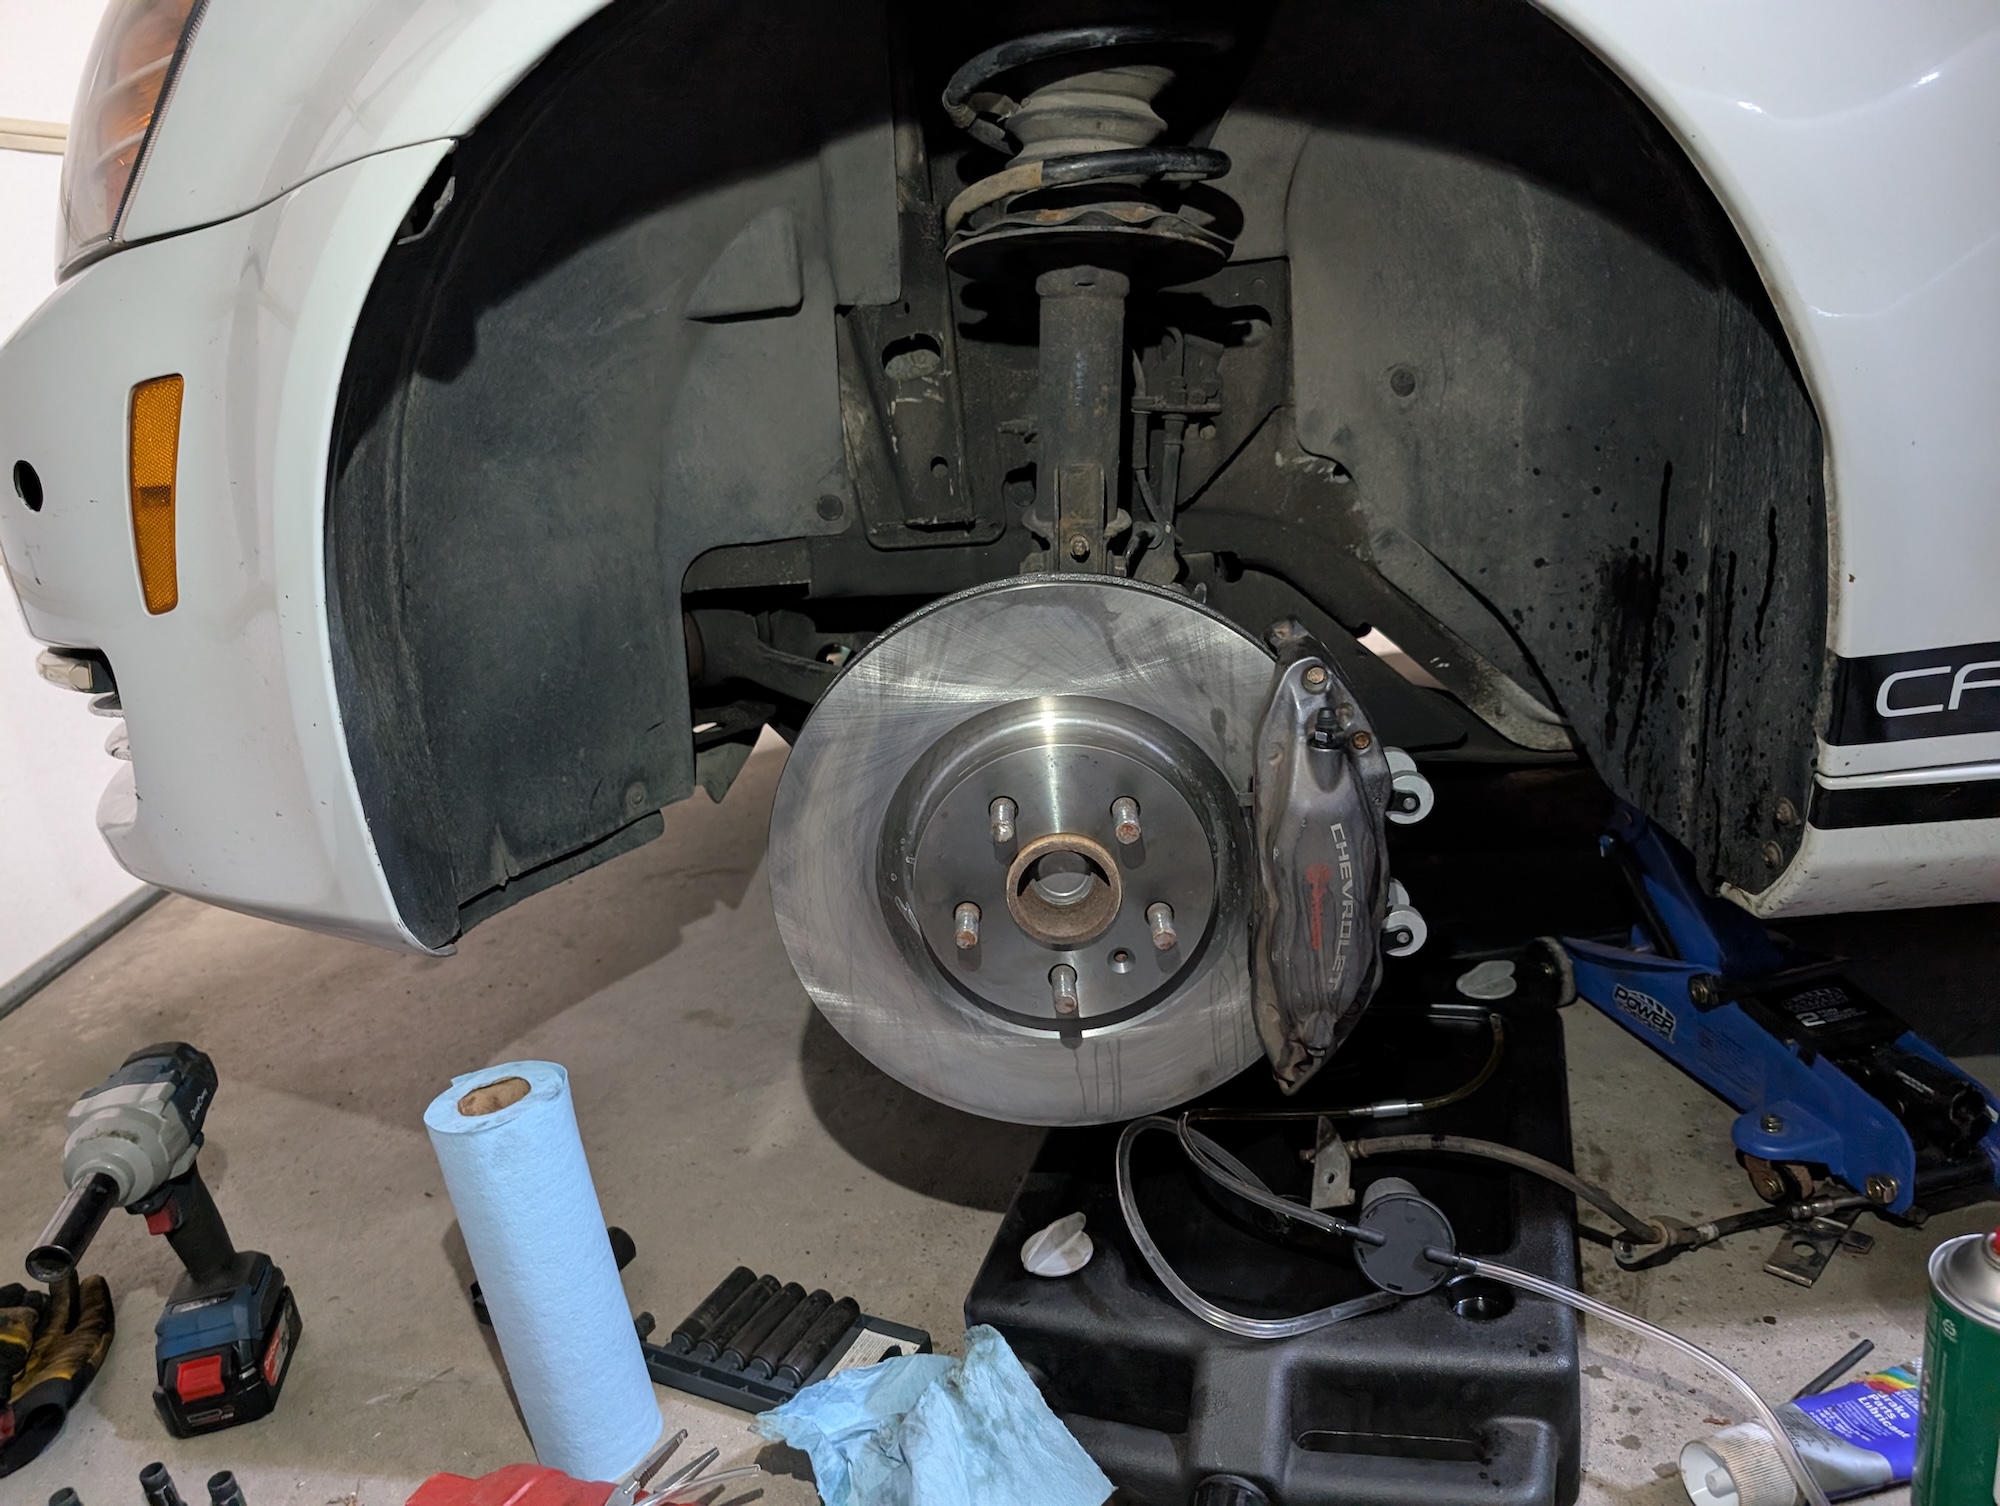
We’ll start with the easy part: Front brakes. Remove old rotors and calipers and install new ones. It really is that easy. My digging seems to indicate that the stock brakes for the Caprice PPV are the same as the V6 fifth-gen Camaro, which makes this job even easier than on the Pontiac G8, where you need to drill out the knuckle to fit the bolts. Bleeding them was pretty easy as well, thanks to some cheapo one-way bleeder valves on my bleeder hoses. The Brembos have two bleeder valves, so I would bleed the inside (closest to the brake line), the outside, and then the inside again. I did drive with just the front Brembos on the car for at least a week, and let me tell you, going from one big single piston to four pistons per side dramatically changed the brake feel. There is so much more finesse now, more feedback through the pedal back to me. I like these so much I may try and find some multi-piston calipers to fit on my Pontiac Vibe! But that’s for another day.
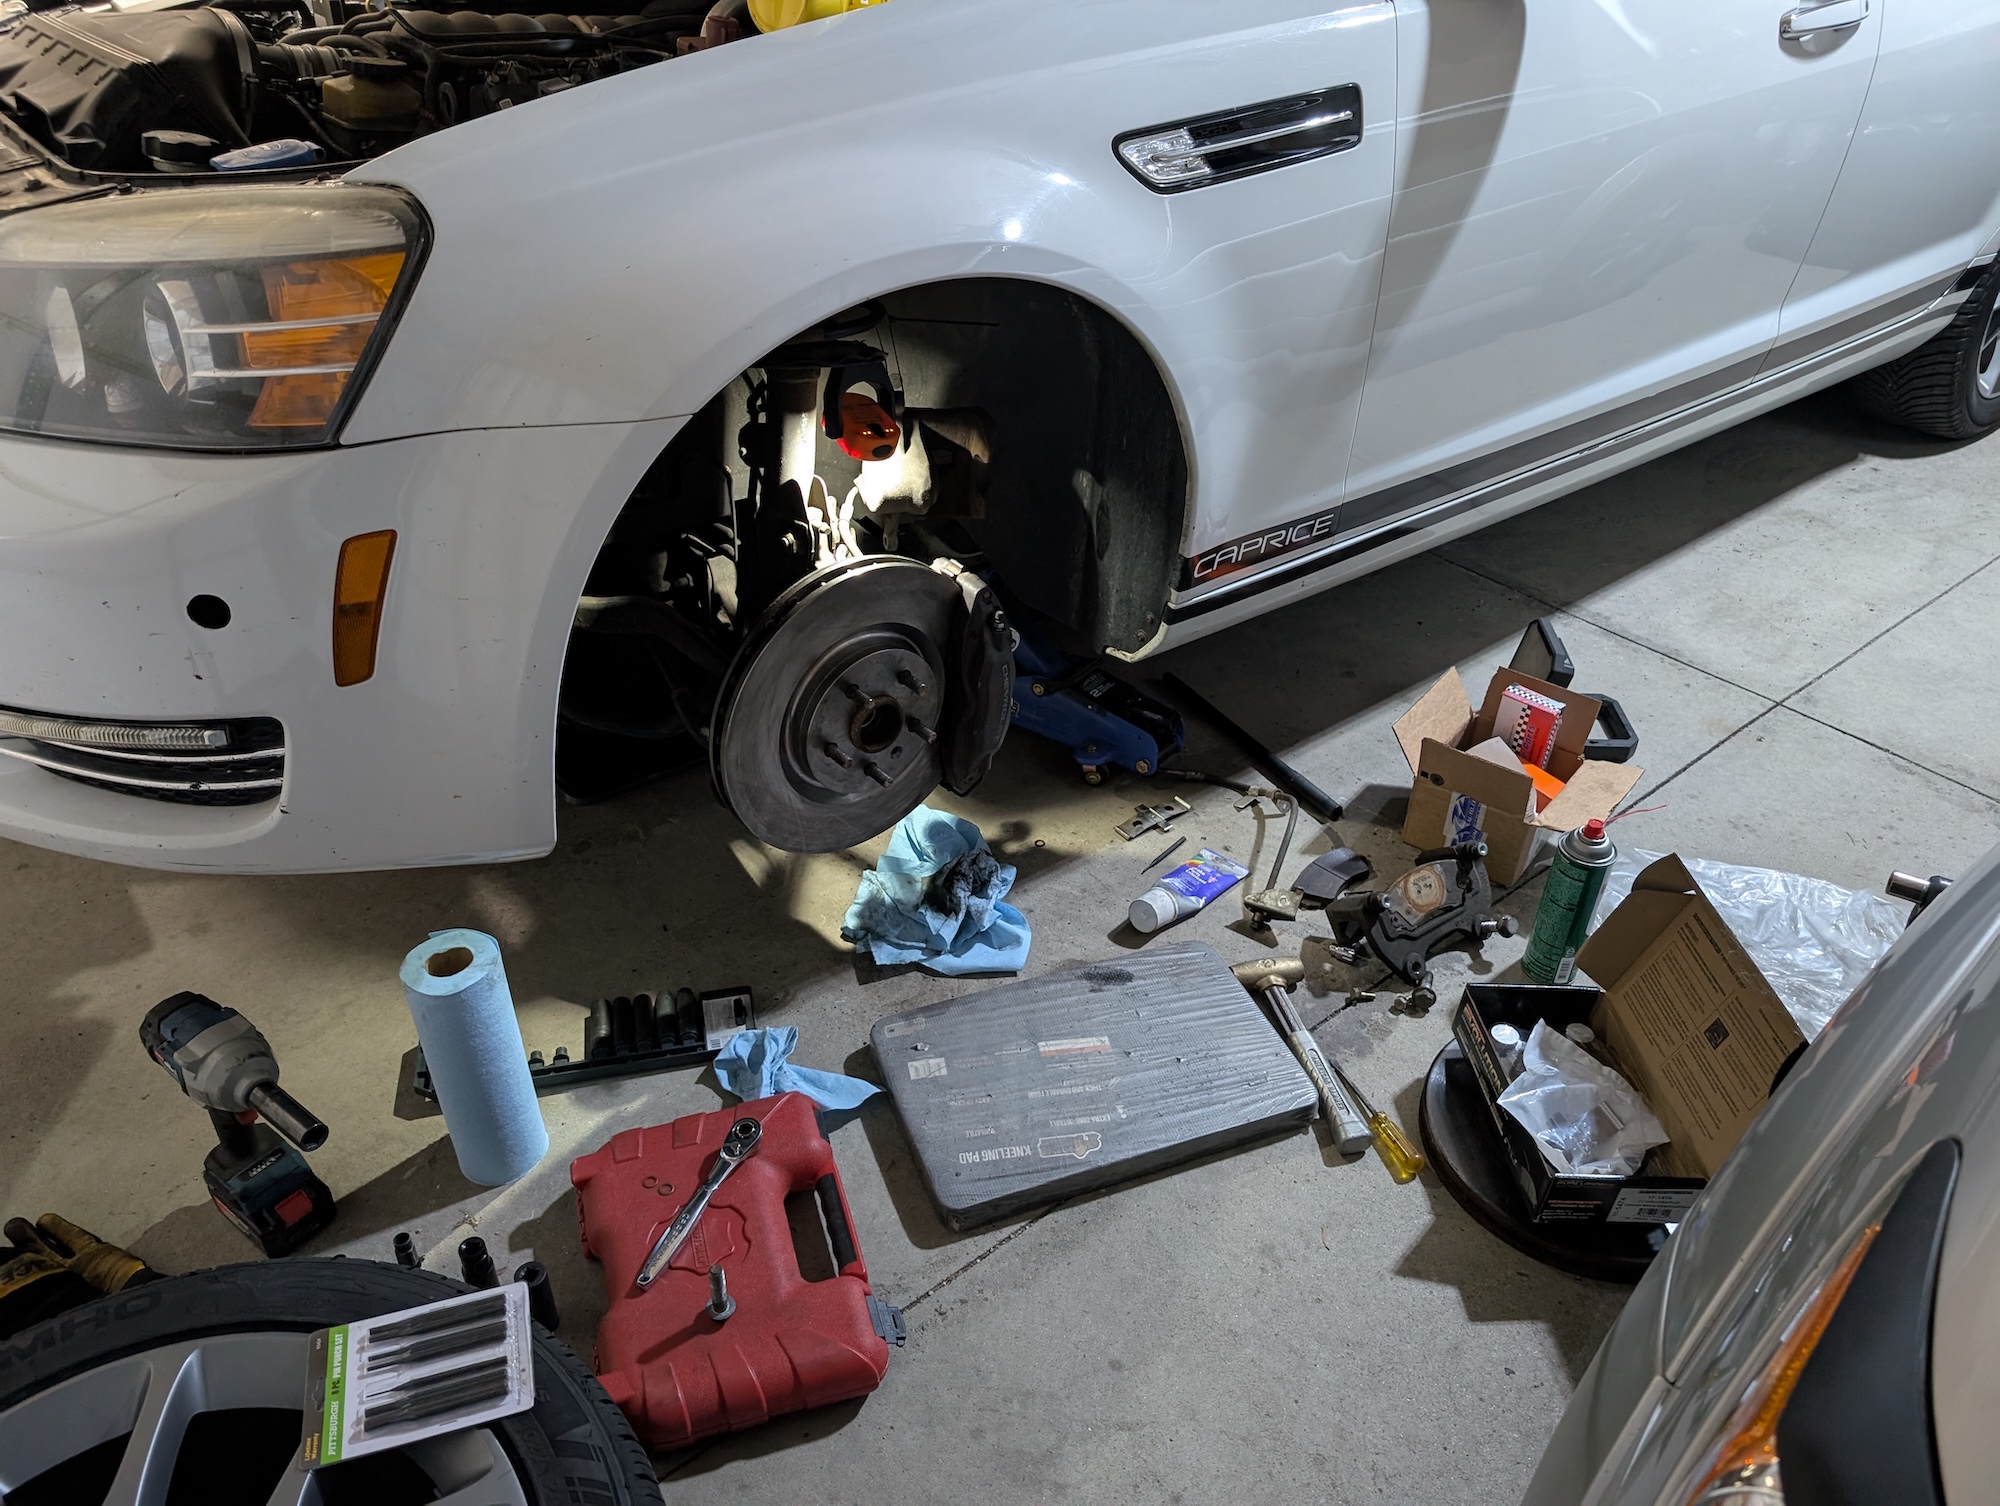
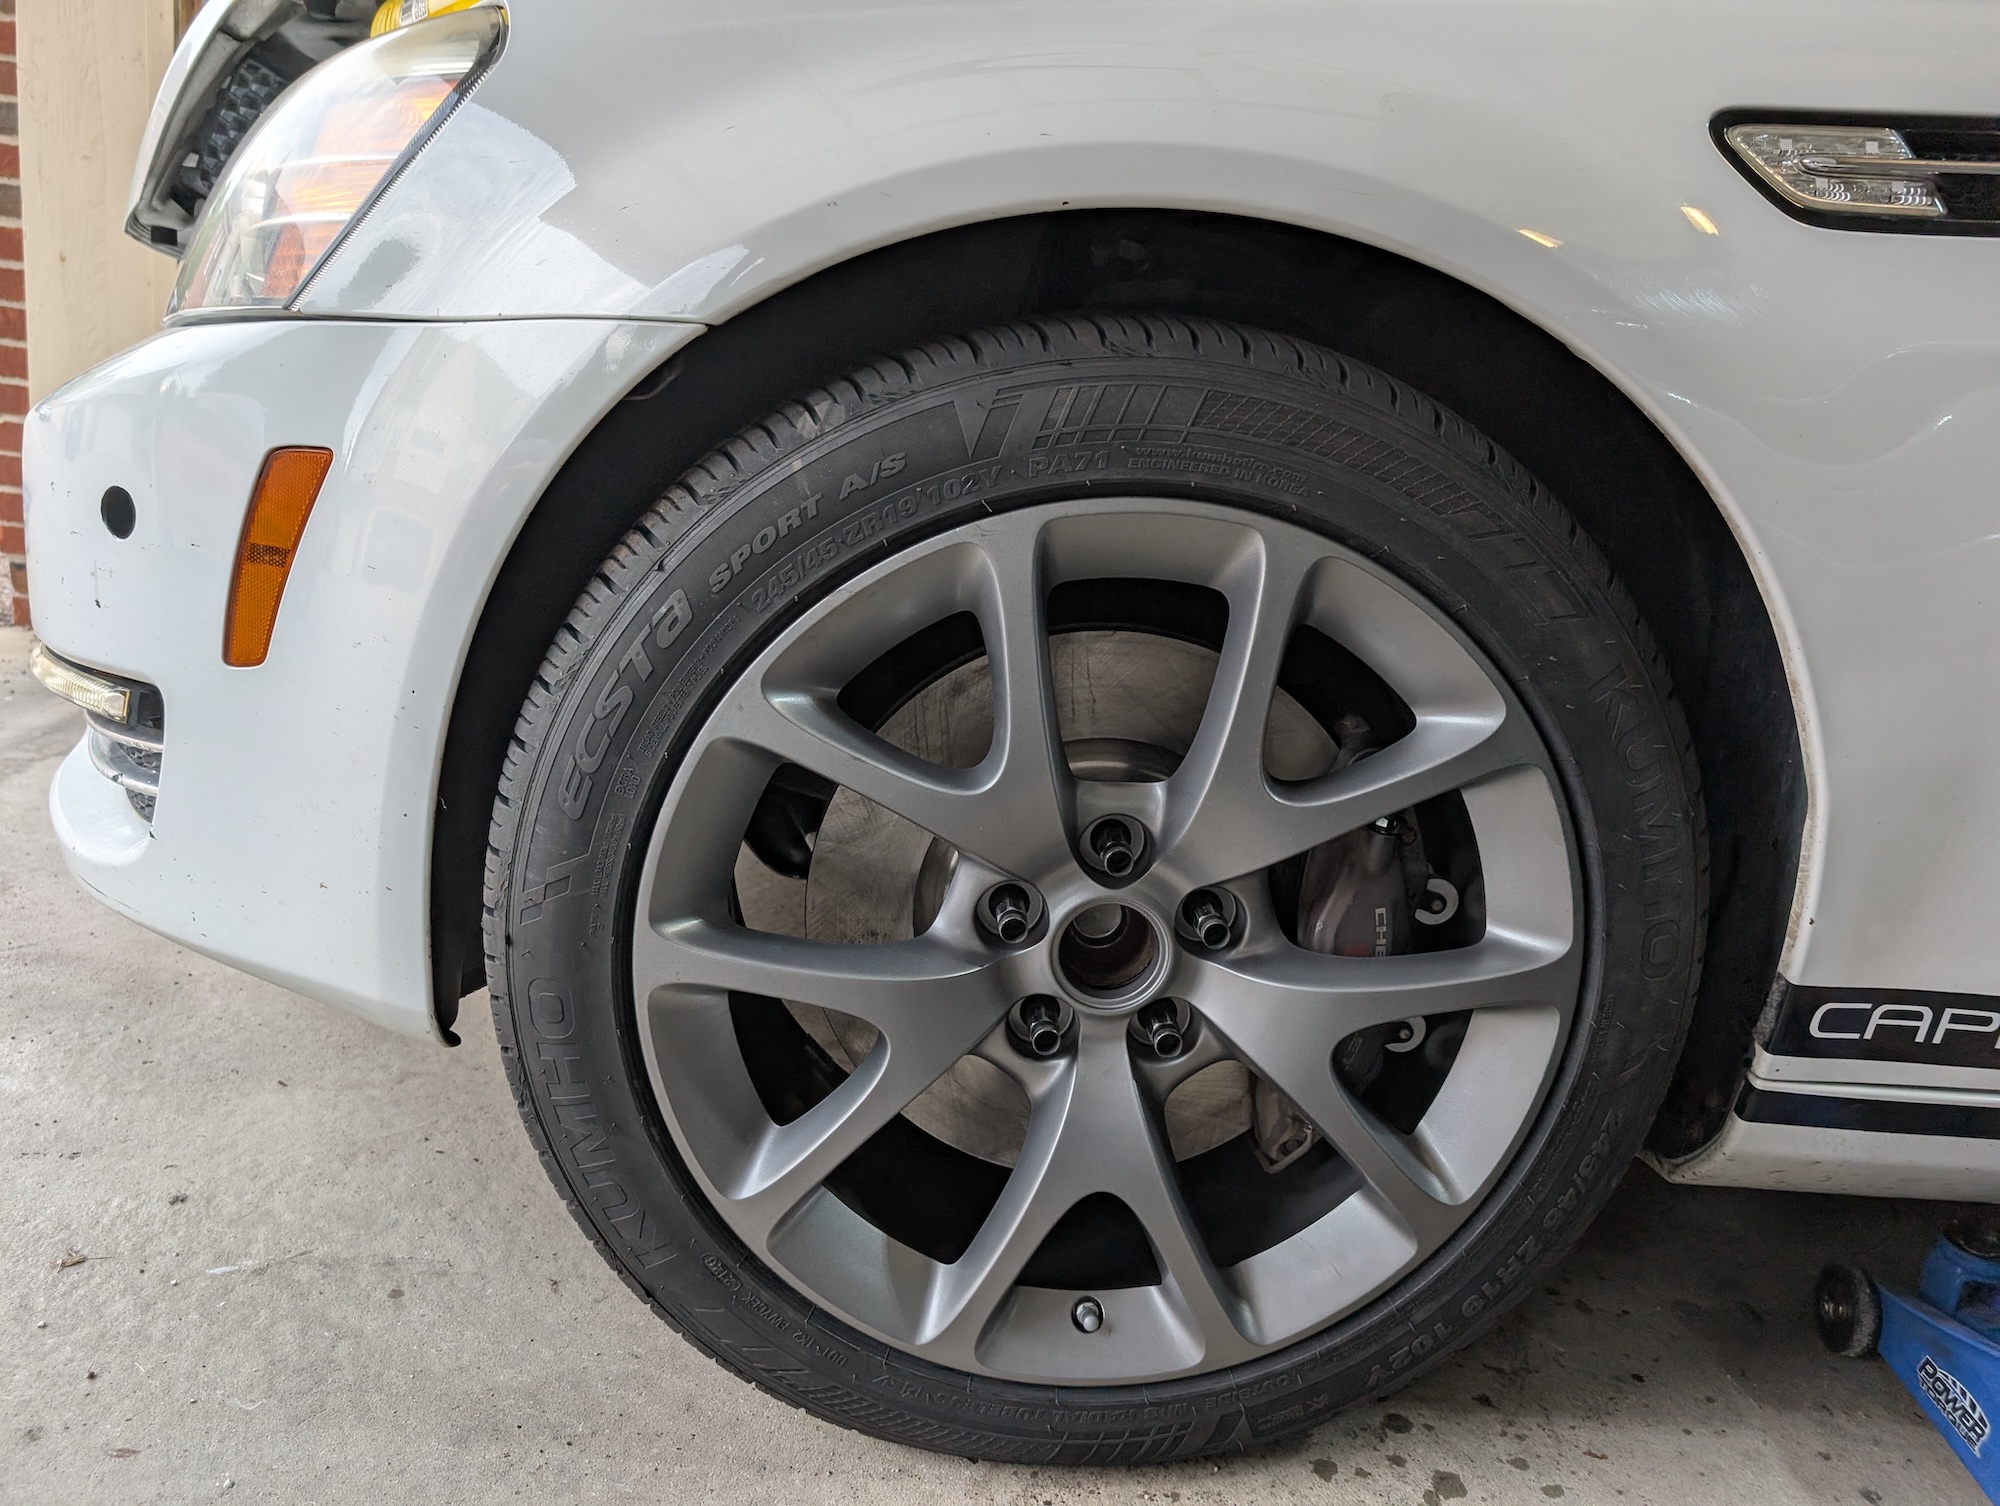
For now, with the front brakes set, it was time to take apart the rear of the car and rebuild it into a Camaro sedan.
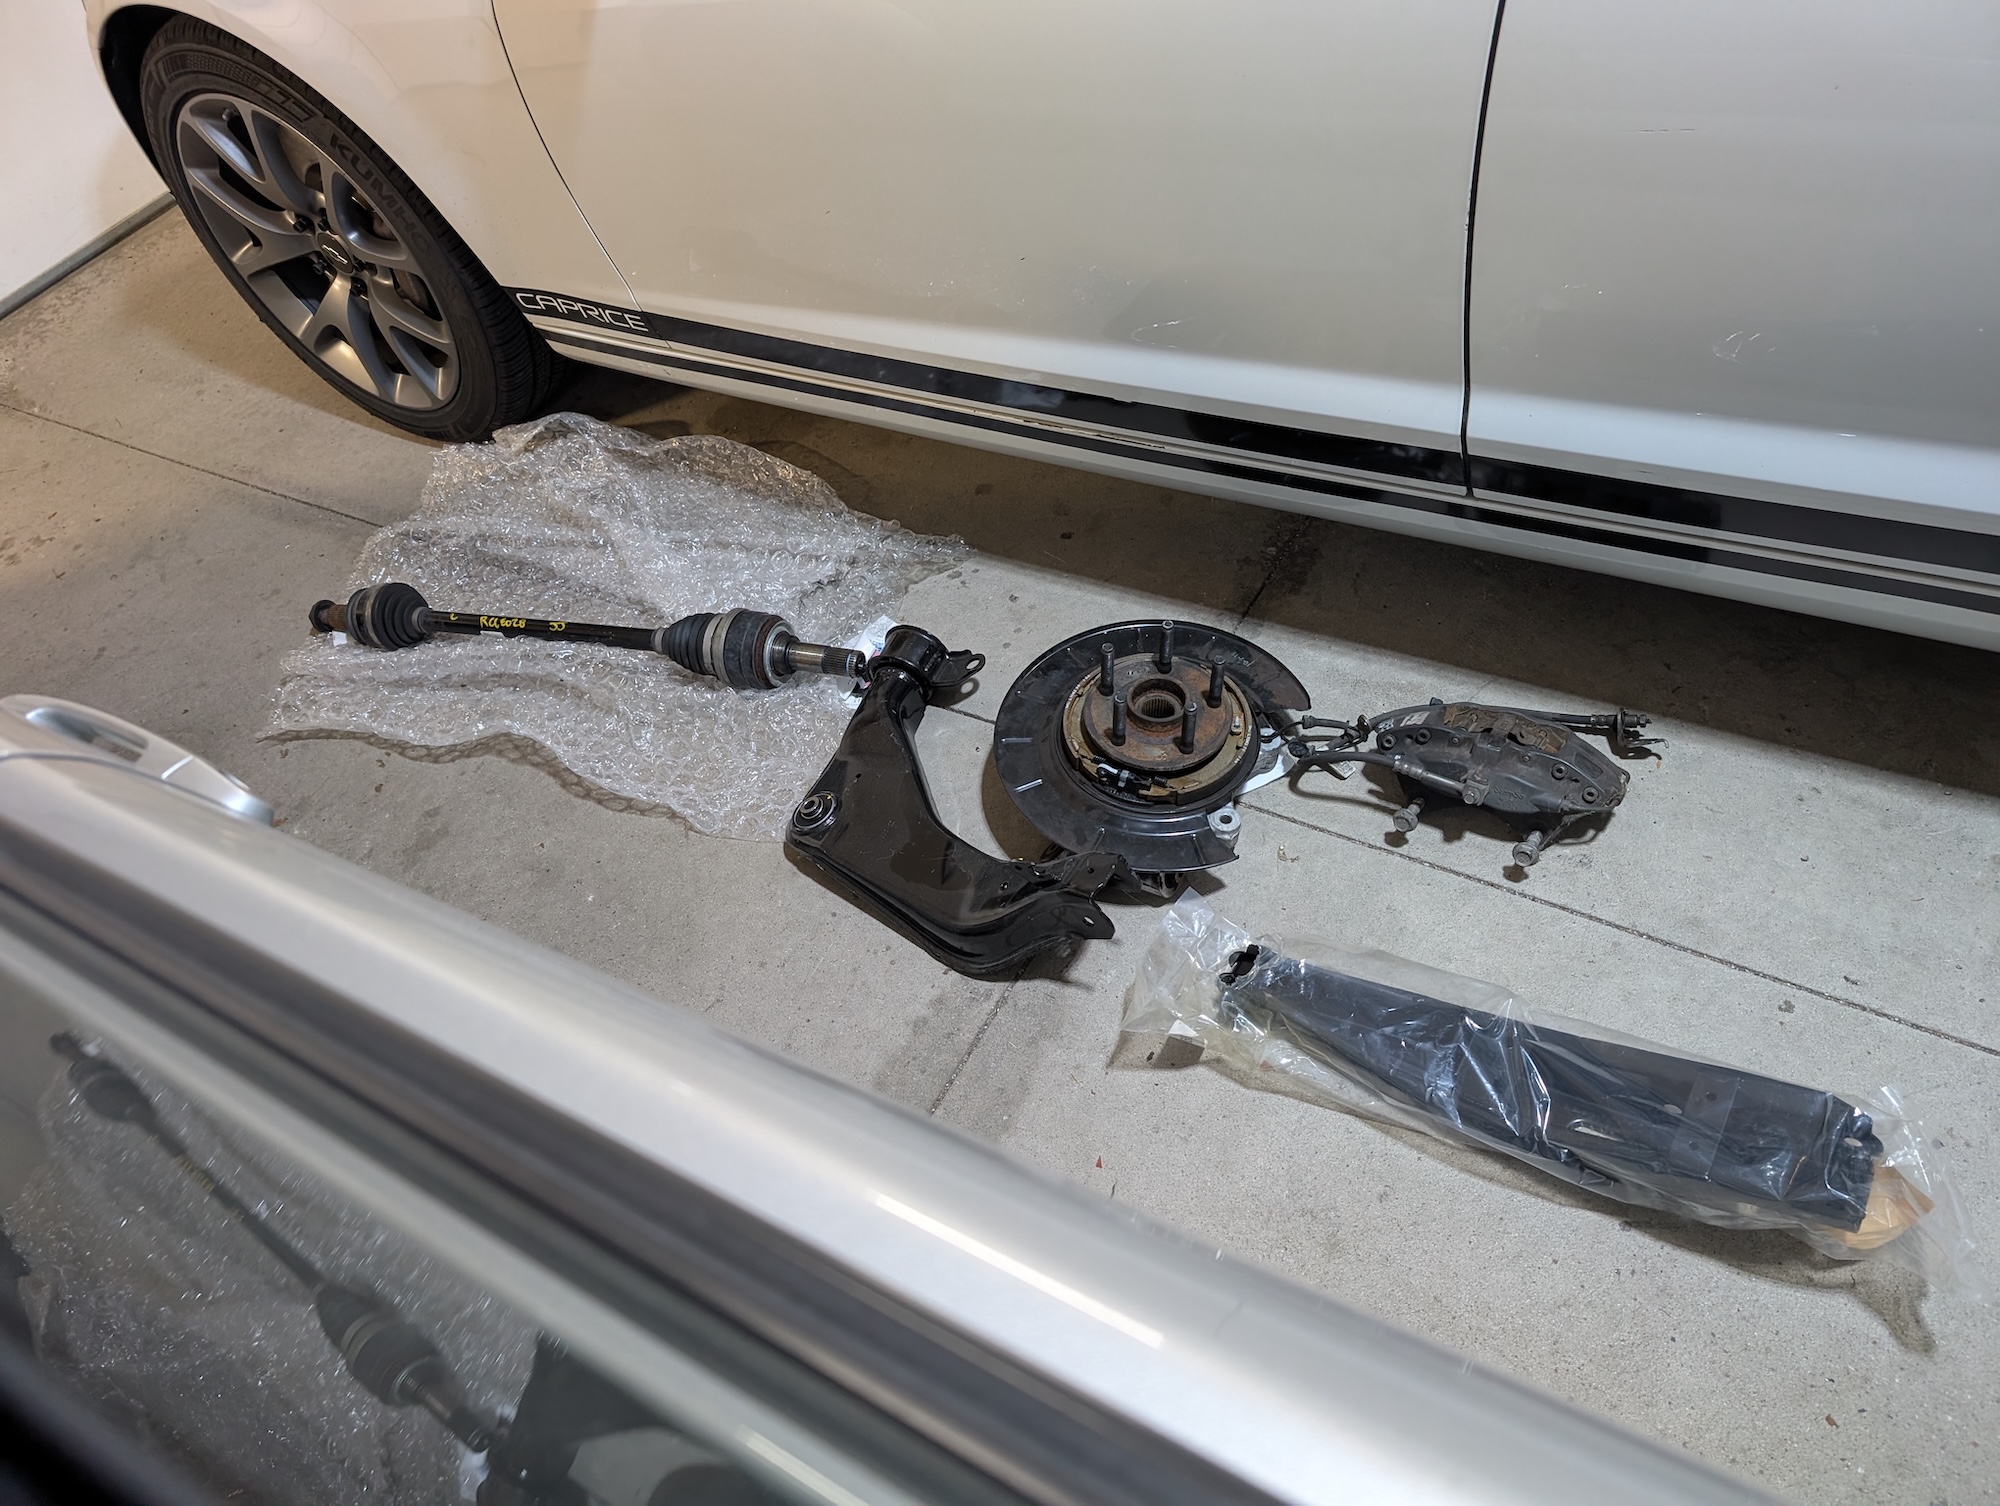
With the parts laid out, we can start taking things apart. Ignore the lower control arm; that ended up not being replaced. The bushings seem fine, and the bolt was so tight I was pulling the car off the jack stand, so we’ll let that set for another day.
The knuckle and CV shaft assembly come out with four bolts, plus removing the ABS sensor and parking brake cable. You’ll notice there is no parking brake hardware on the Caprice knuckles. That’s because the shoes wouldn’t fit inside the rotor hat, so I put that off for Another Day. And the Camaro stuff should solve that.
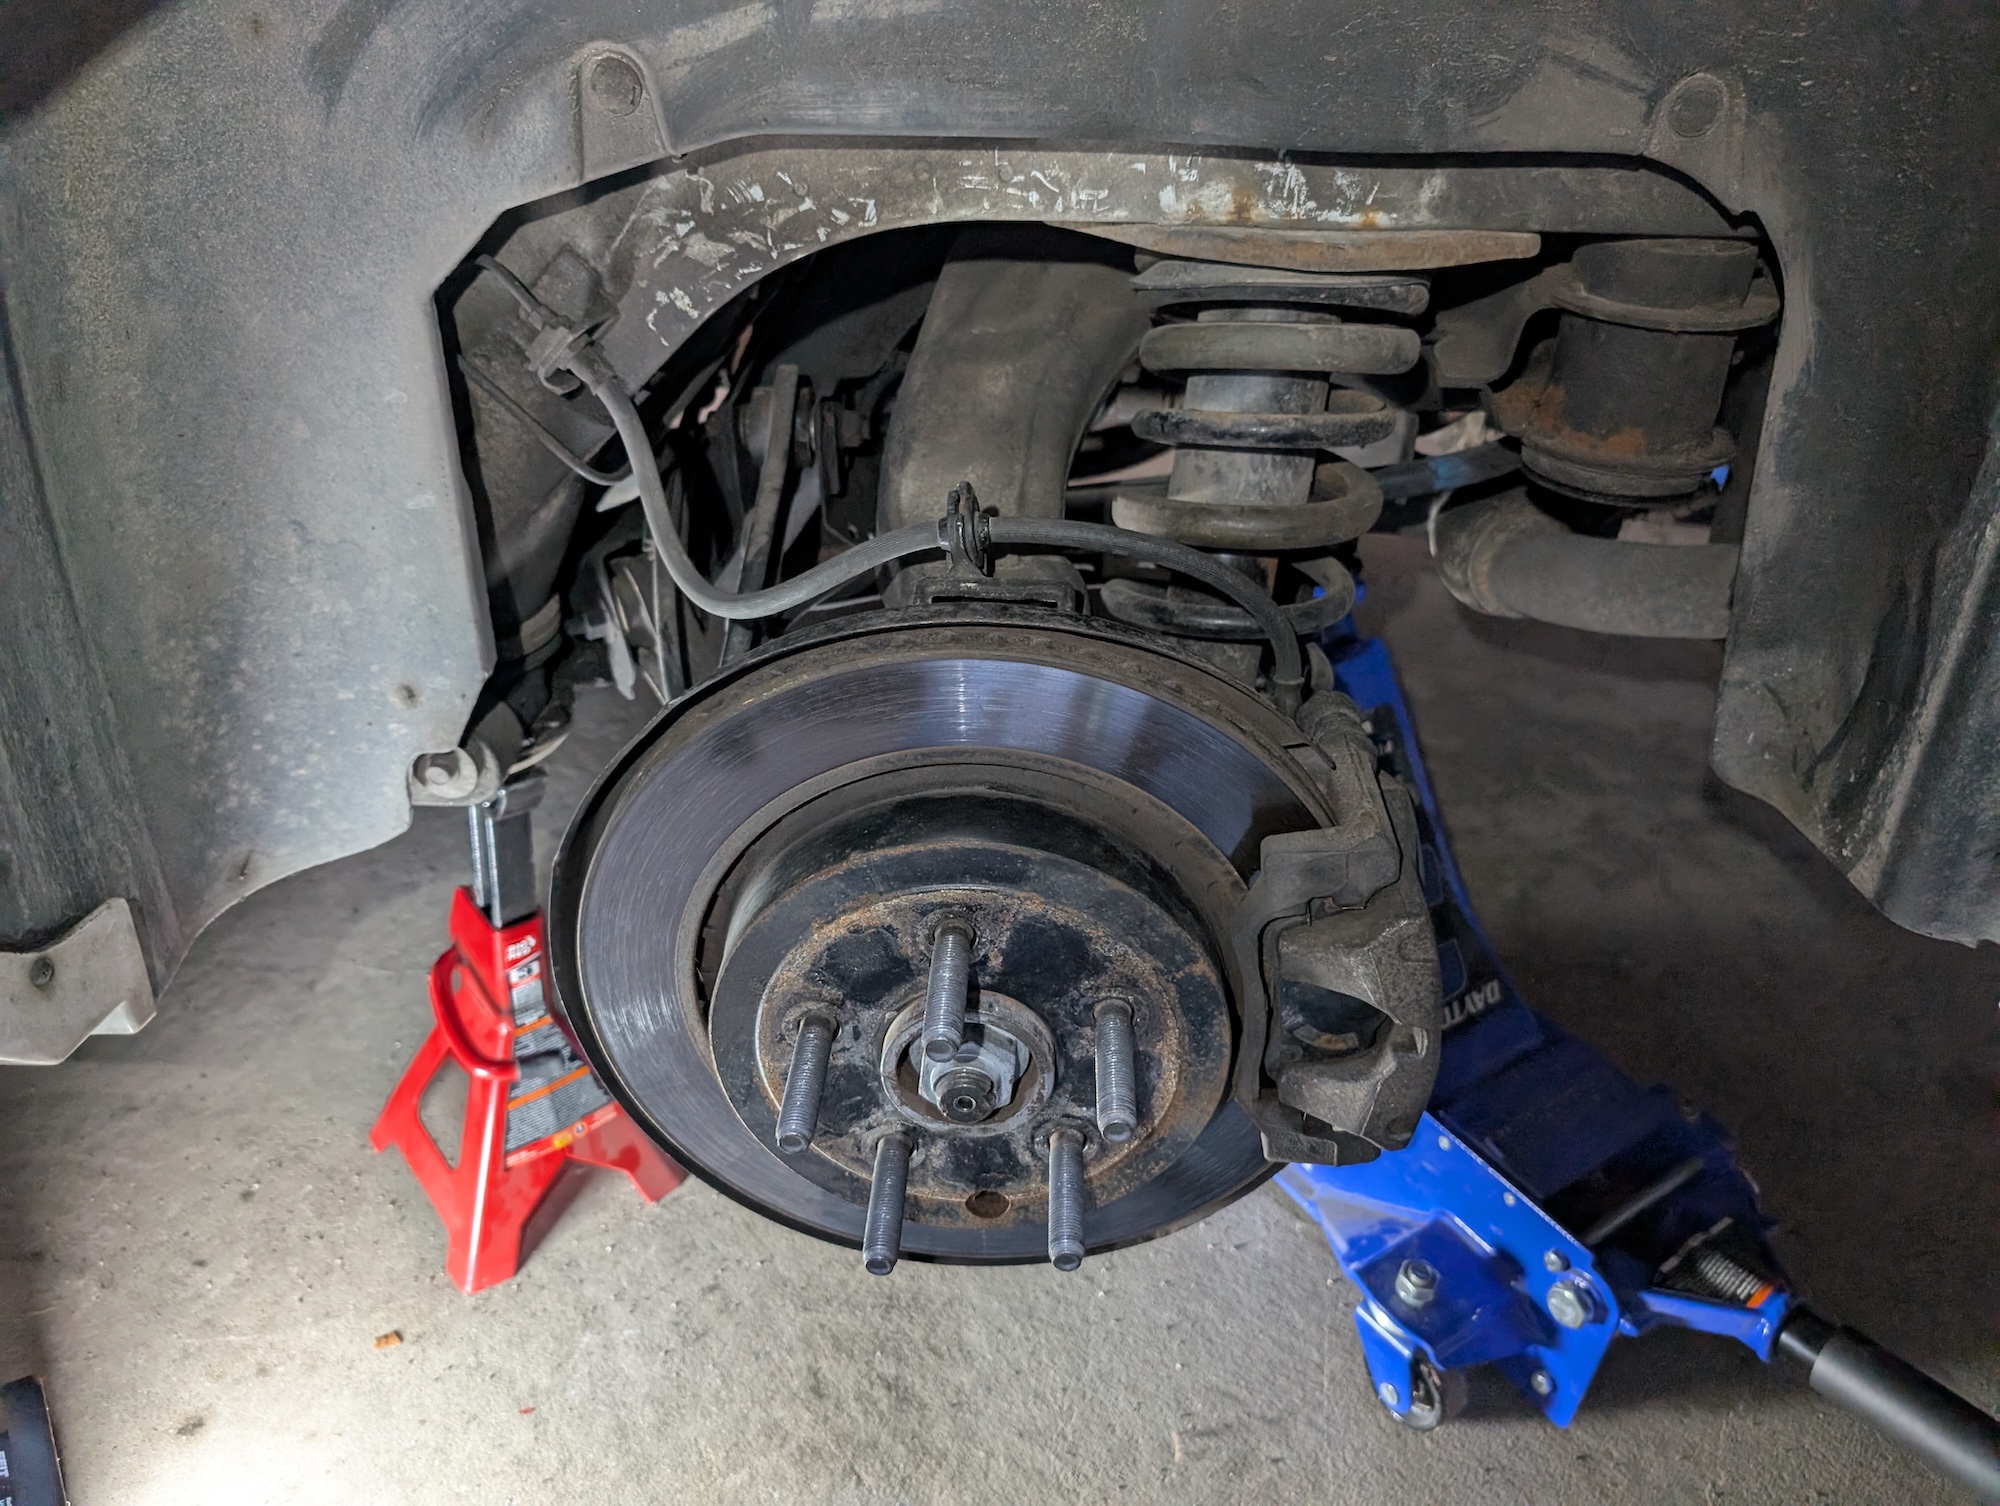
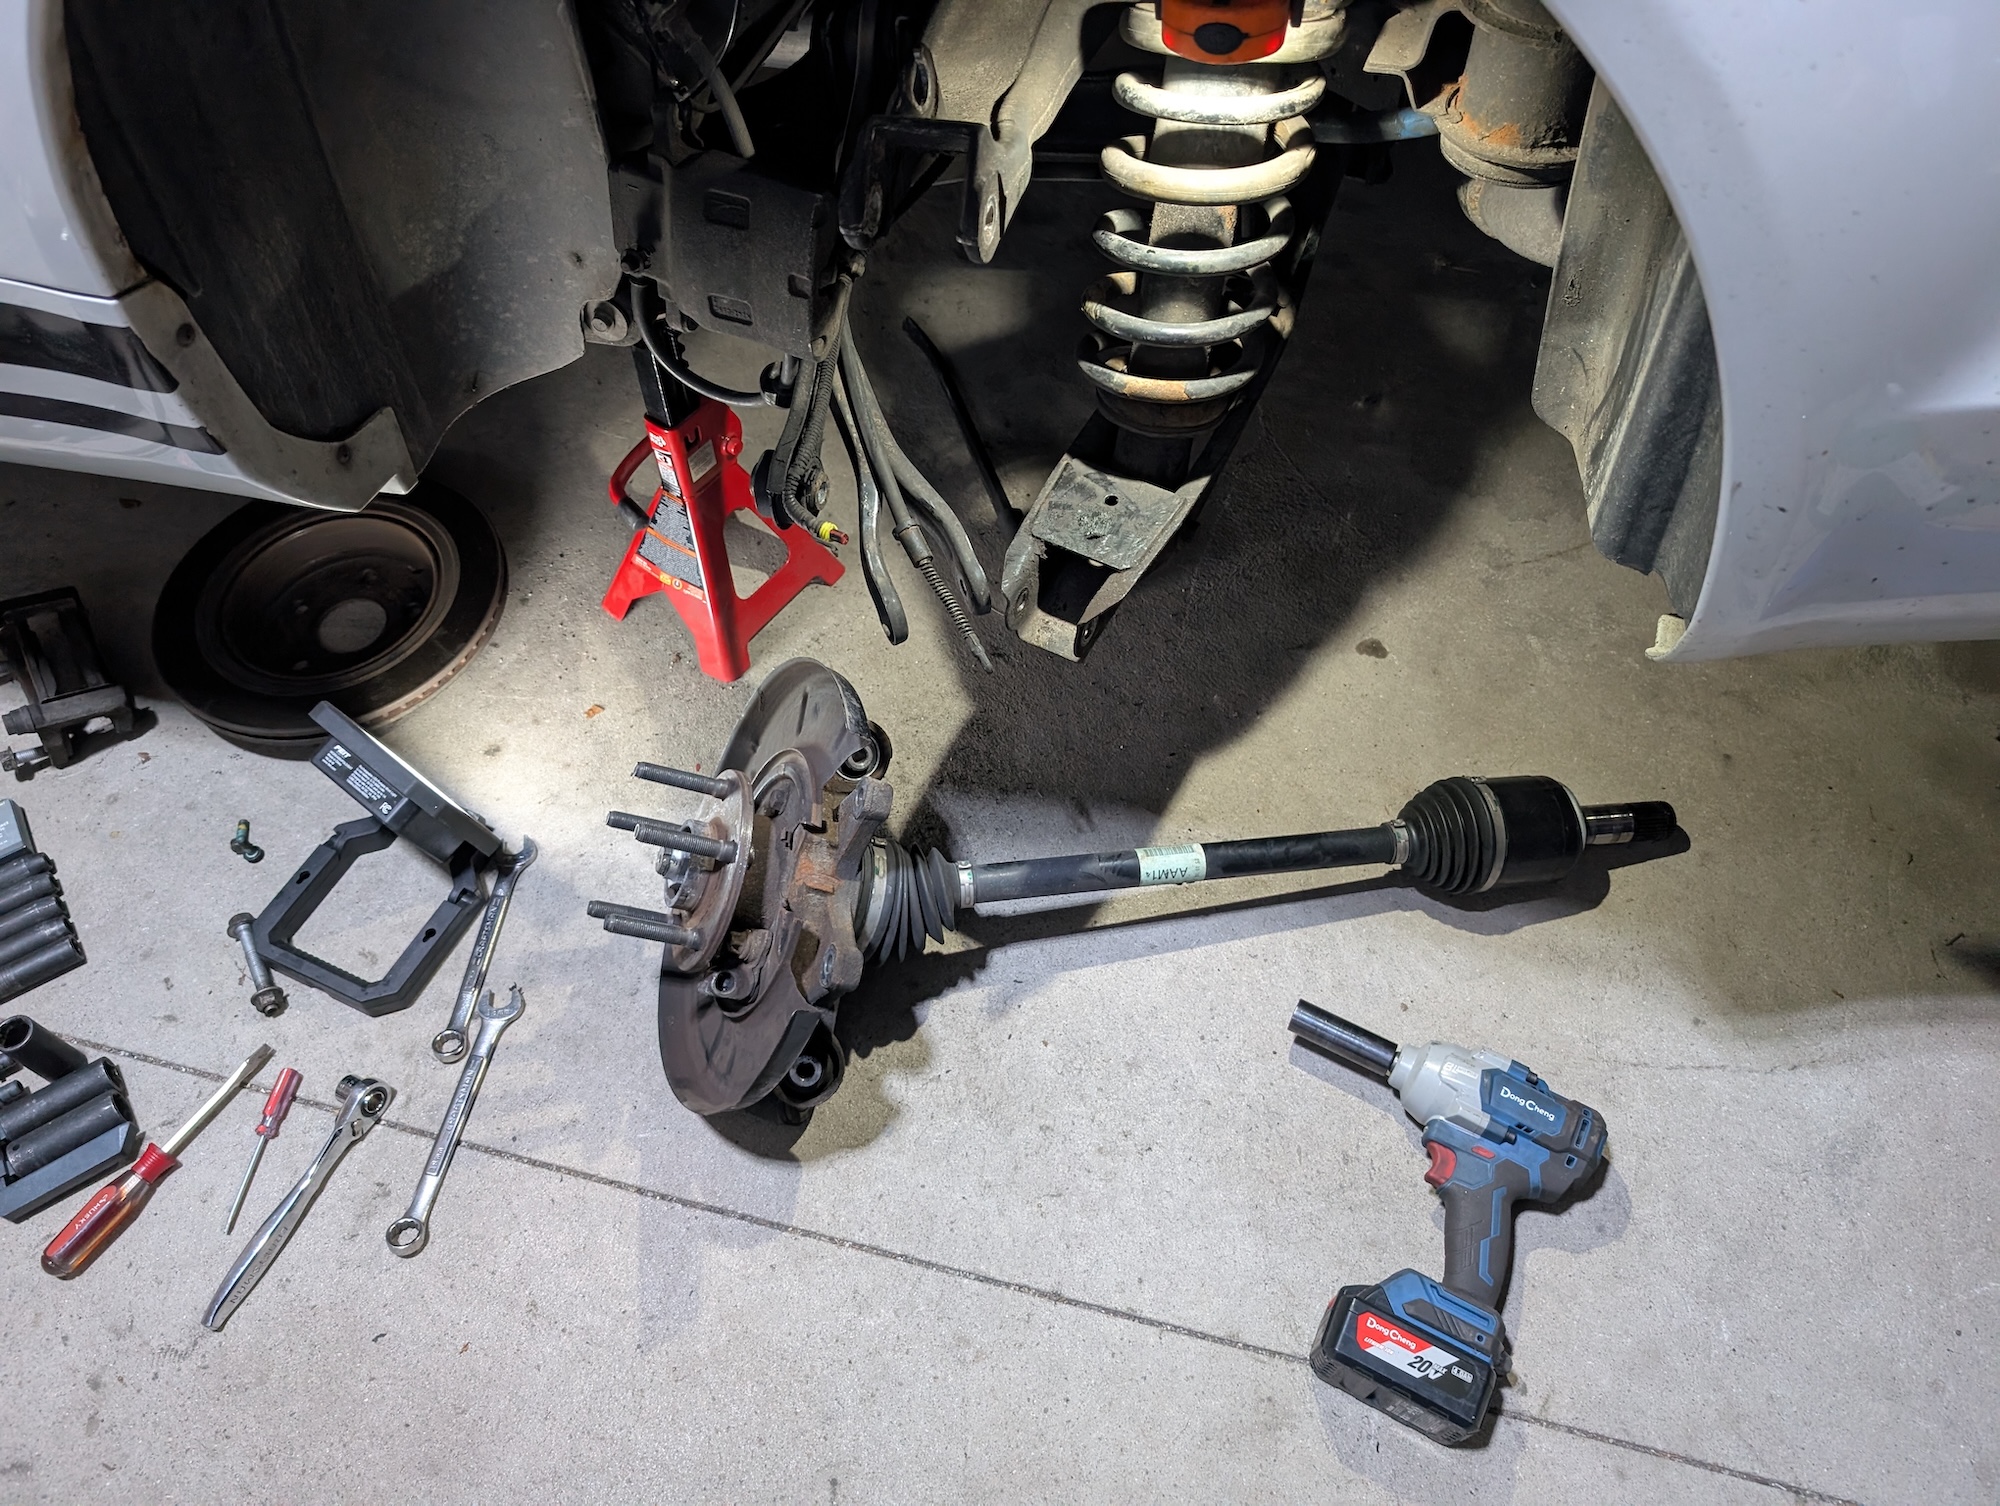
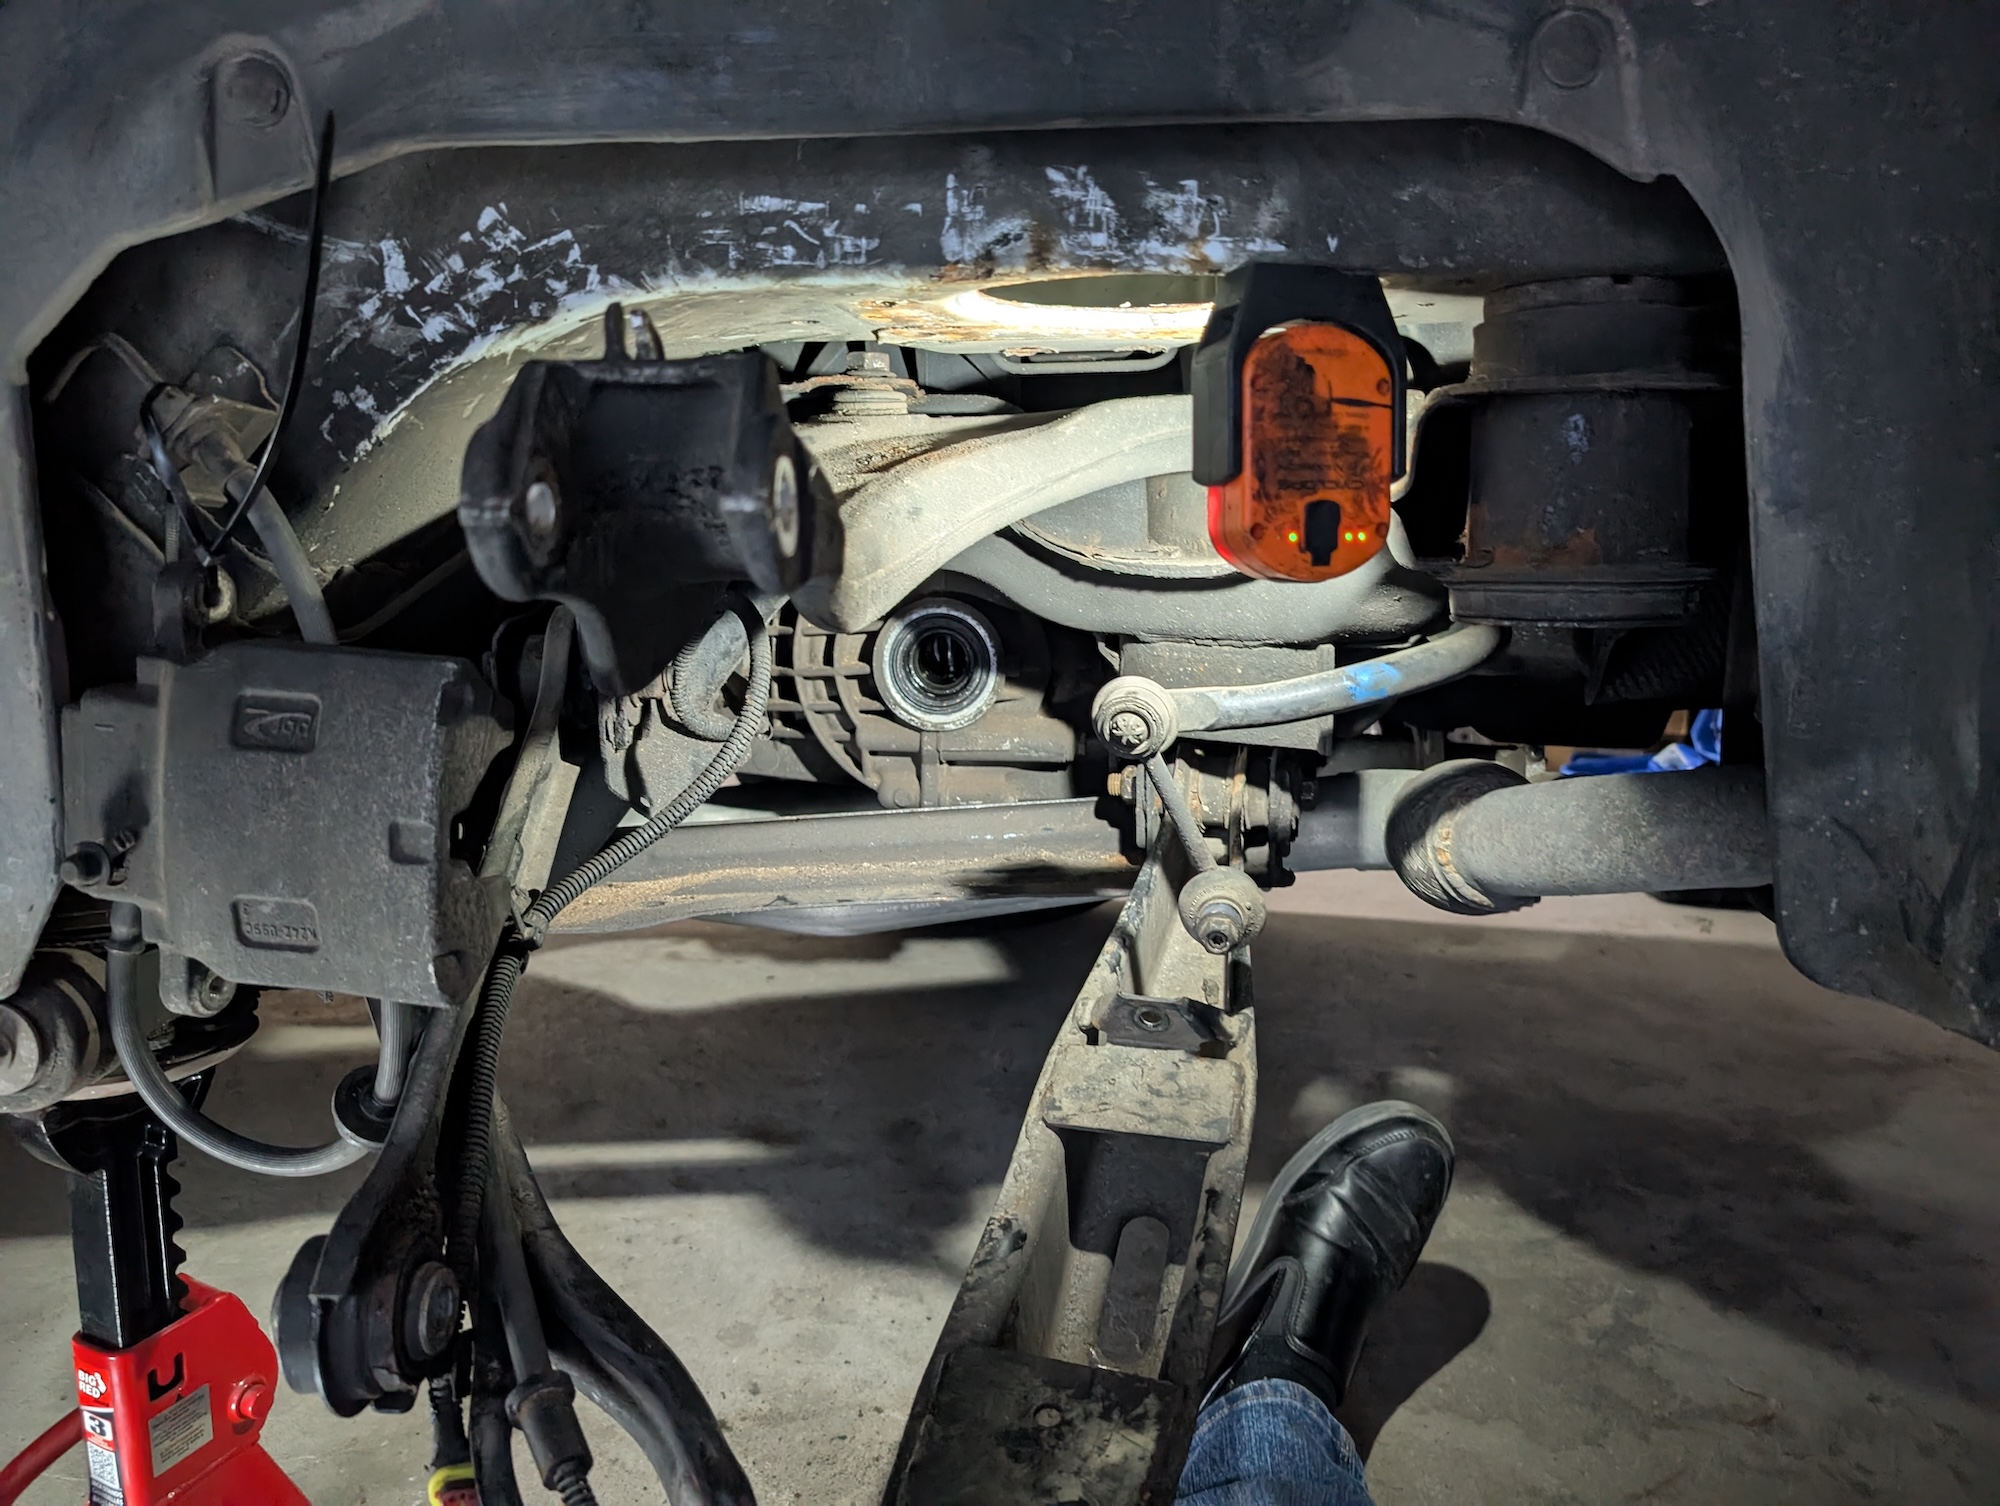
As you can see, we now have a big void where a suspension knuckle and CV once lived. But disassembly is not yet complete, so we must continue. The upper control arm is next. This is complicated slightly by the rear bushing bolts being obscured by the bushing itself, and also the car. The outer one I can access through the wheel well, but the inner is completely inaccessible this way. This picture is of the new control arm, but the point is the same.
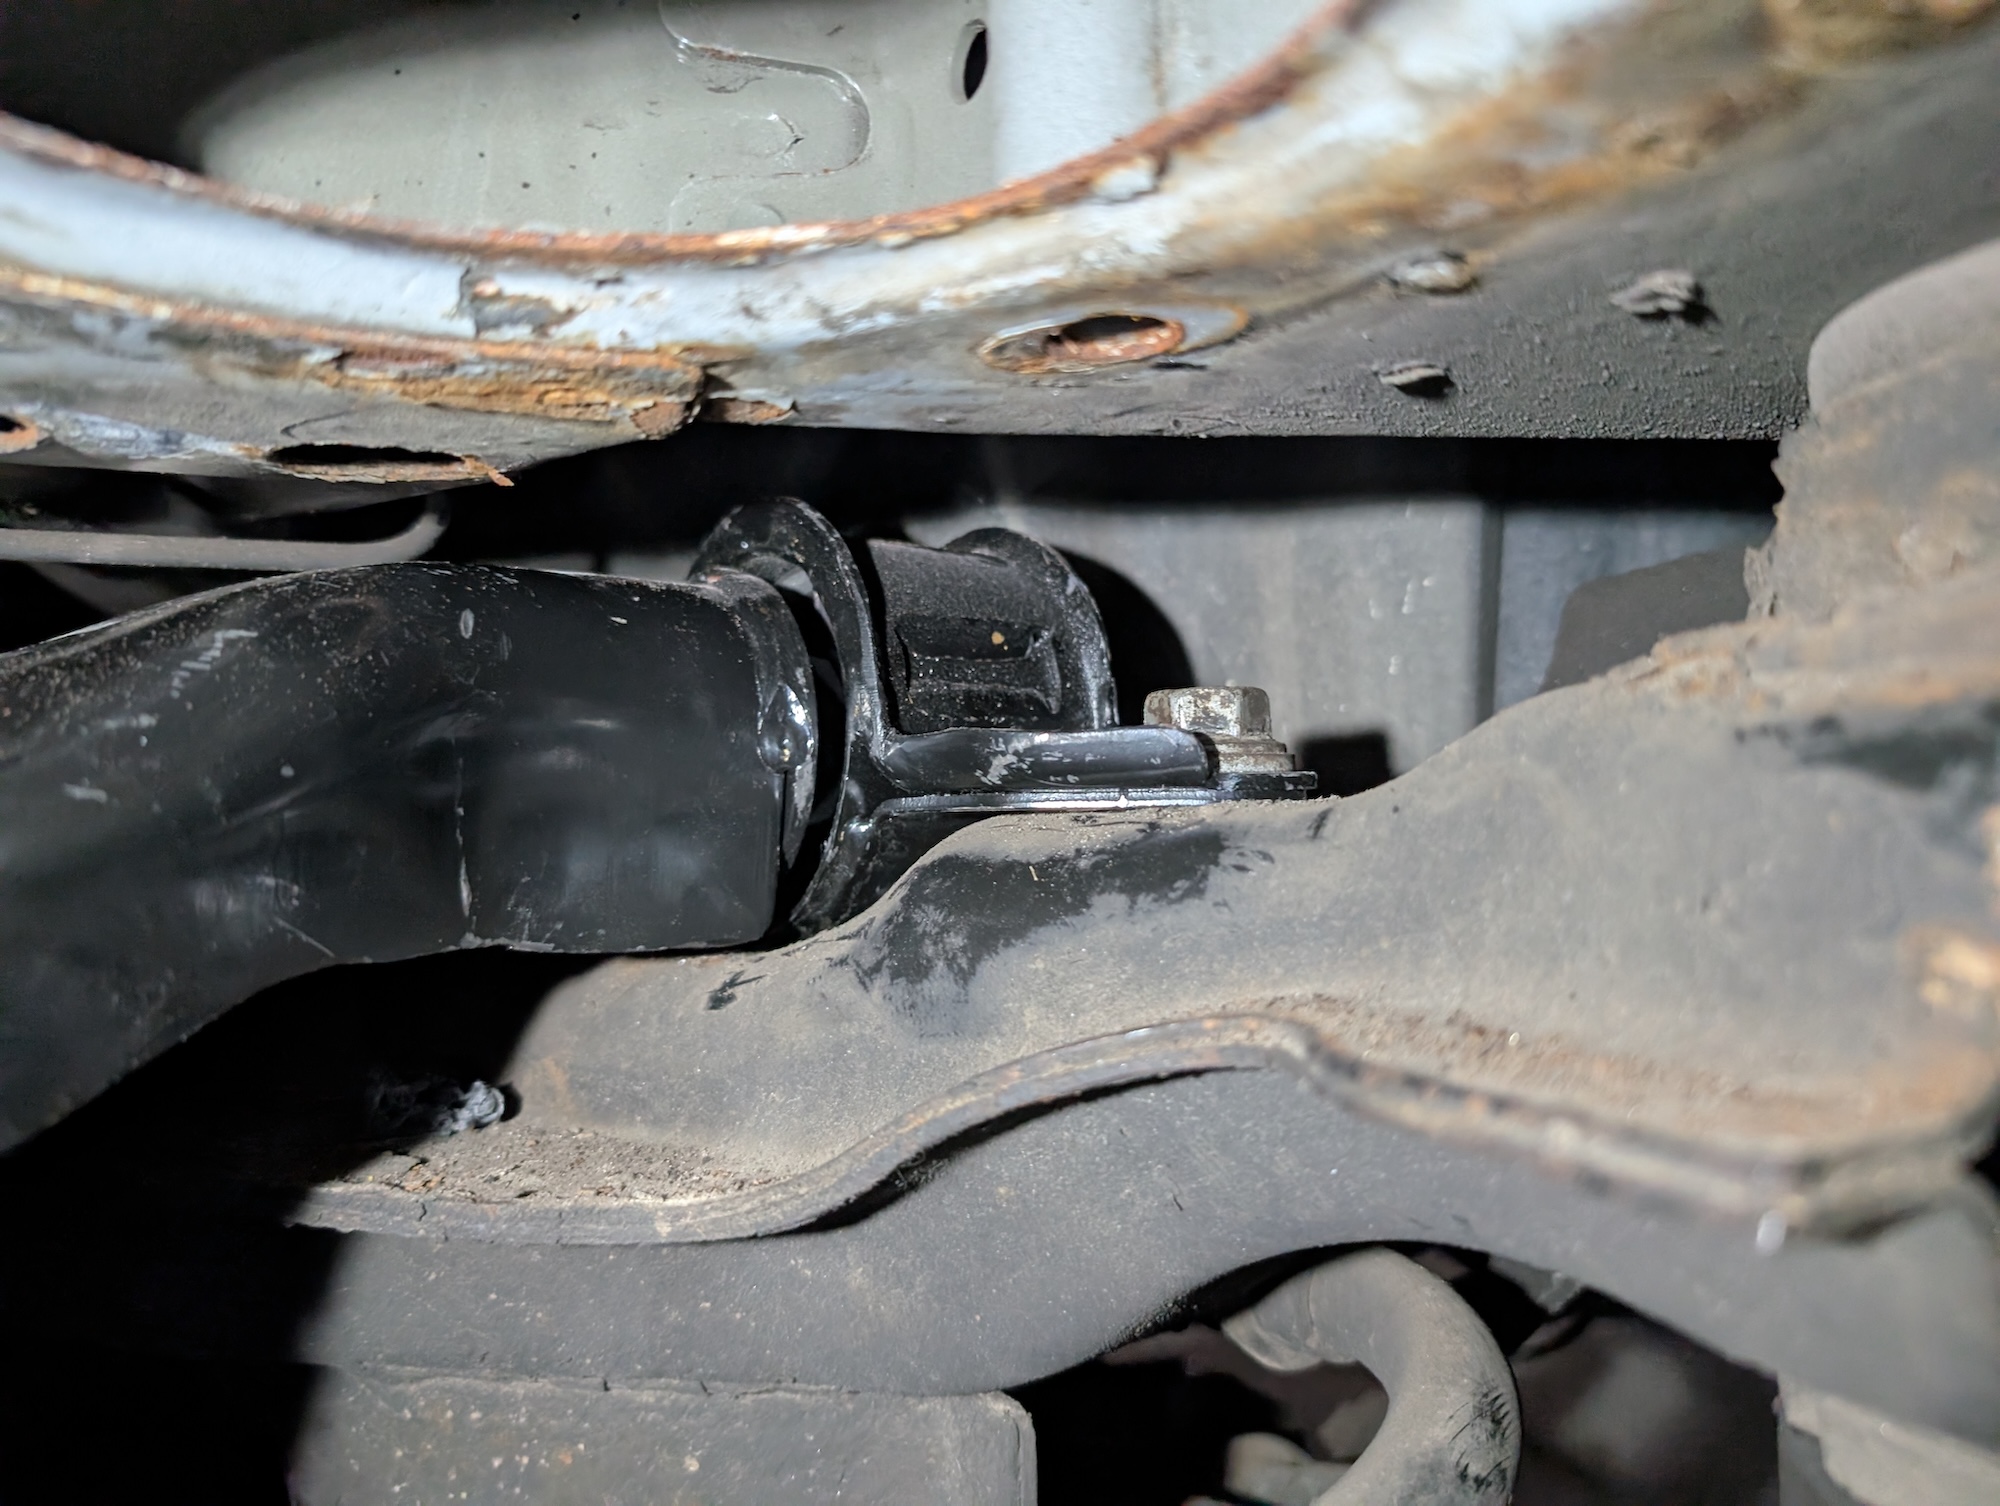
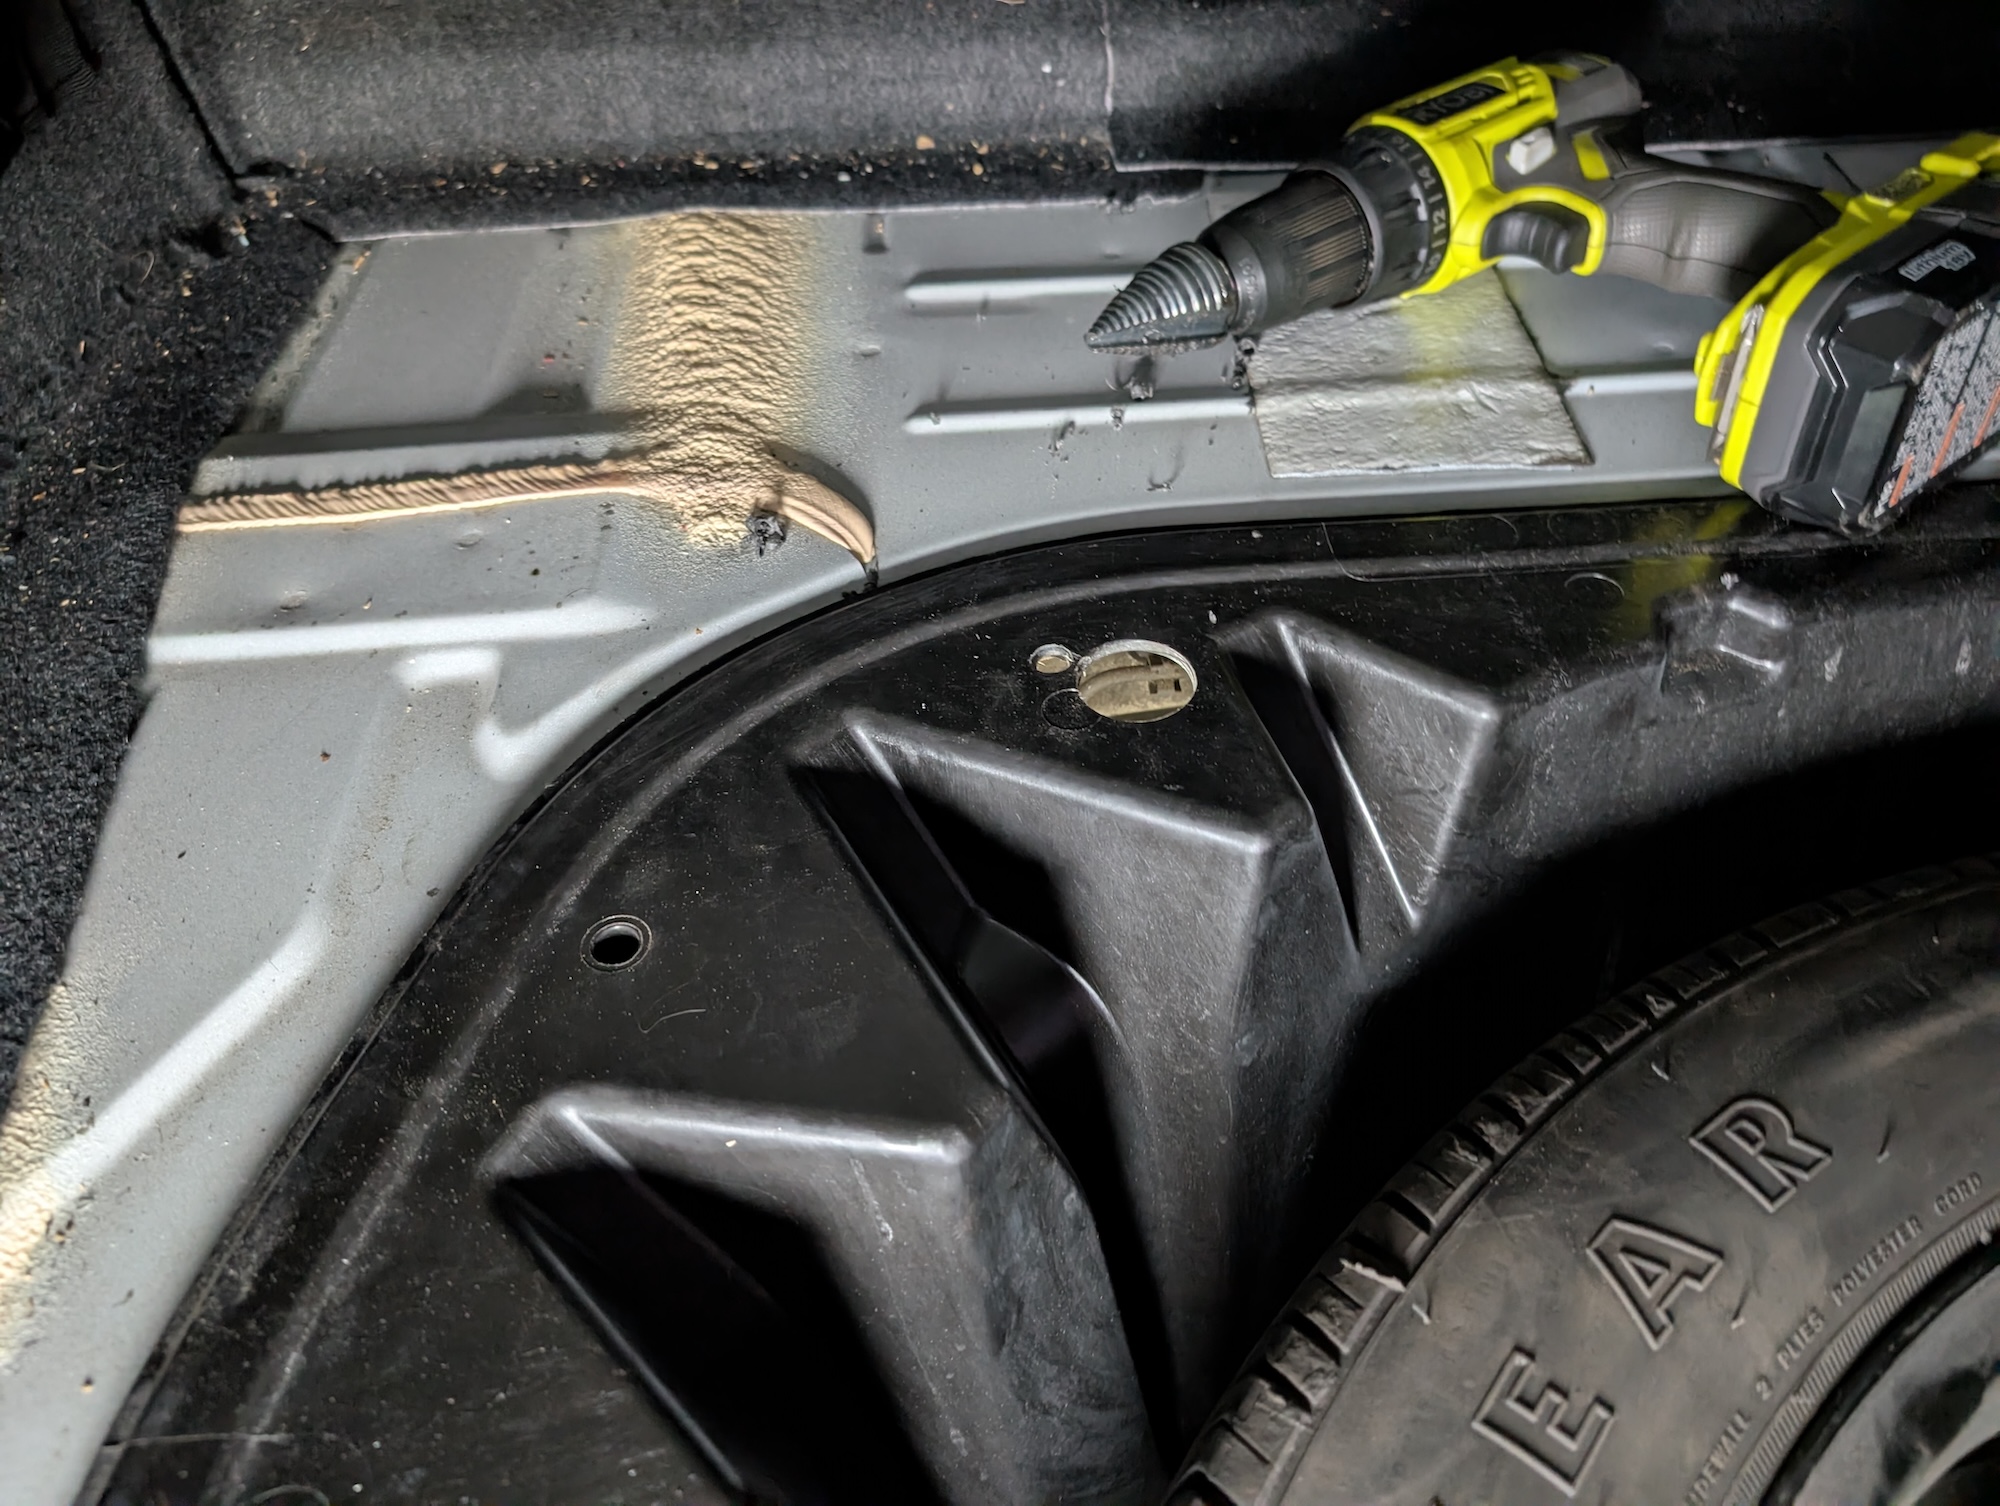
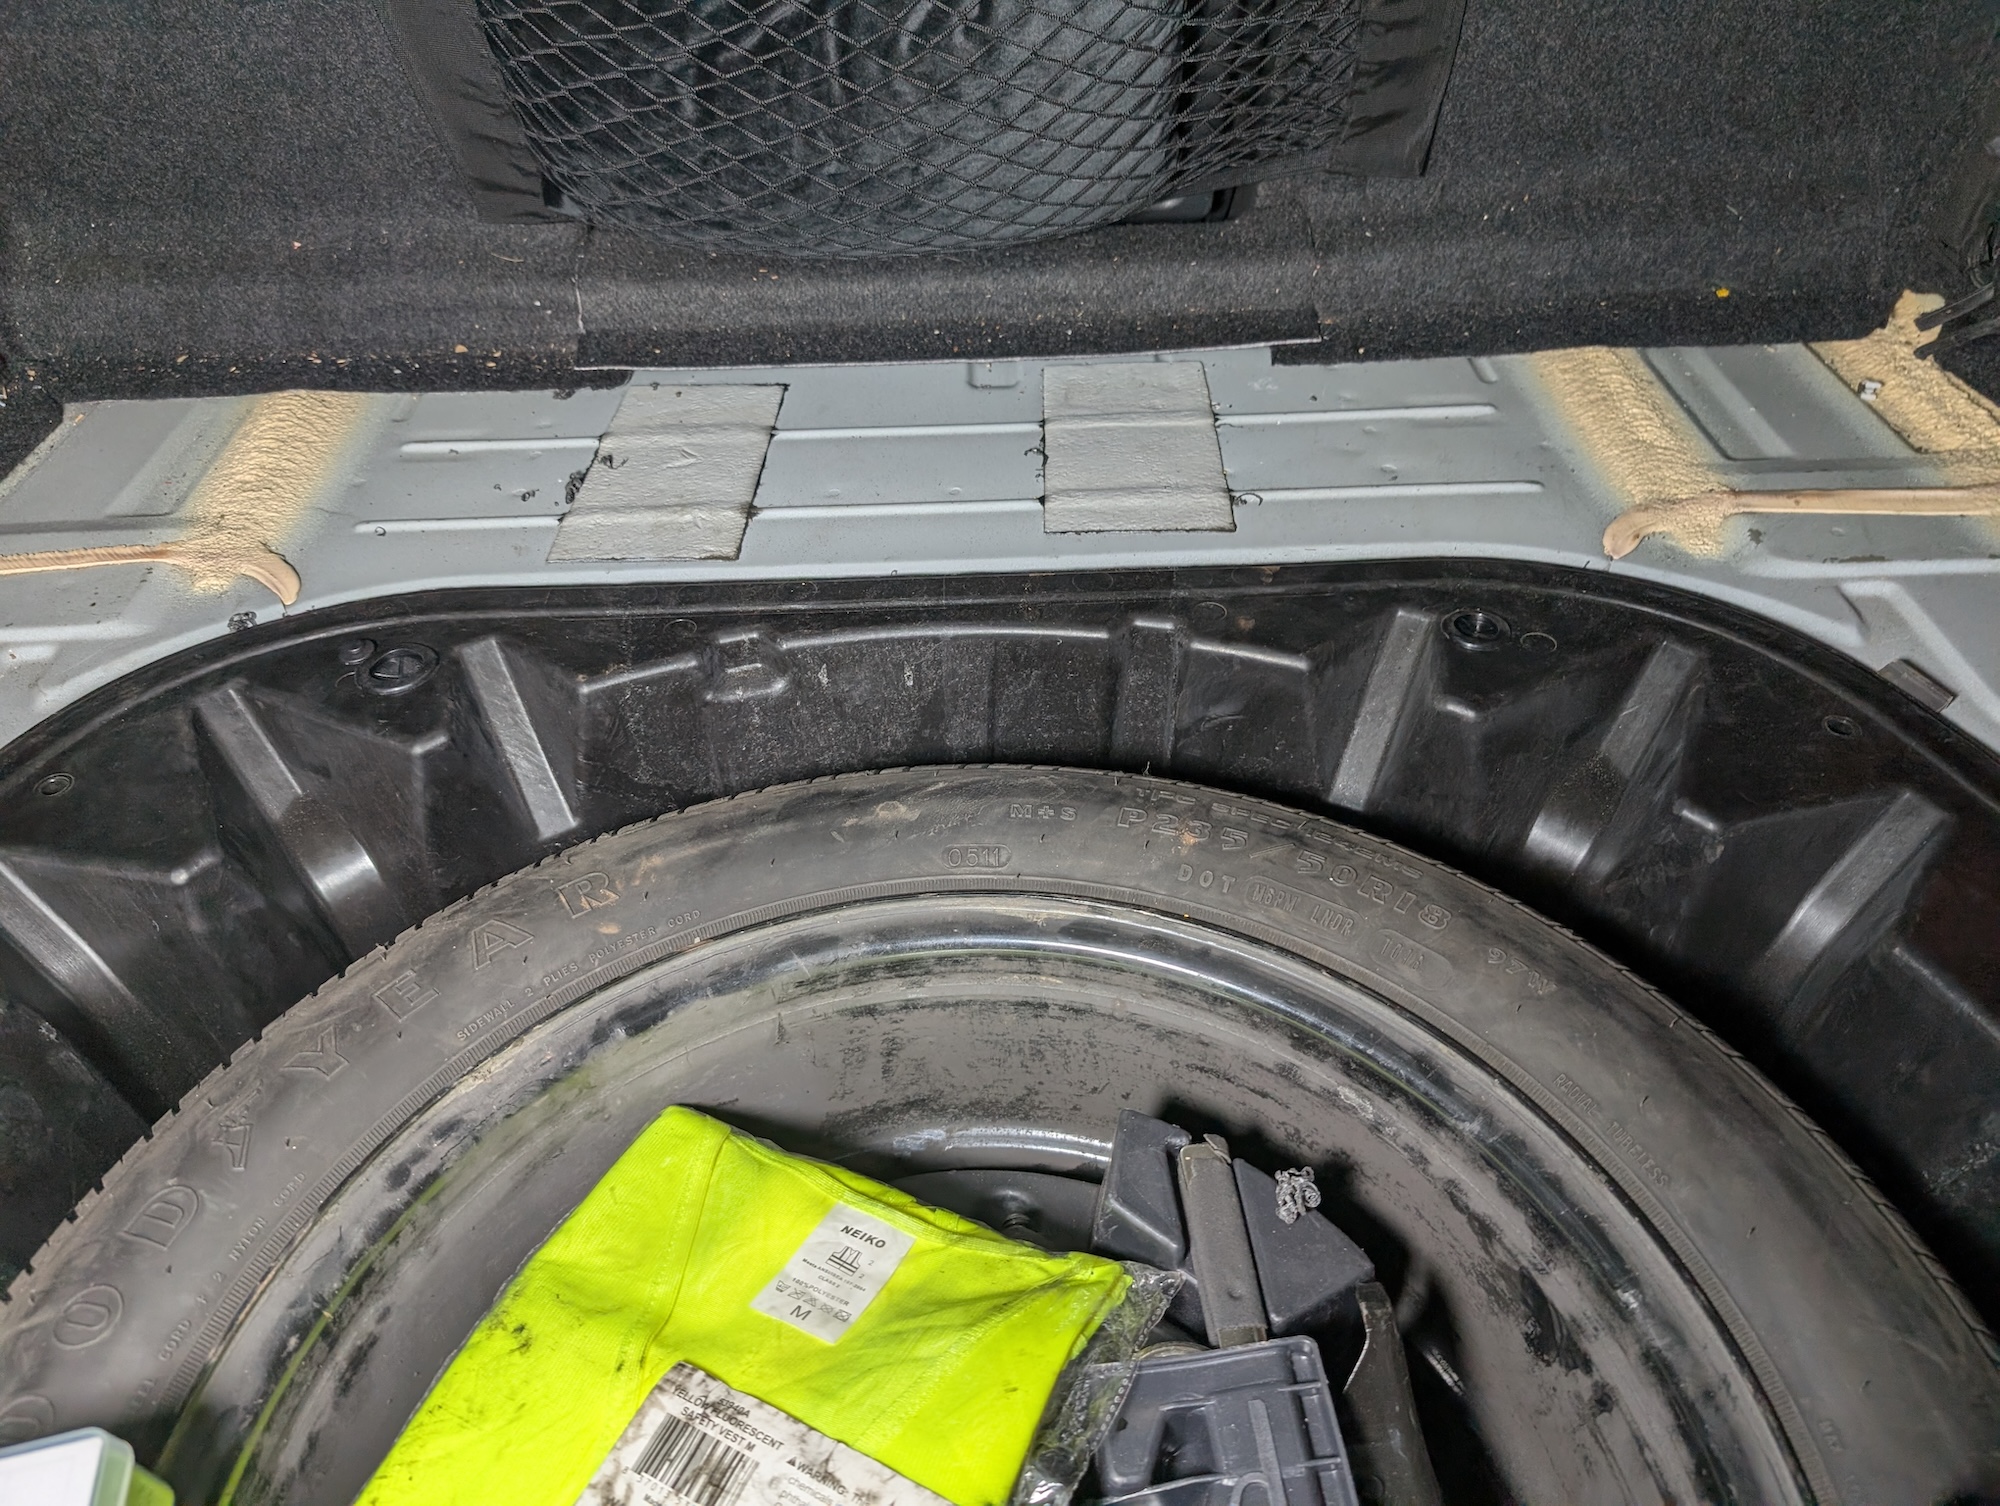
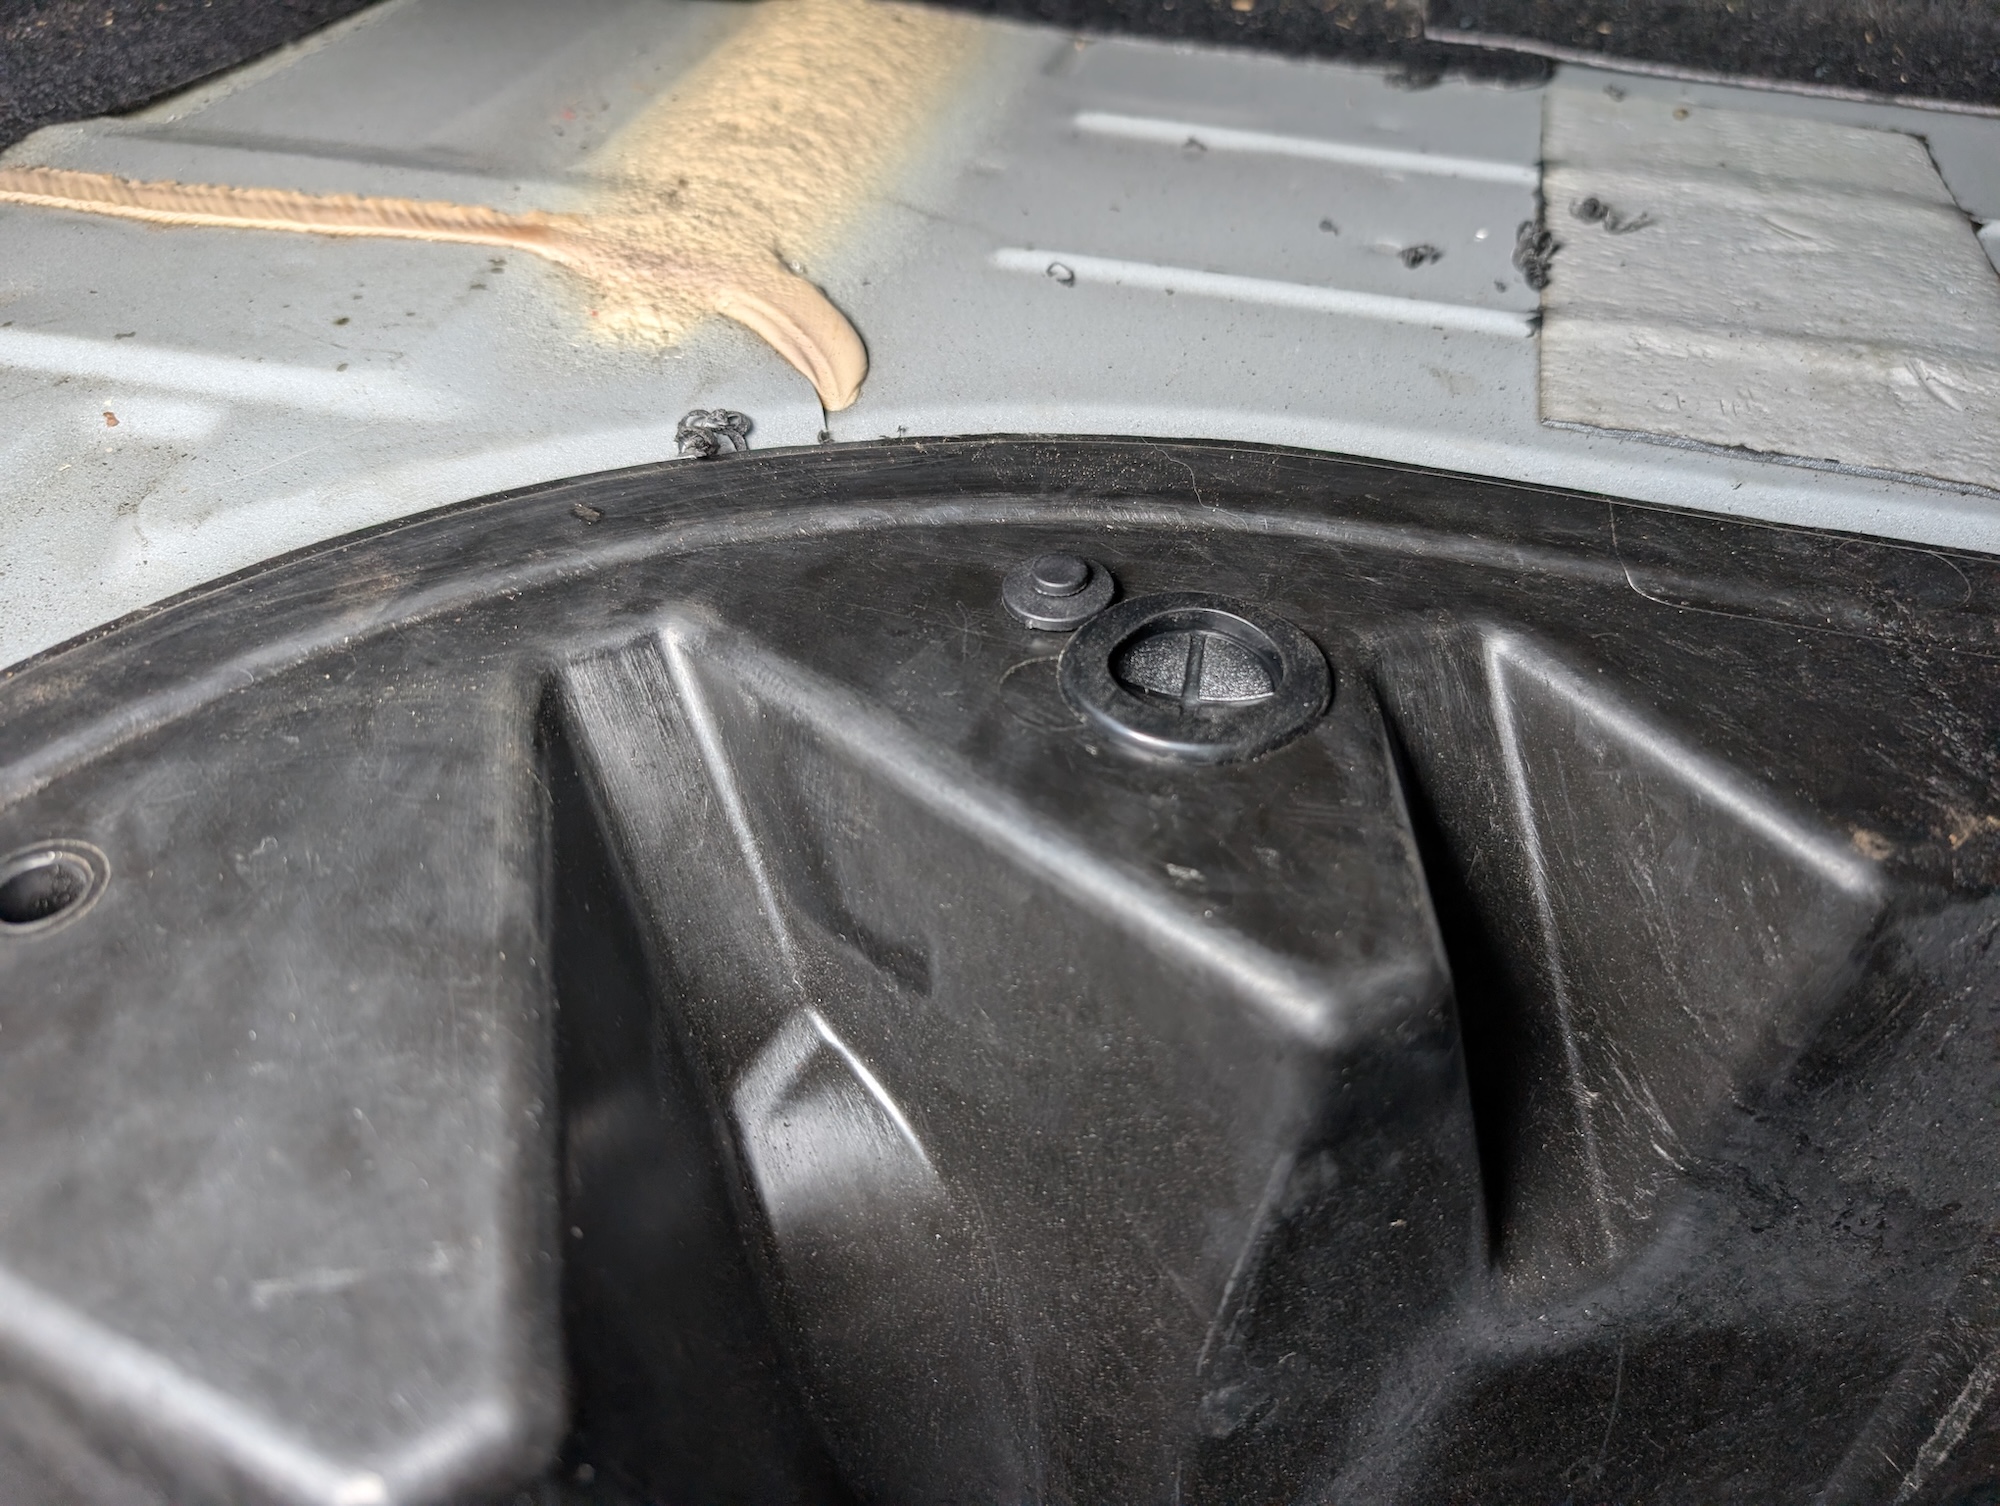
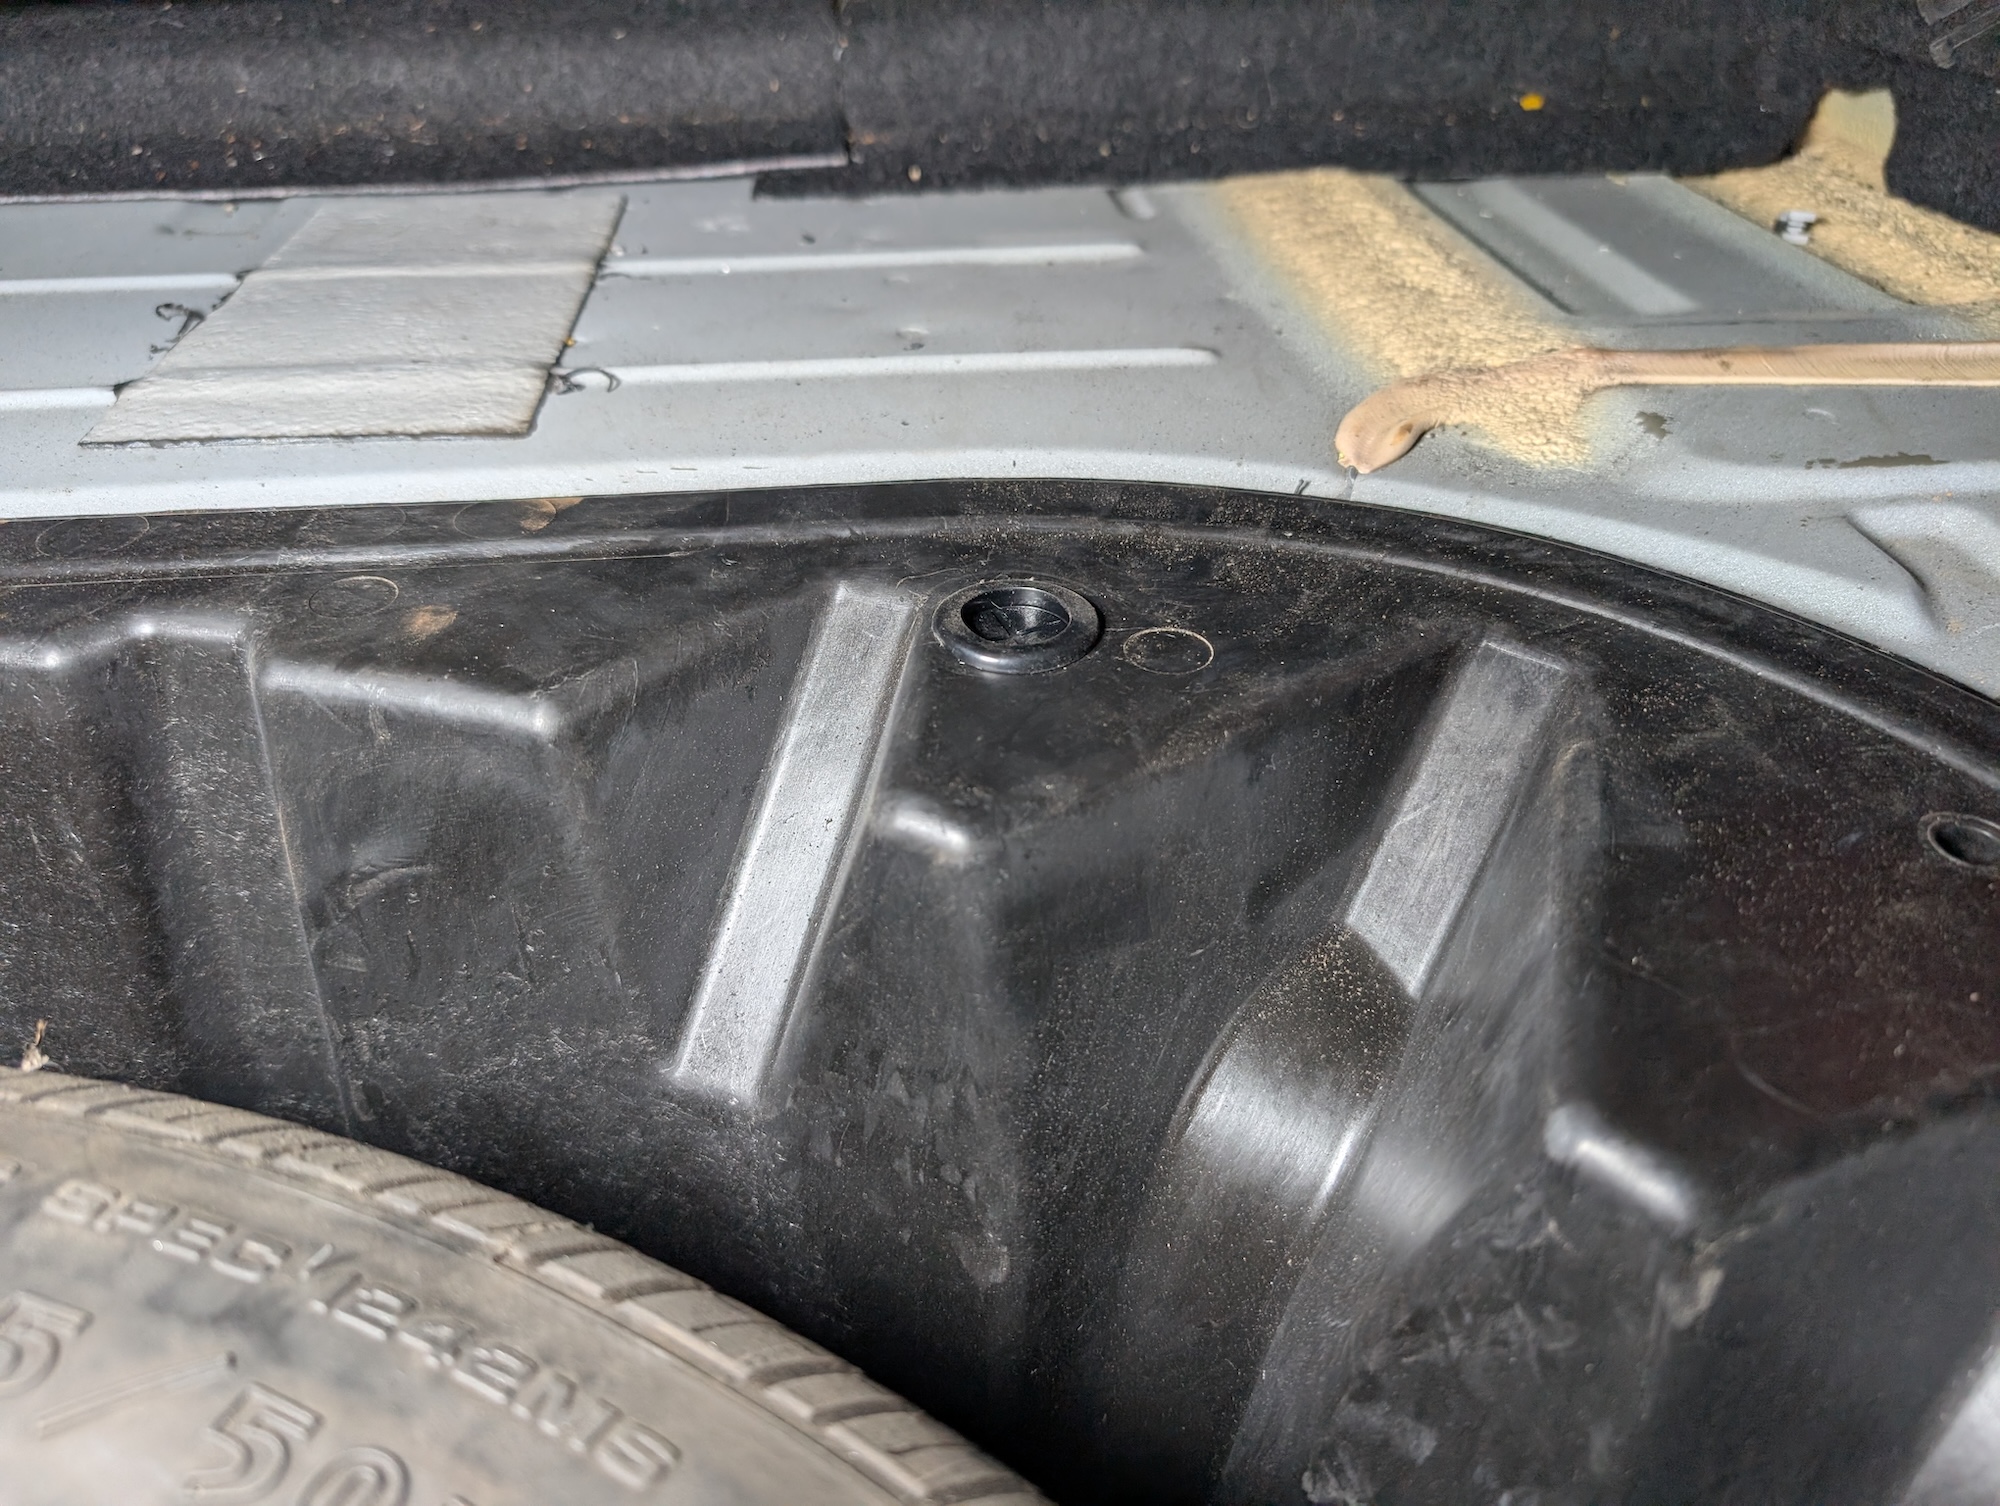
Folks say you need to lower the subframe, but as I said before, I wasn’t about to do that. However, this is nothing a little creativity can’t solve! You see, the spare tire tub in this car is made of plastic and located right above the bolt in question. A little step drill bit later and…
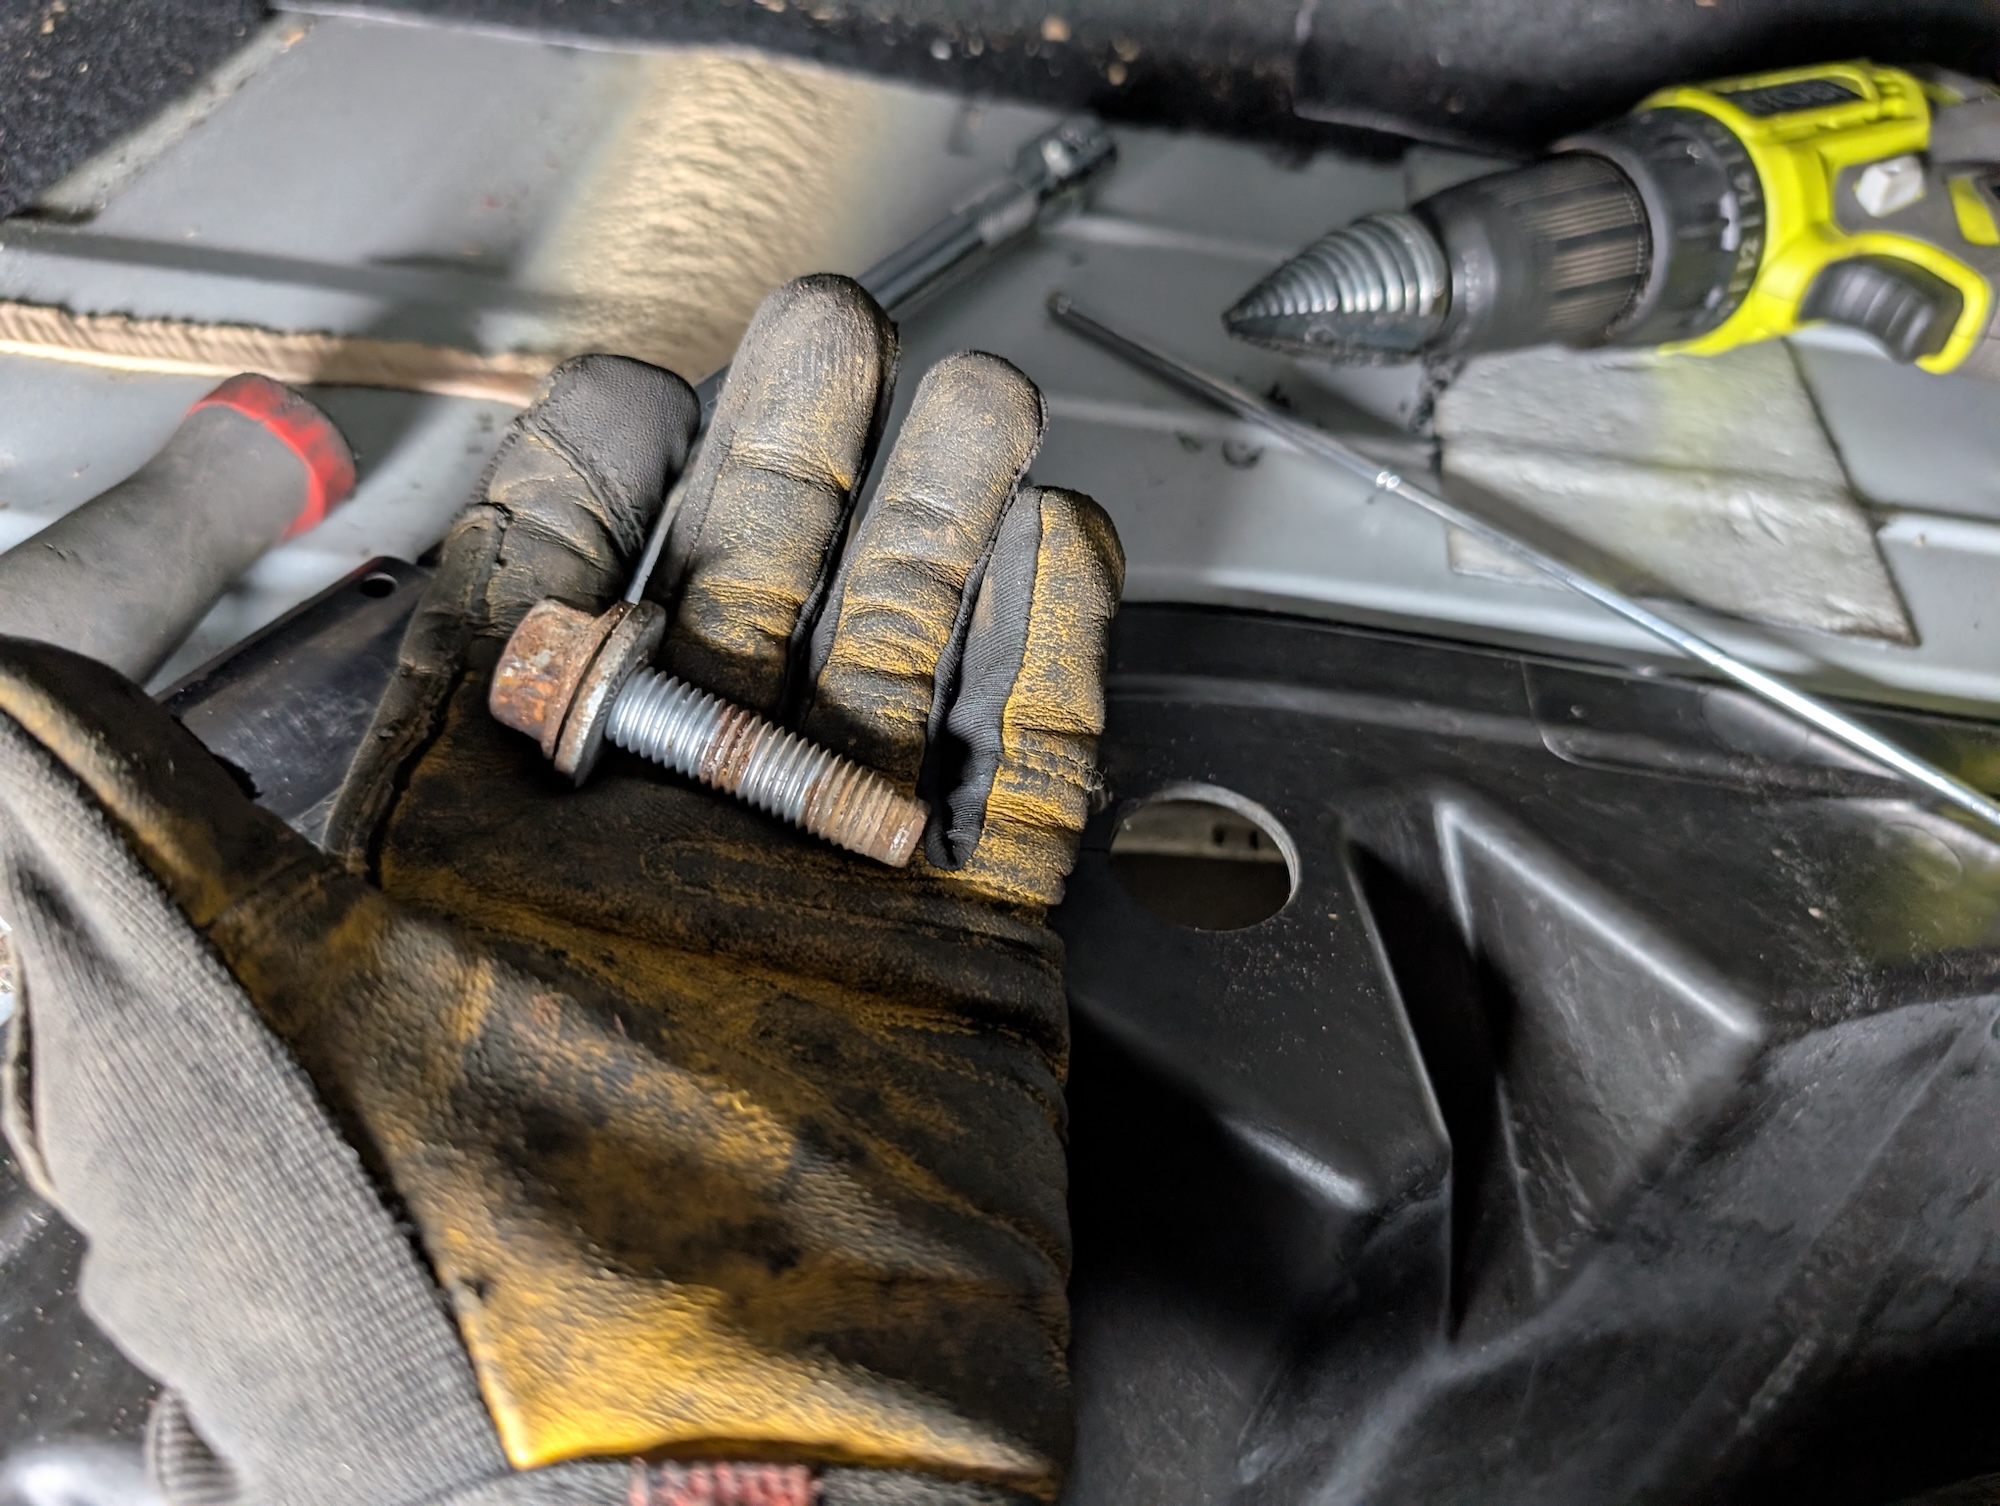
Ah crabs, I missed. Okay, re-aim the step drill, get the wrench and a magnet, and we have our bolt out!
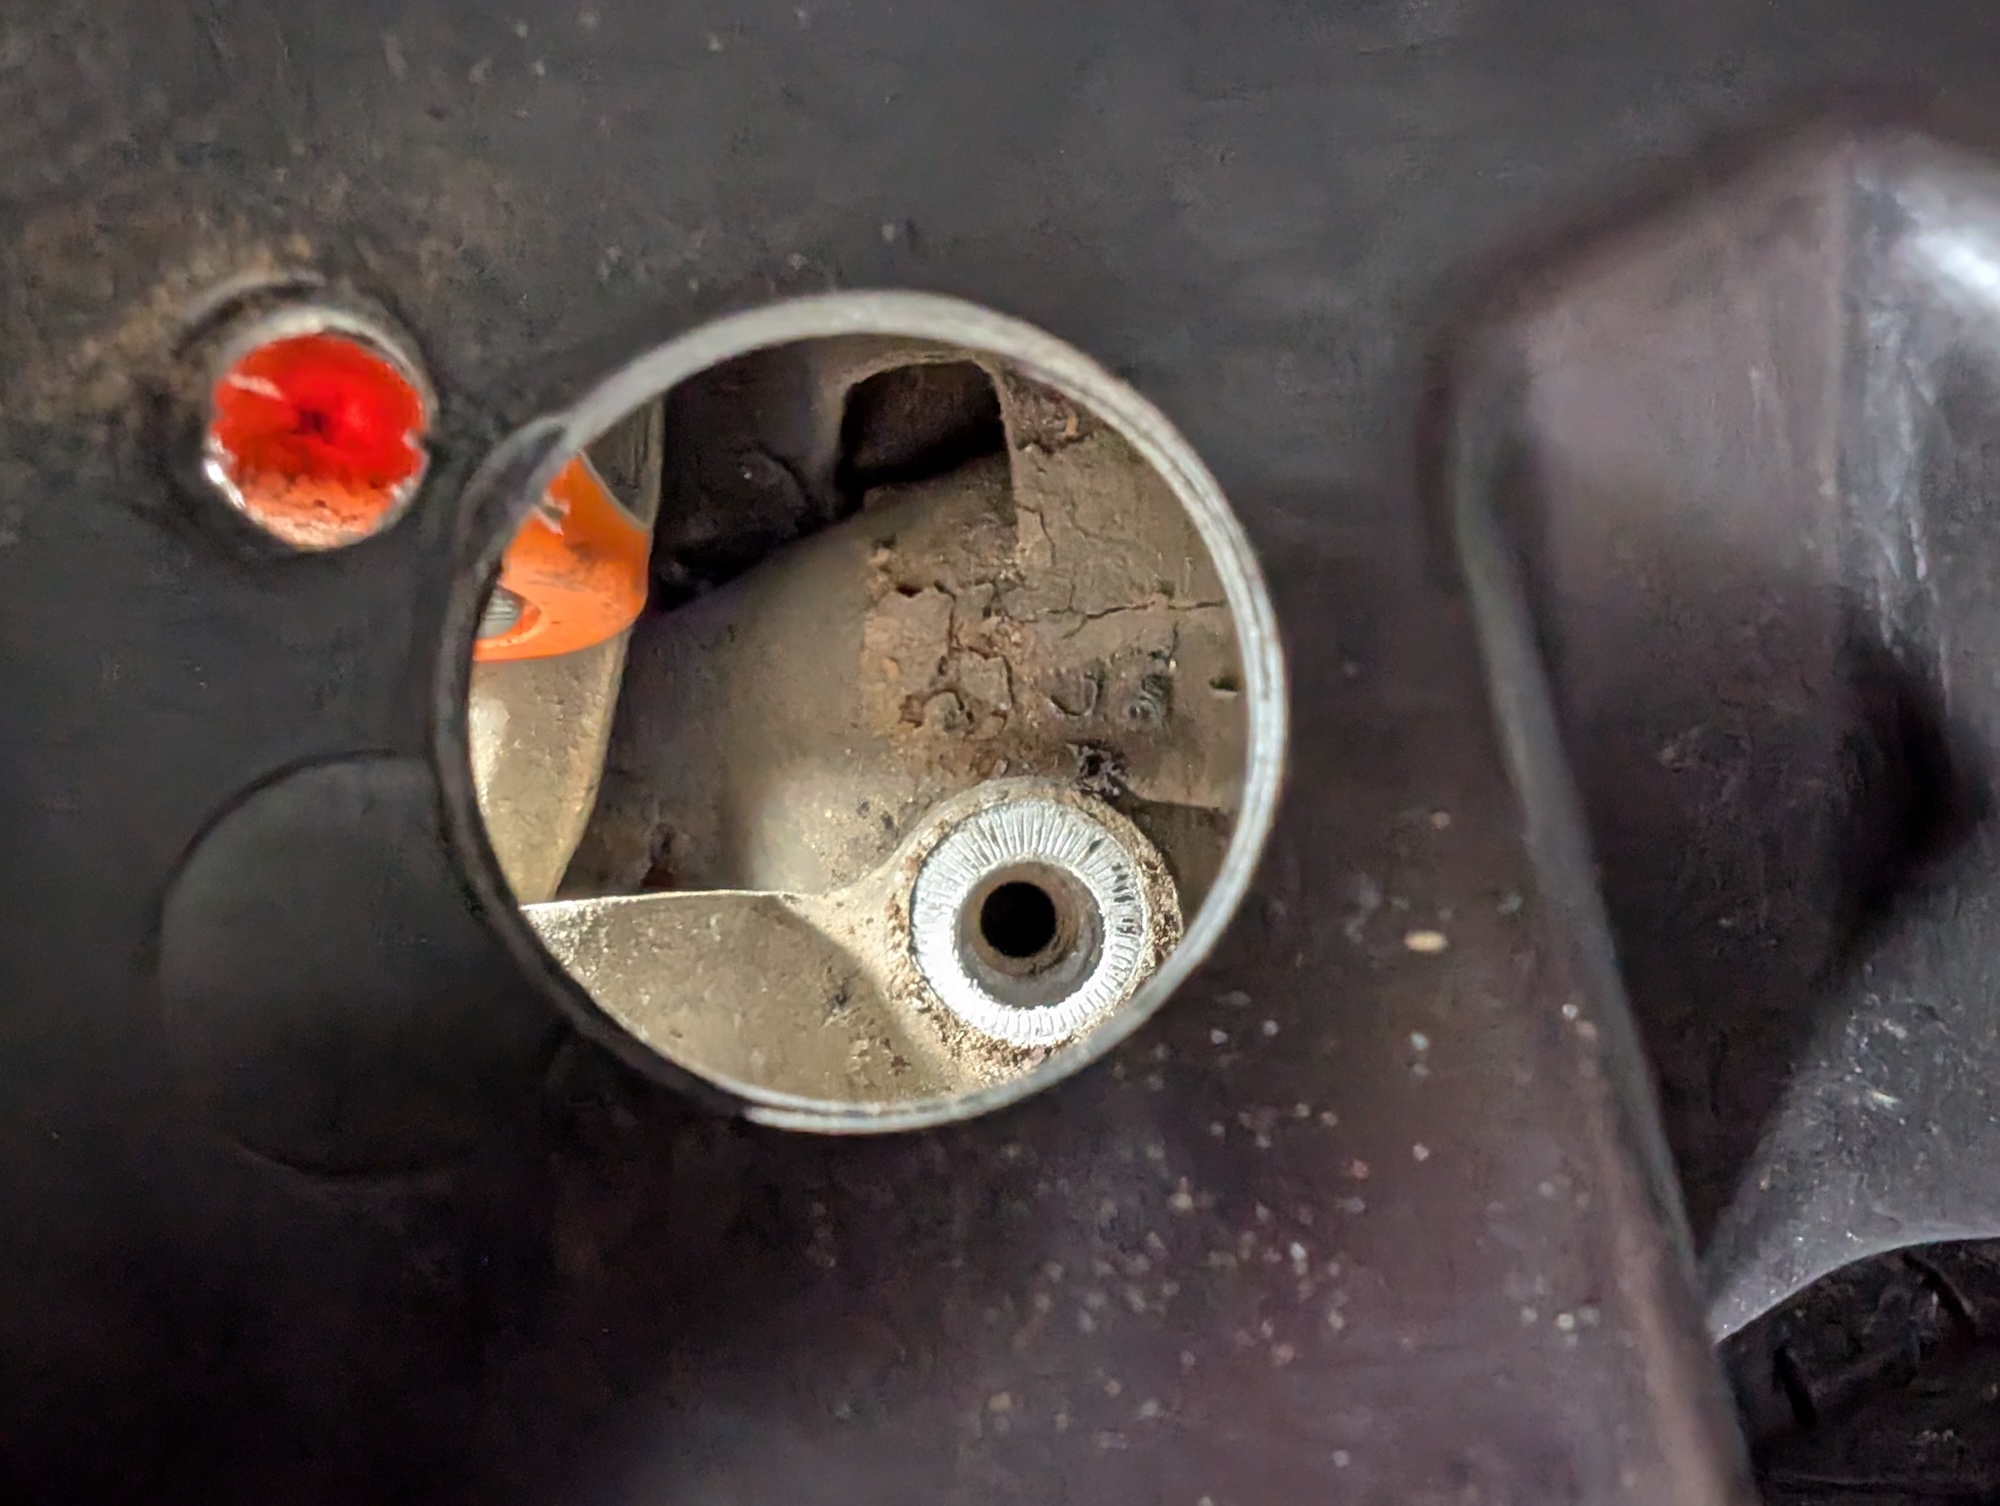
I decided to line up the old and new control arms to see just how different they are. At first glance, you can see that I am removing an aluminum control arm for a steel one. This weight difference should be more than offset by moving from cast iron knuckles to aluminum ones. But to find the dimensional differences, I did my best to line them up with the lines in my garage floor, mark, and compare.

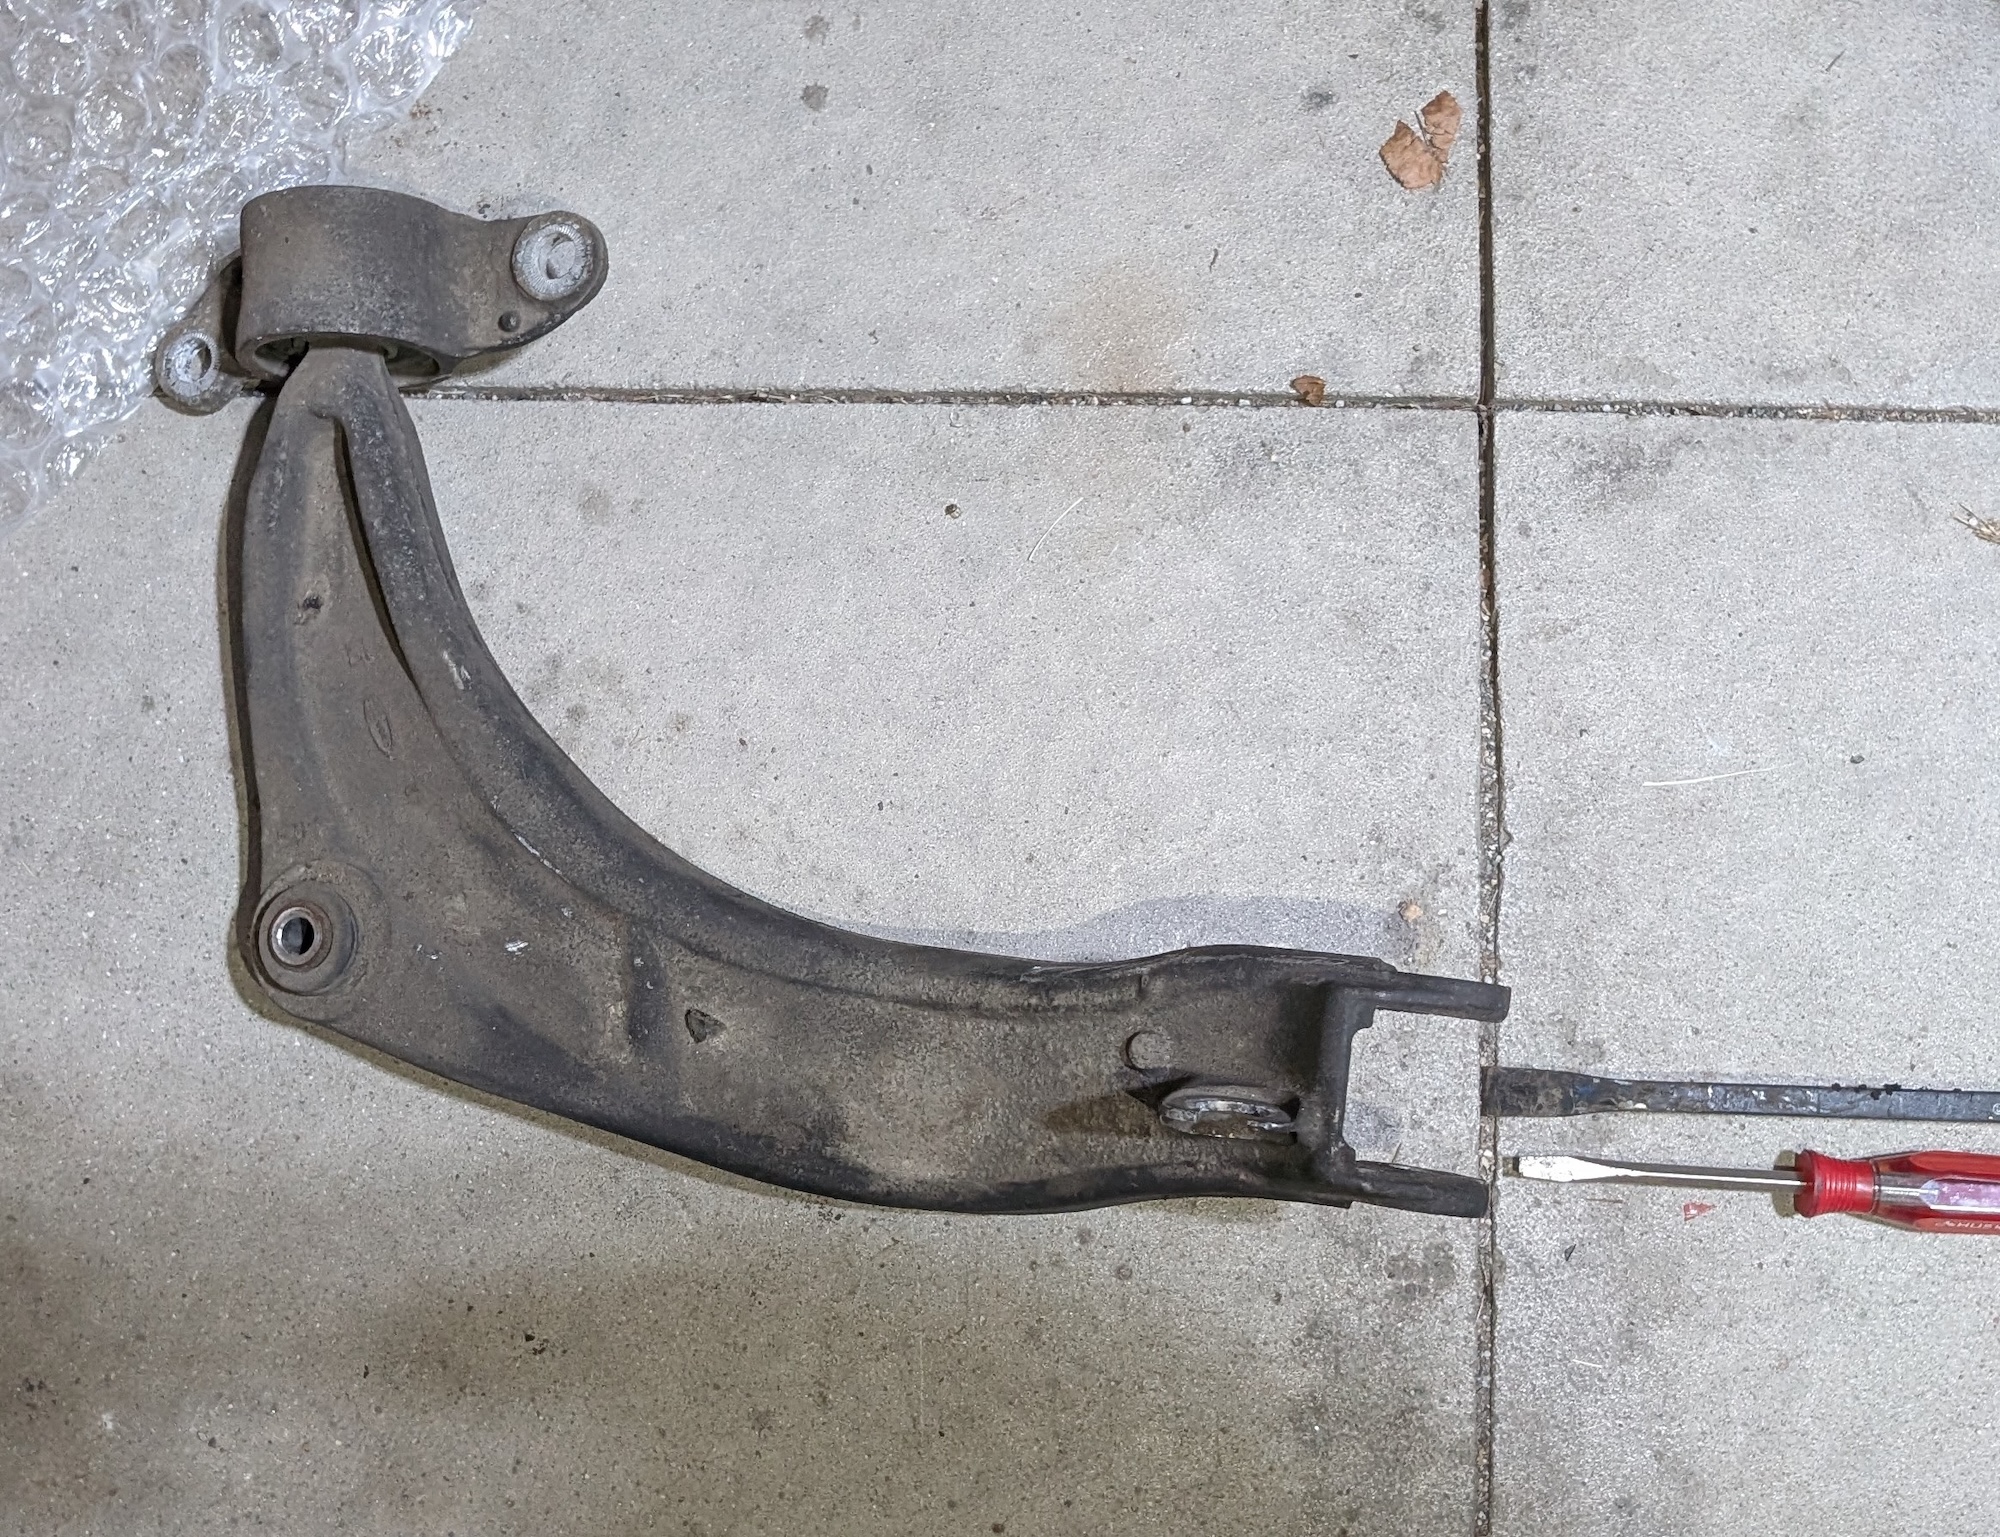
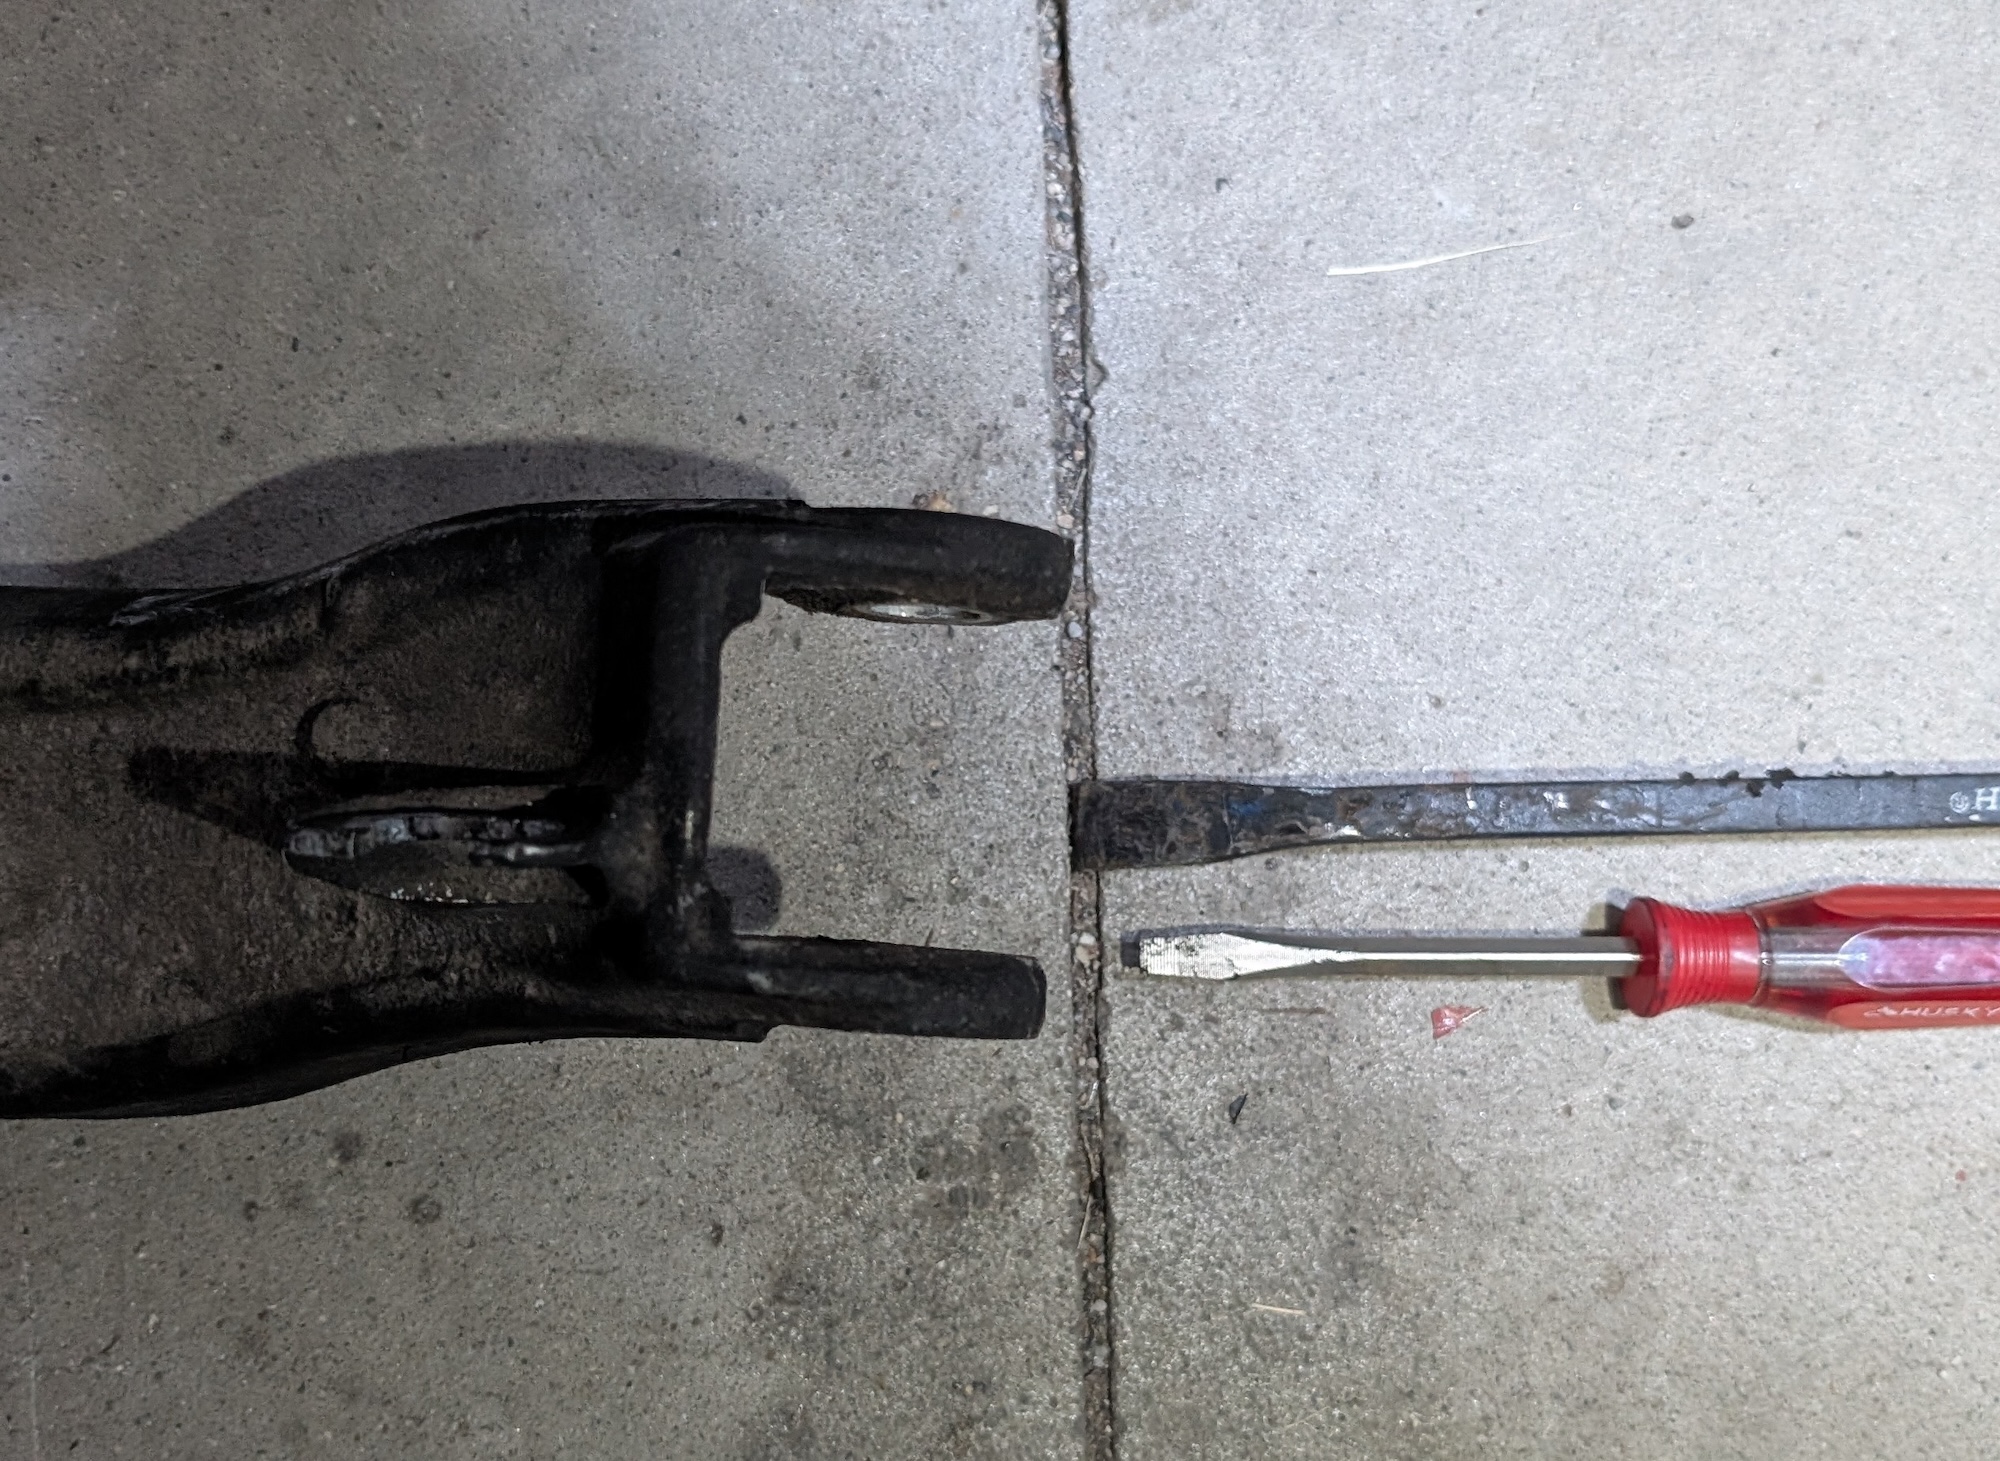
The red screwdriver is pointing at the approximate center of the Camaro control arm mounting point, while the black pry bar is pointed towards the middle of the Caprice one. This is more than an inch difference, and I’m sure that inch does something, but since I am not Huibert Mees, I cannot speak to what exactly this would do in a suspension. Maybe something about leverage during a launch, as the Camaro is more likely to be on a drag strip than a G8/Caprice/SS, and they want to control wheel hop, which can be a problem on cars with independent rear suspension. Regardless, installation is the opposite of disassembly!
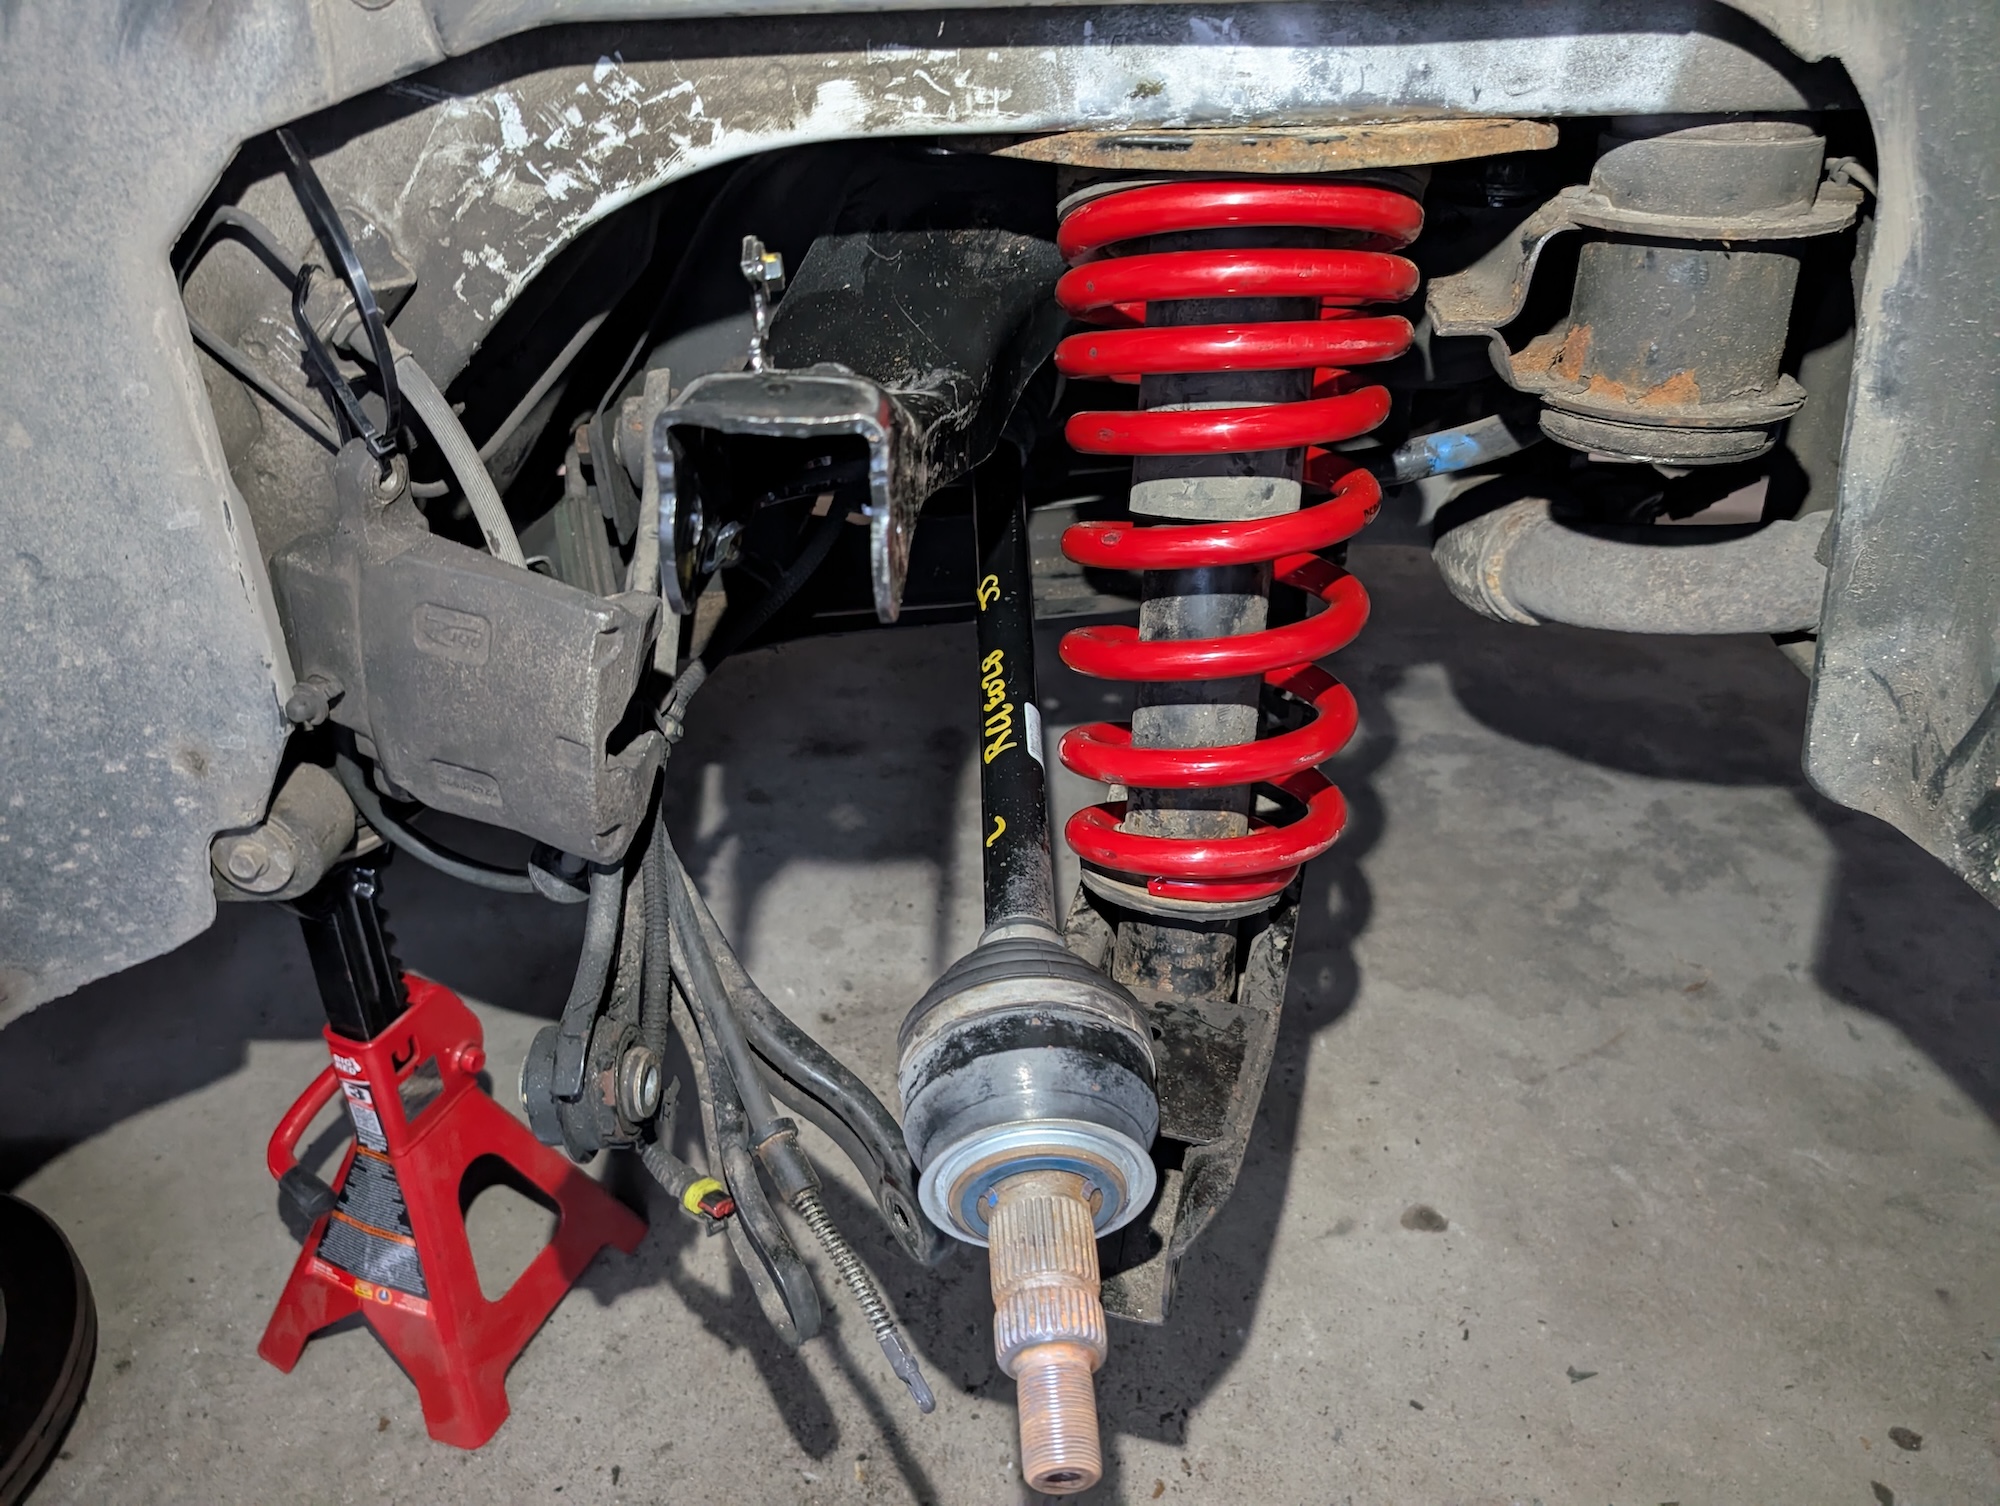
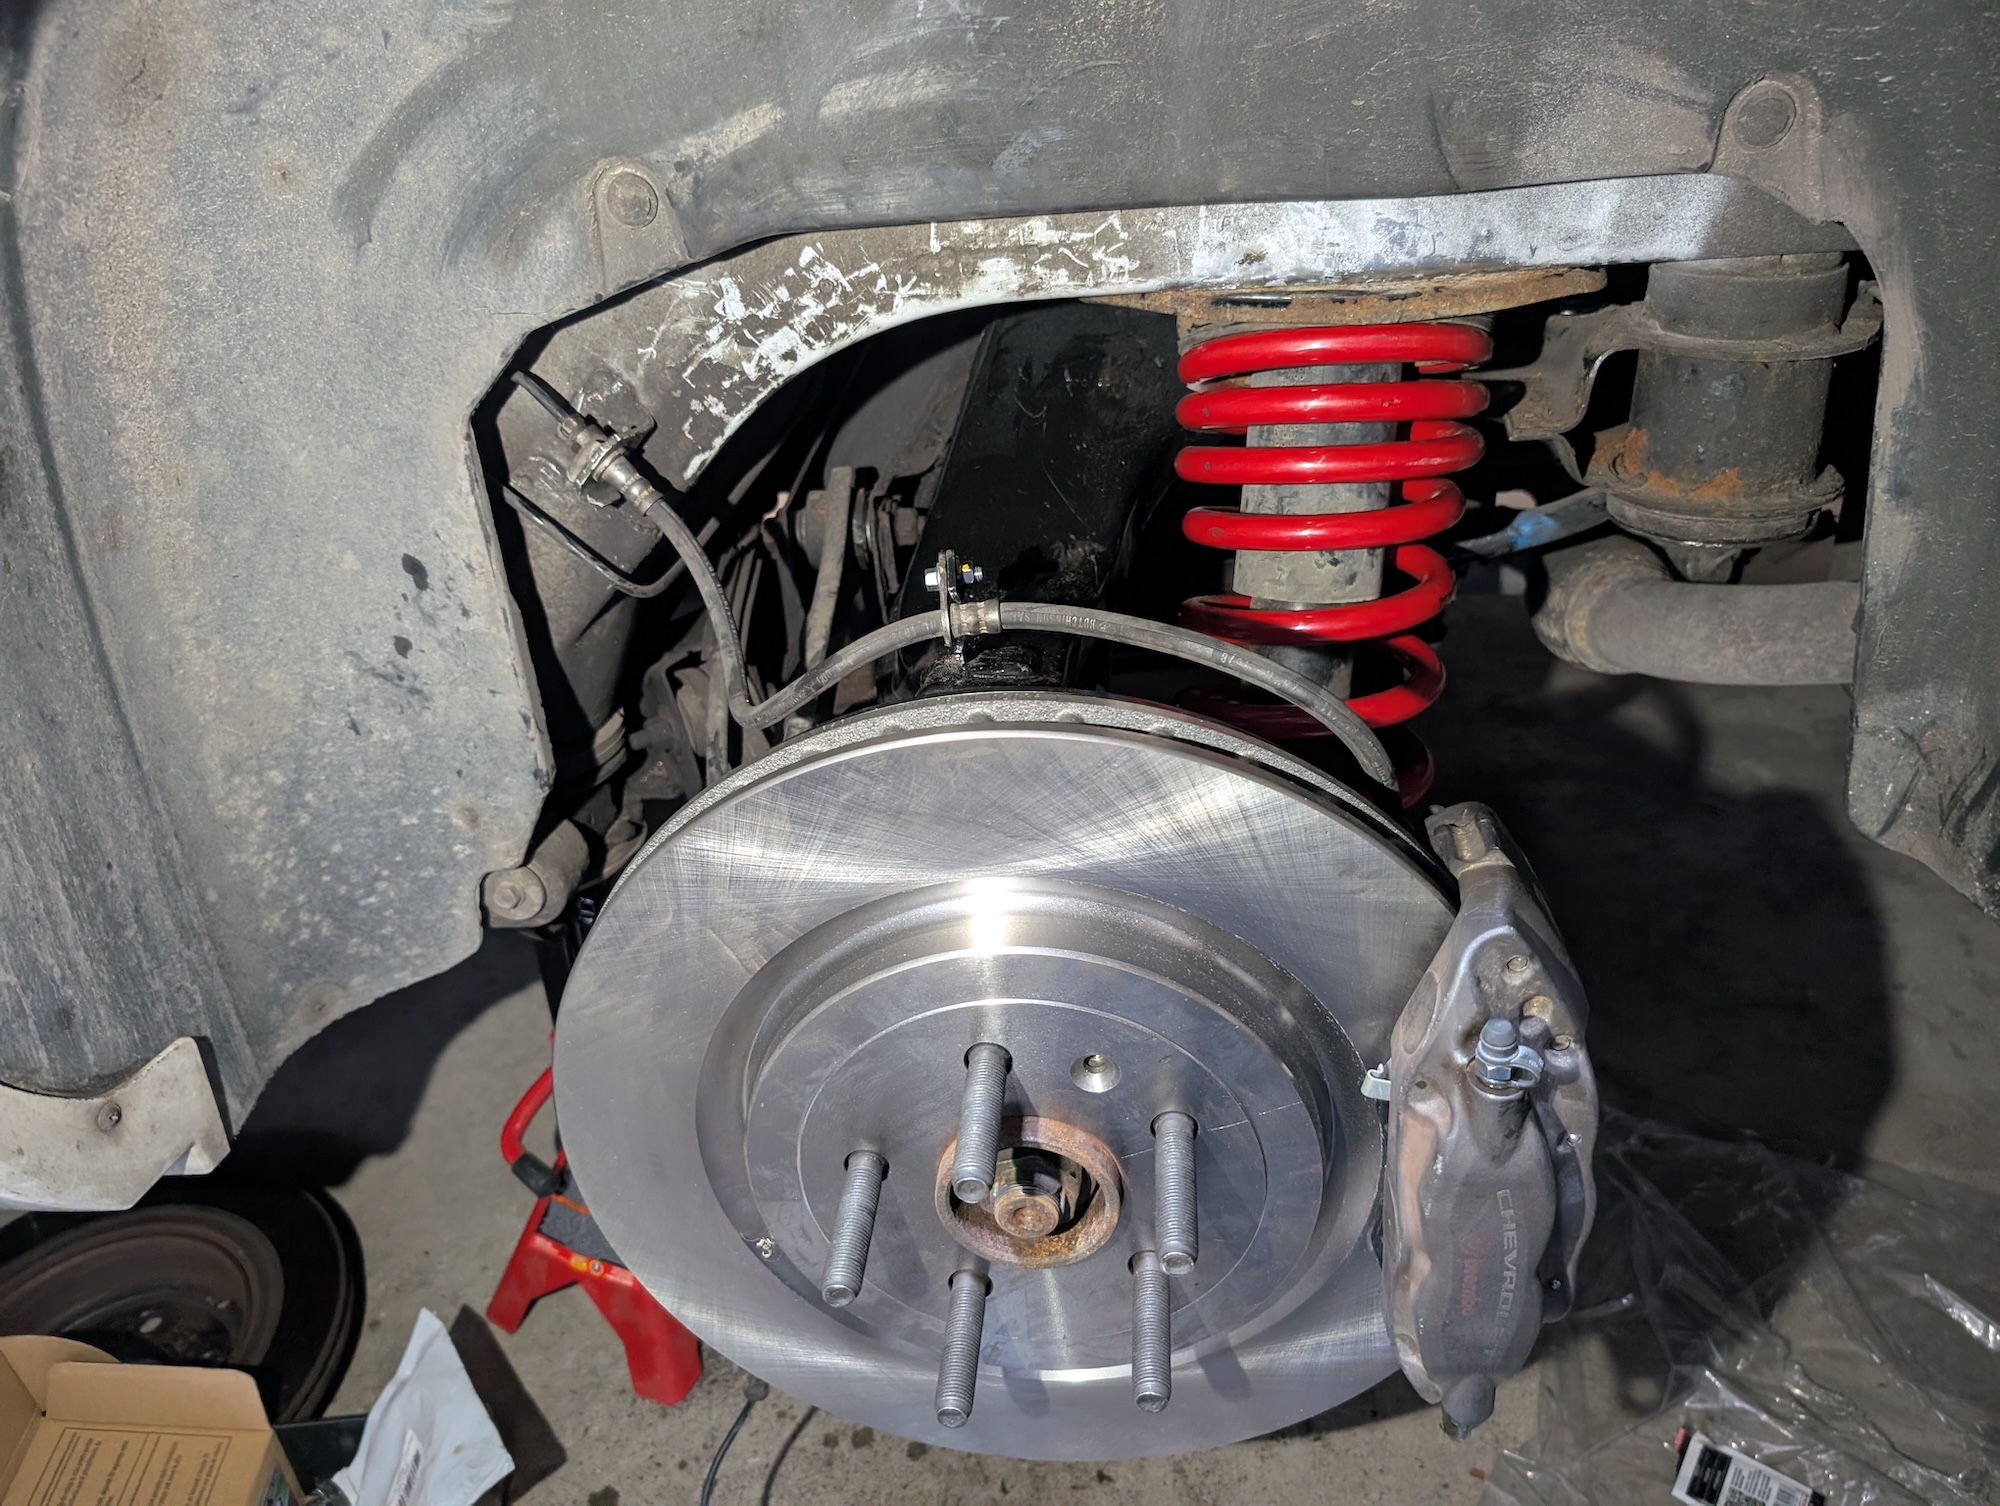
New control arm went in nice and easy, along with the new CV. You may notice the new red spring. That is a longer, yet slightly softer, Pedders spring that I bought to hopefully correct some rear-end sag. Unladen, the car had some reverse squat, and I am not about that. It was much more pronounced when loaded up, so hopefully the longer spring will mitigate that. If need be, I can move to Camaro lower control arms, as they move the mounting point for the strut up slightly. I plan to make up for the softer spring with a set of BMR sway bars At A Later Date. I also touched up some rusty spots with some silver paint around the strut mount. The rest of the dark dirt is Krown corrosion prevention, which so far I am quite pleased with.
Finally, the knuckle goes on with the same bolts I used to take it off previously. The Camaro knuckles did come with new bolts from J&J, and I found it interesting that the Caprice bolt for the upper control arm mount is much longer than the Camaro part to allow for the thicker aluminum control arm. The 2014-2017 Caprice and SS sedans gained aluminum front knuckles, and for that reason the front struts are not interchangeable between 11-13 and 14-17.

With the knuckle all mounted up and tightened with the suspension loaded (via a jack under the knuckle), it was time for the pretty stuff: Brakes! At this point it was a simple brake job. Unlike the front, however, I had to use the Camaro rear brake lines, as they are longer than the Caprice’s. This was actually a good thing, as the brake hose is retained in the Camaro control arm differently than the Caprice’s, so this avoided some zip-tie engineering to hold the Caprice brake hose in place. Once installed, they bled up well and look fantastic behind my Regal GS wheels.
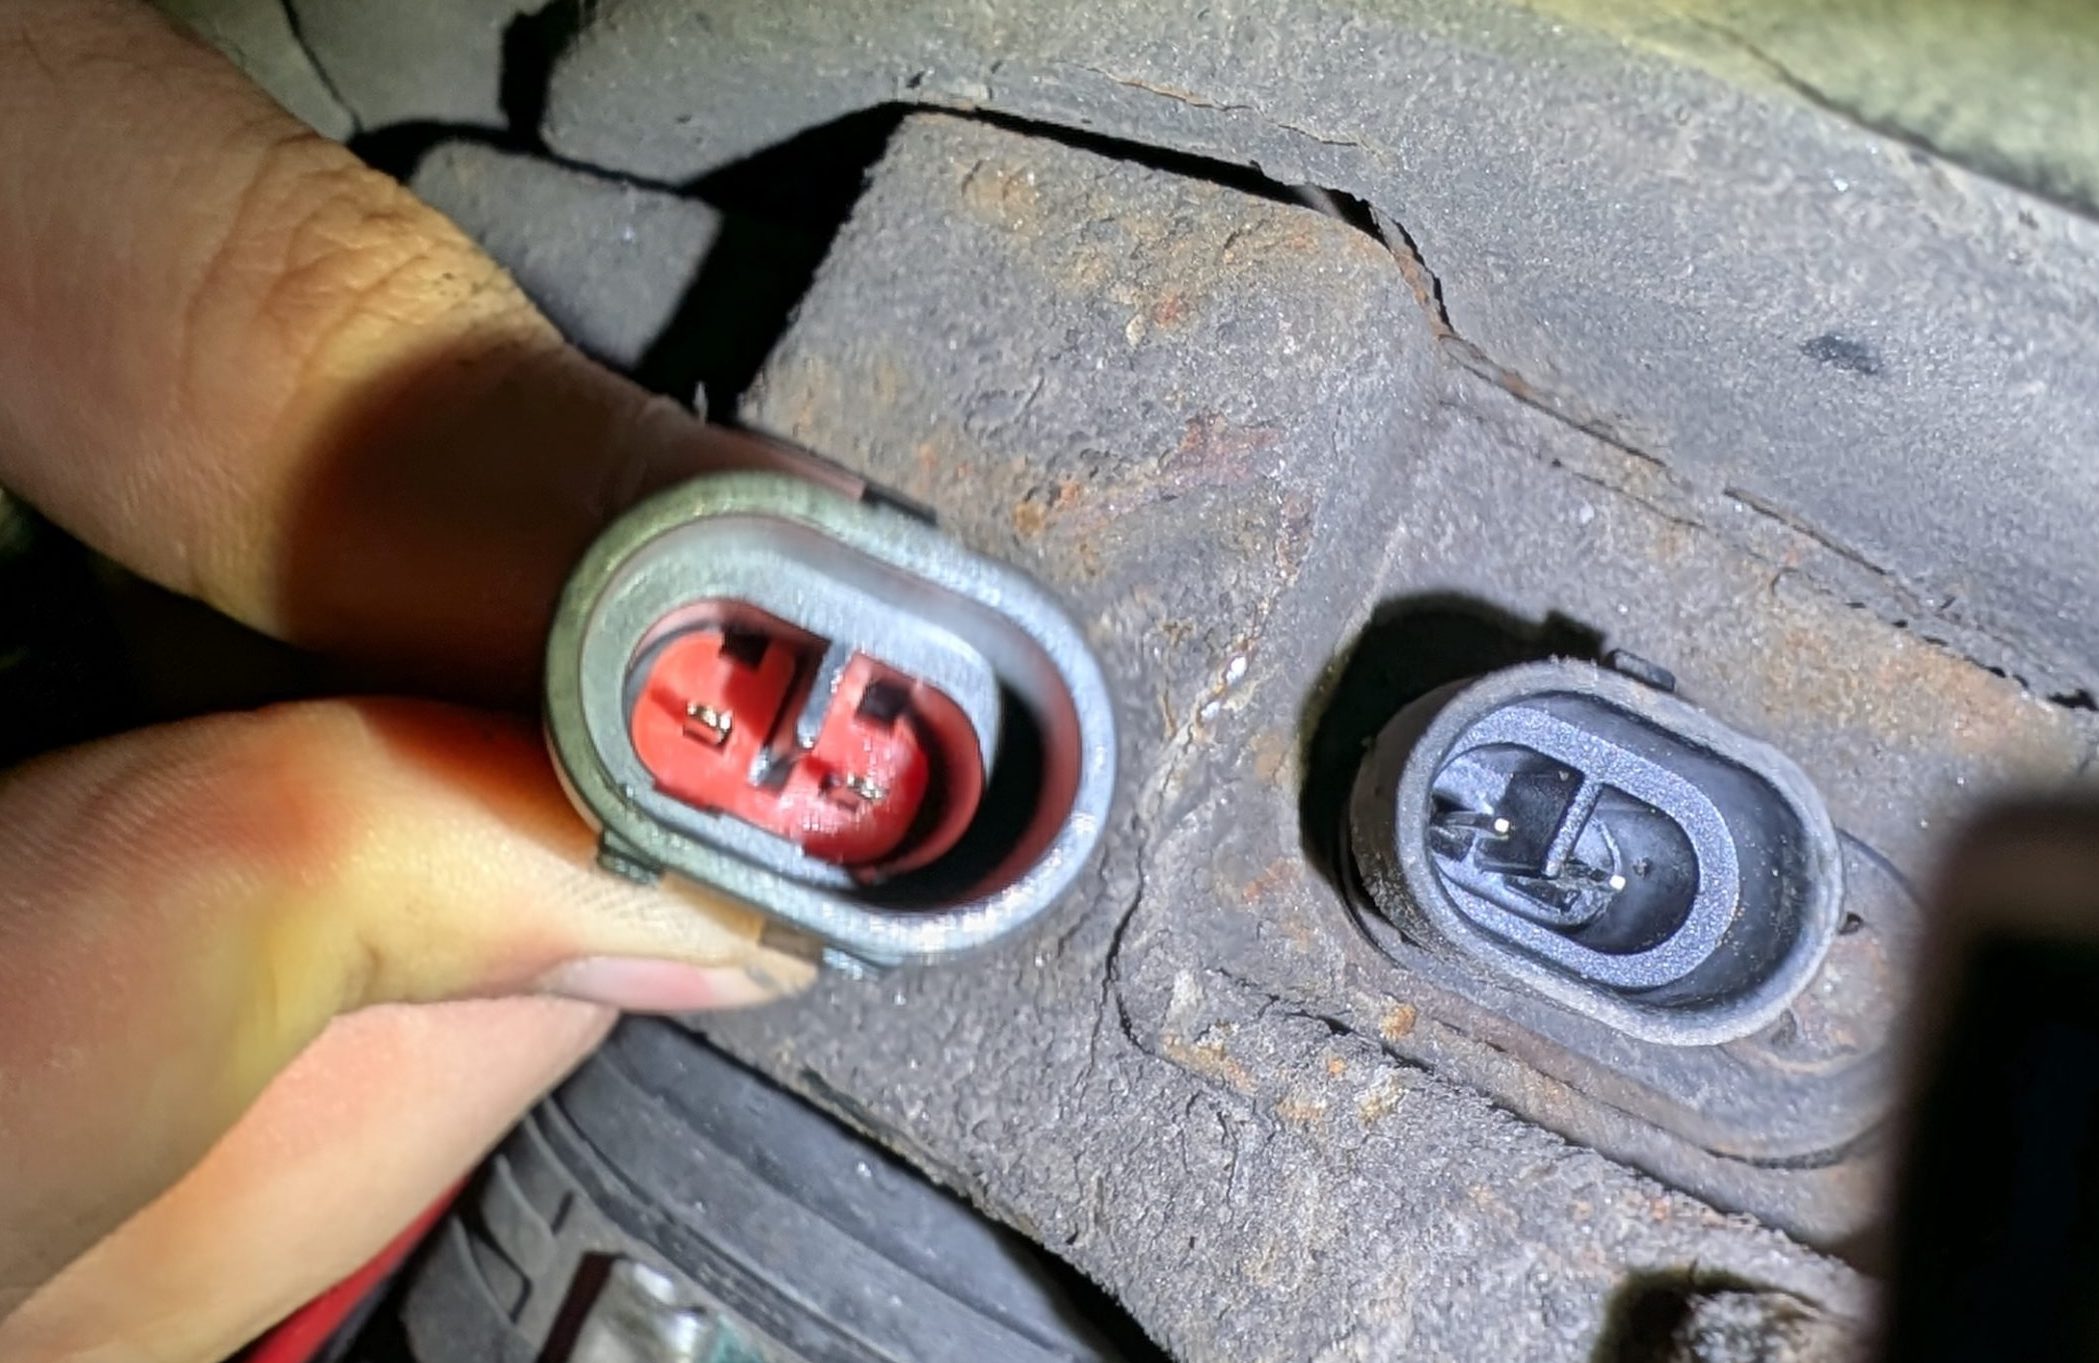
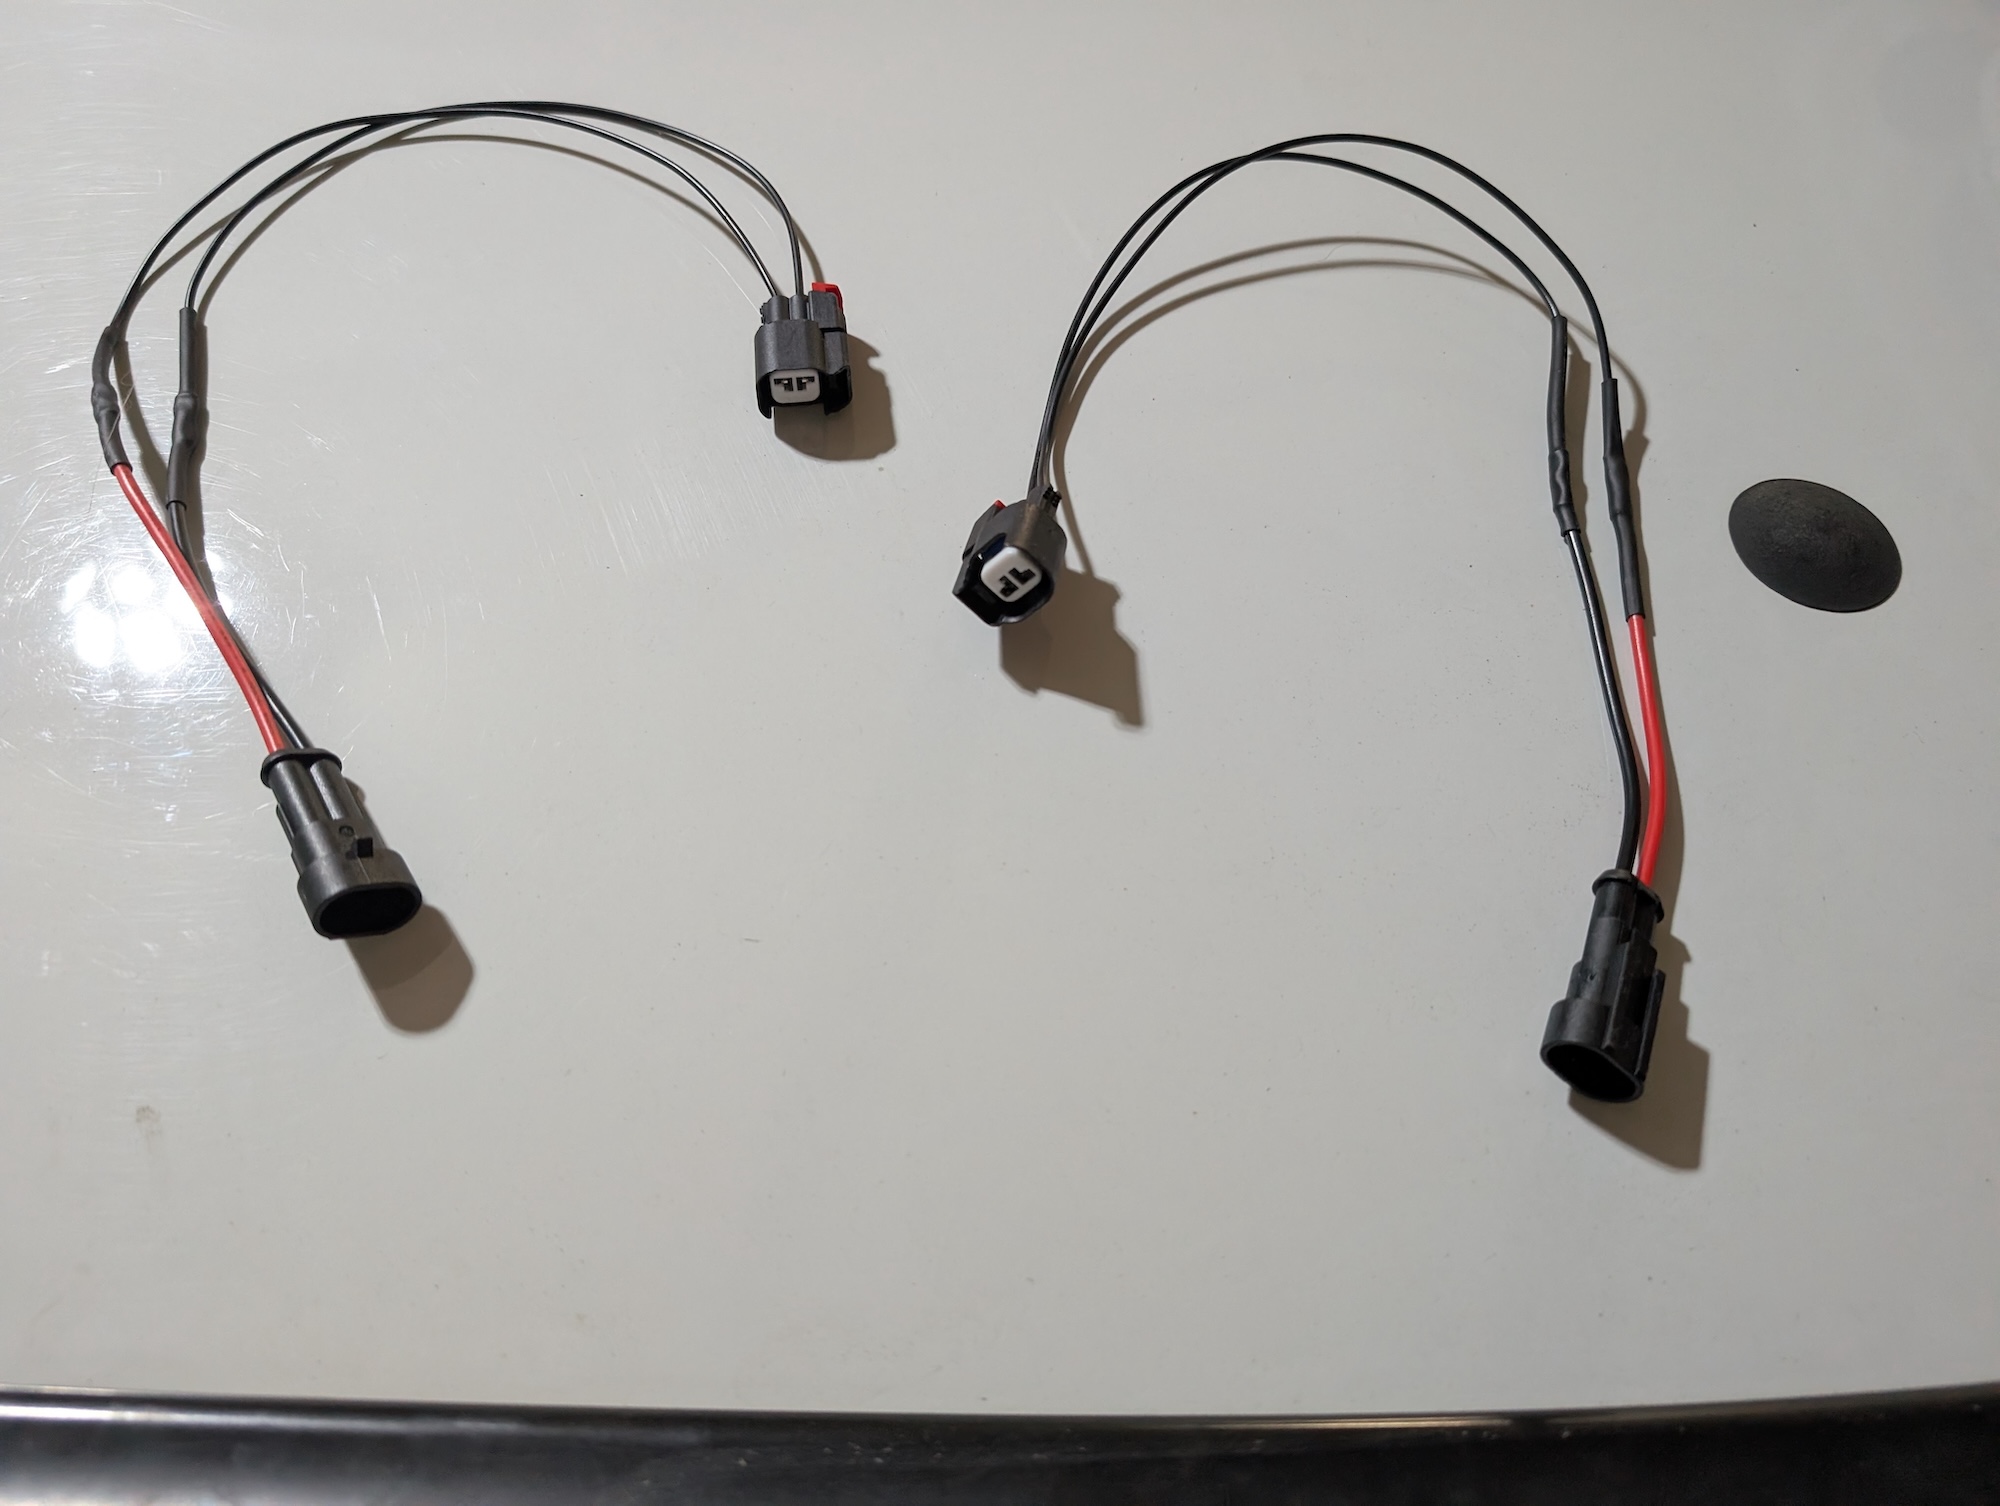
However, there is a small wrinkle in my plan. The ABS wiring! I don’t know why I didn’t notice it before, but the connectors are not the same. The Camaro one also appears to connect to a harness mounted to the subframe, while the Caprice has the harness go all the way to the knuckle. The ancient tomes (aka forums) suggest that it is a simple wiring job to make them work. With a little creativity, I fashioned an adapter harness composed of the correct Camaro car-side pigtail, plus some generic two-pin connectors that just so happen to be the same as the Caprice’s ABS connectors. I wired them up backwards the first time. Did you know two-pole ABS sensors are polarity sensitive? Because I didn’t, and somehow I did it wrong on both adapter harnesses by complete random chance. After switching the wires, the ABS is working just fine!
I also found some rubber plugs to fill the holes in the plastic spare tire tub I made to access the control arm bolts. It finishes it all up neat and tidy!
If you are in the Discord, you got more play-by-play, along with hearing of some of my struggles. And it was safe to say they happened. I didn’t even mention that, somehow, both of the rear wheel bearings in the Camaro knuckles were bad! Or that the ABS fix was after a few weeks of driving without ABS and traction control. Or the small scare I had with a leaky brake bleeder. But it’s all fine, because I finished my work on Labor Day, and on Thursday the tenth I had to take the car on a one-thousand mile ‘road trip road trip to LS Fest in Bowling Green, Kentucky! I would meet my dad at Louisville Airport where he flew in from LA, and we would go for our fourth year in a row. And this time the Caprice would be inside the gates, in the car show, with all the other GM Small Block V8s. But that, along with the road trip itself, is a story for another day.
All photos by author unless noted




That is a large step drill bit.
Nicely done Nick. Why does your bio not include a Mal-wart parking lot as a place I could have seen you?
Excellent article, I love reading about your cars! It was a fun follow along on discord as well, this gives it a nice story to read from start to finish. I love these OEM+ type upgrades too, especially when it improves future parts availability.
Those wheels are pretty sharp.
*Looks at car* hmm…
*Looks at author* hmmmmmm…
It’s on the tip of my tongue… Oh well, hello new contributor! We’re glad to have you with us!
Hello person I’ve never met and don’t have incriminating photos of featuring Malort
At first I thought you were going to try to upgrade all the running gear under a Gen IV Caprice. THAT would be one hell of a project, and transferable to a Safari van! At least I think that’s right.
That sounds like fun. One of these days, maybe… Gotta keep going on this one first.
Great write up. Looks like a fun project!
Thank you! It’s been a big project so far. This only adds to how big it’s been!
Similar to my corvette engined tr6 swap project. That was a metric tonne of work.
Maybe on my next TR6!