
If you want to install a tire on a modern car, you have a few options: 1. You use a special machine that hydraulically detaches the tire’s beads from the wheel, and then rotates the tire to yank the rubber from the rim. Or 2. You can use a mechanical tool involving a lever and a whole lot of grunting. Even if you get the tire off, if you find the wheel is damaged or rusty, you can gob a bunch of sealant on there, but the tire is likely going to leak. The WWII Jeep, though, doesn’t have these problems. Not only does its “Combat Wheel” make dismounting/installing tires extremely easy, but the design means the wheel can take an absolute beating without getting a flat.
Before I get into the genius of the WWII Jeep’s “Combat Wheel” design, let’s first look at how a modern car tire seals up. The bead on the rubber tire mates up with the smooth rim to create an airtight seal. The pressure from inside the tire helps keep that tire from de-beading, and thus ensures no leakage.
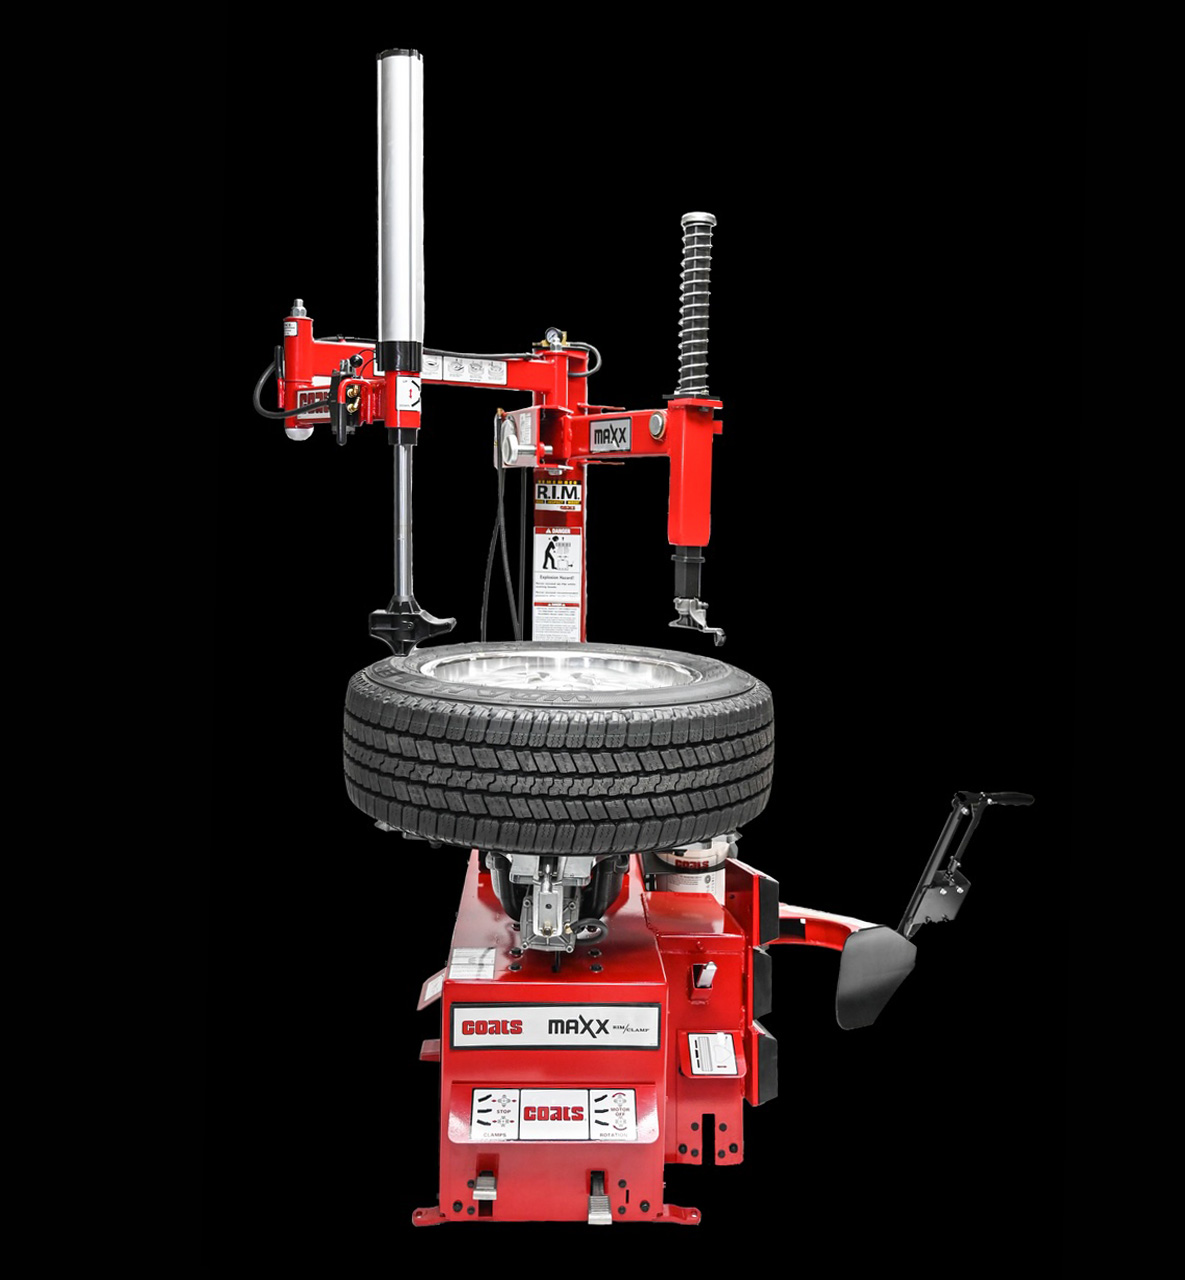
To install a tire, you have to first pry the tire onto the rim itself, a job that often takes a machine that looks like this:
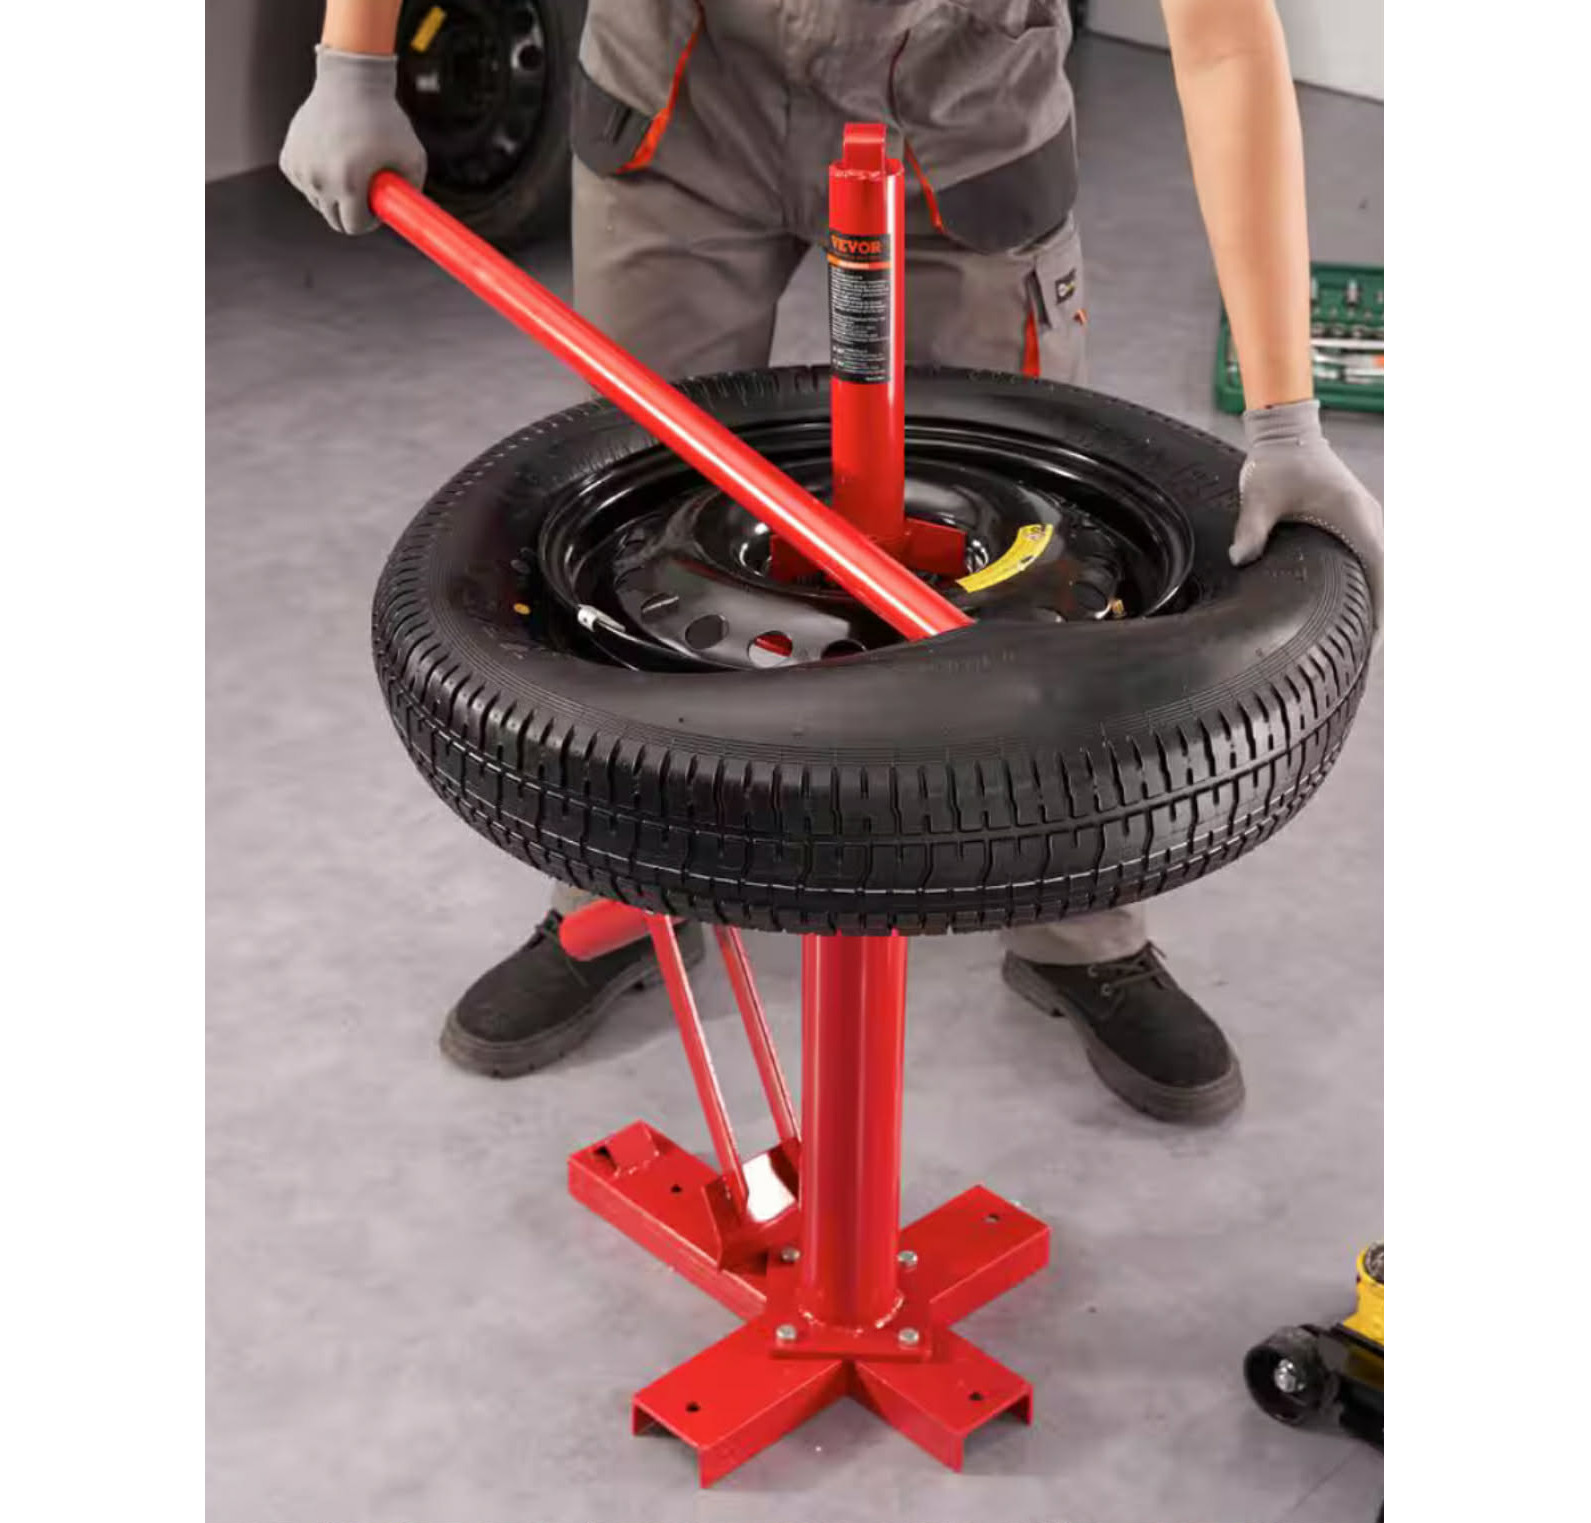
Or one could use this more primitive prying device:
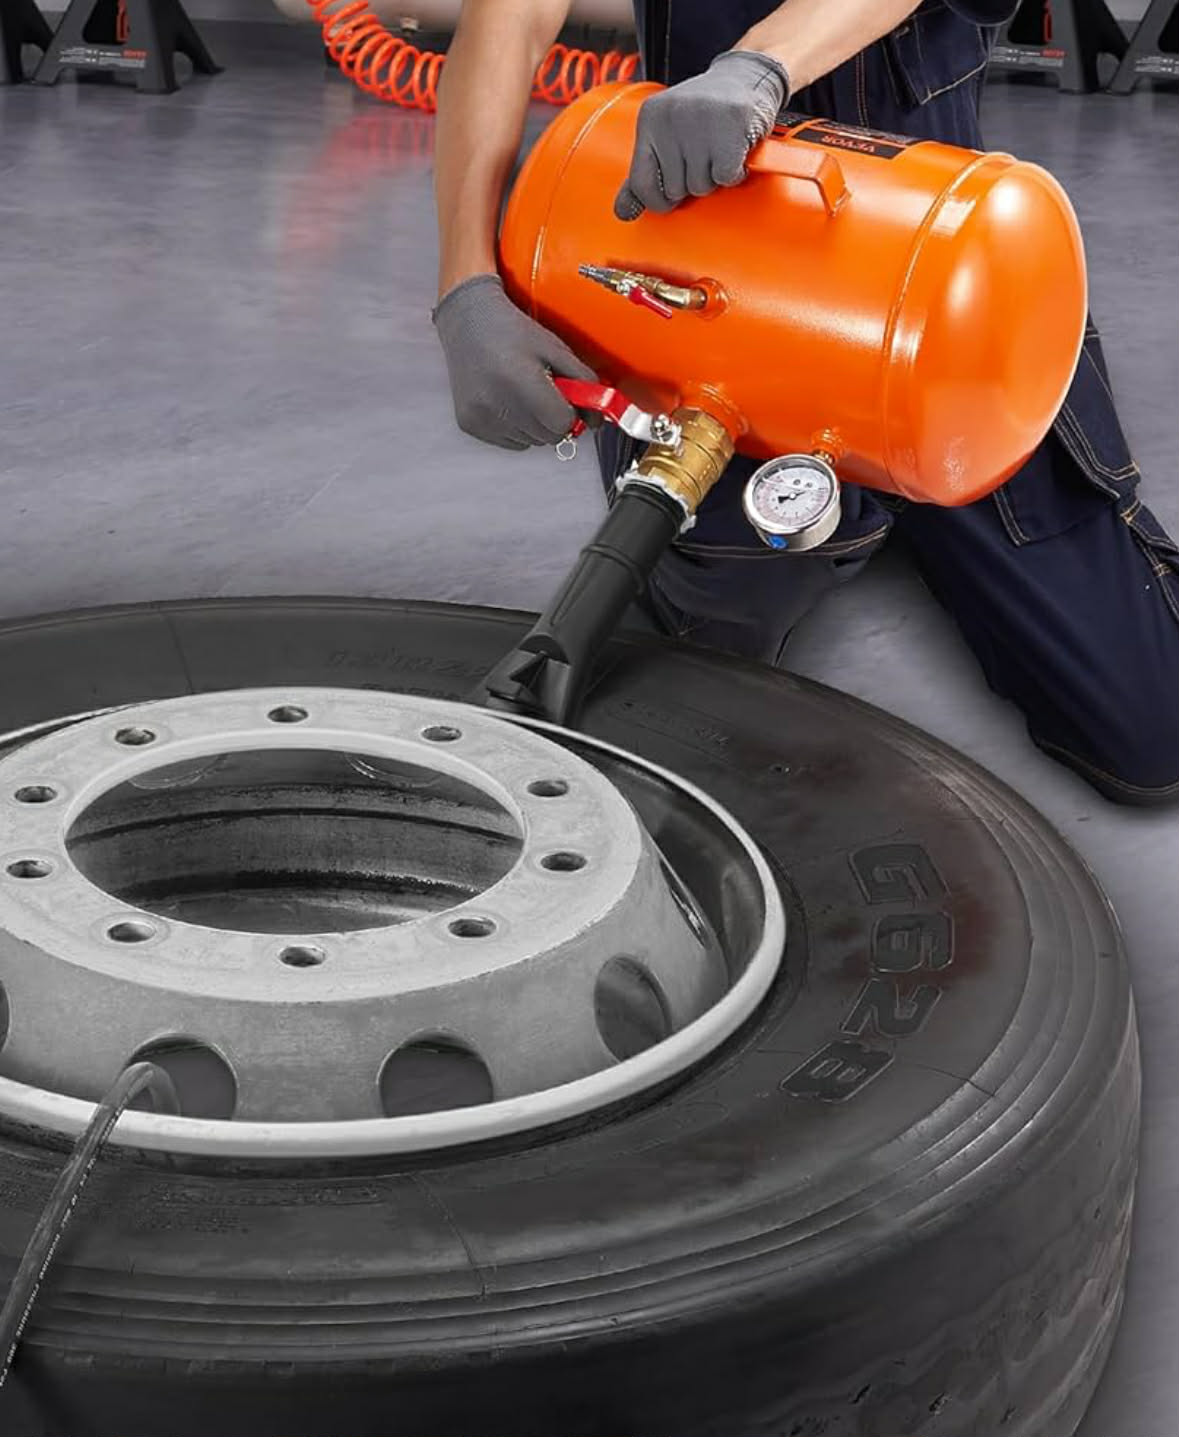
Even when the tire is on the rim, setting the bead is not trivial, and usually involves either a bead blaster that uses compressed air to “balloon” the tire into place in order to set the bead, or — in a pinch — one can spray a flammable atomized liquid into the tire and then light mixture to essentially “explode” the tire into place.
Here’s a look at a bead-blaster:
And here’s video of the more “backwoods” method involving the tire going ka-boom!:
The World War II Jeep, though, did not have to employ such tool-intensive methods to get tires on and off of vehicles, and while some of the vehicle’s genius has to do with the fact that cars in the 1940s almost all used inner tubes, it’s the split rim that really makes the World War II Jeep’s “Combat Wheels” so brilliant.
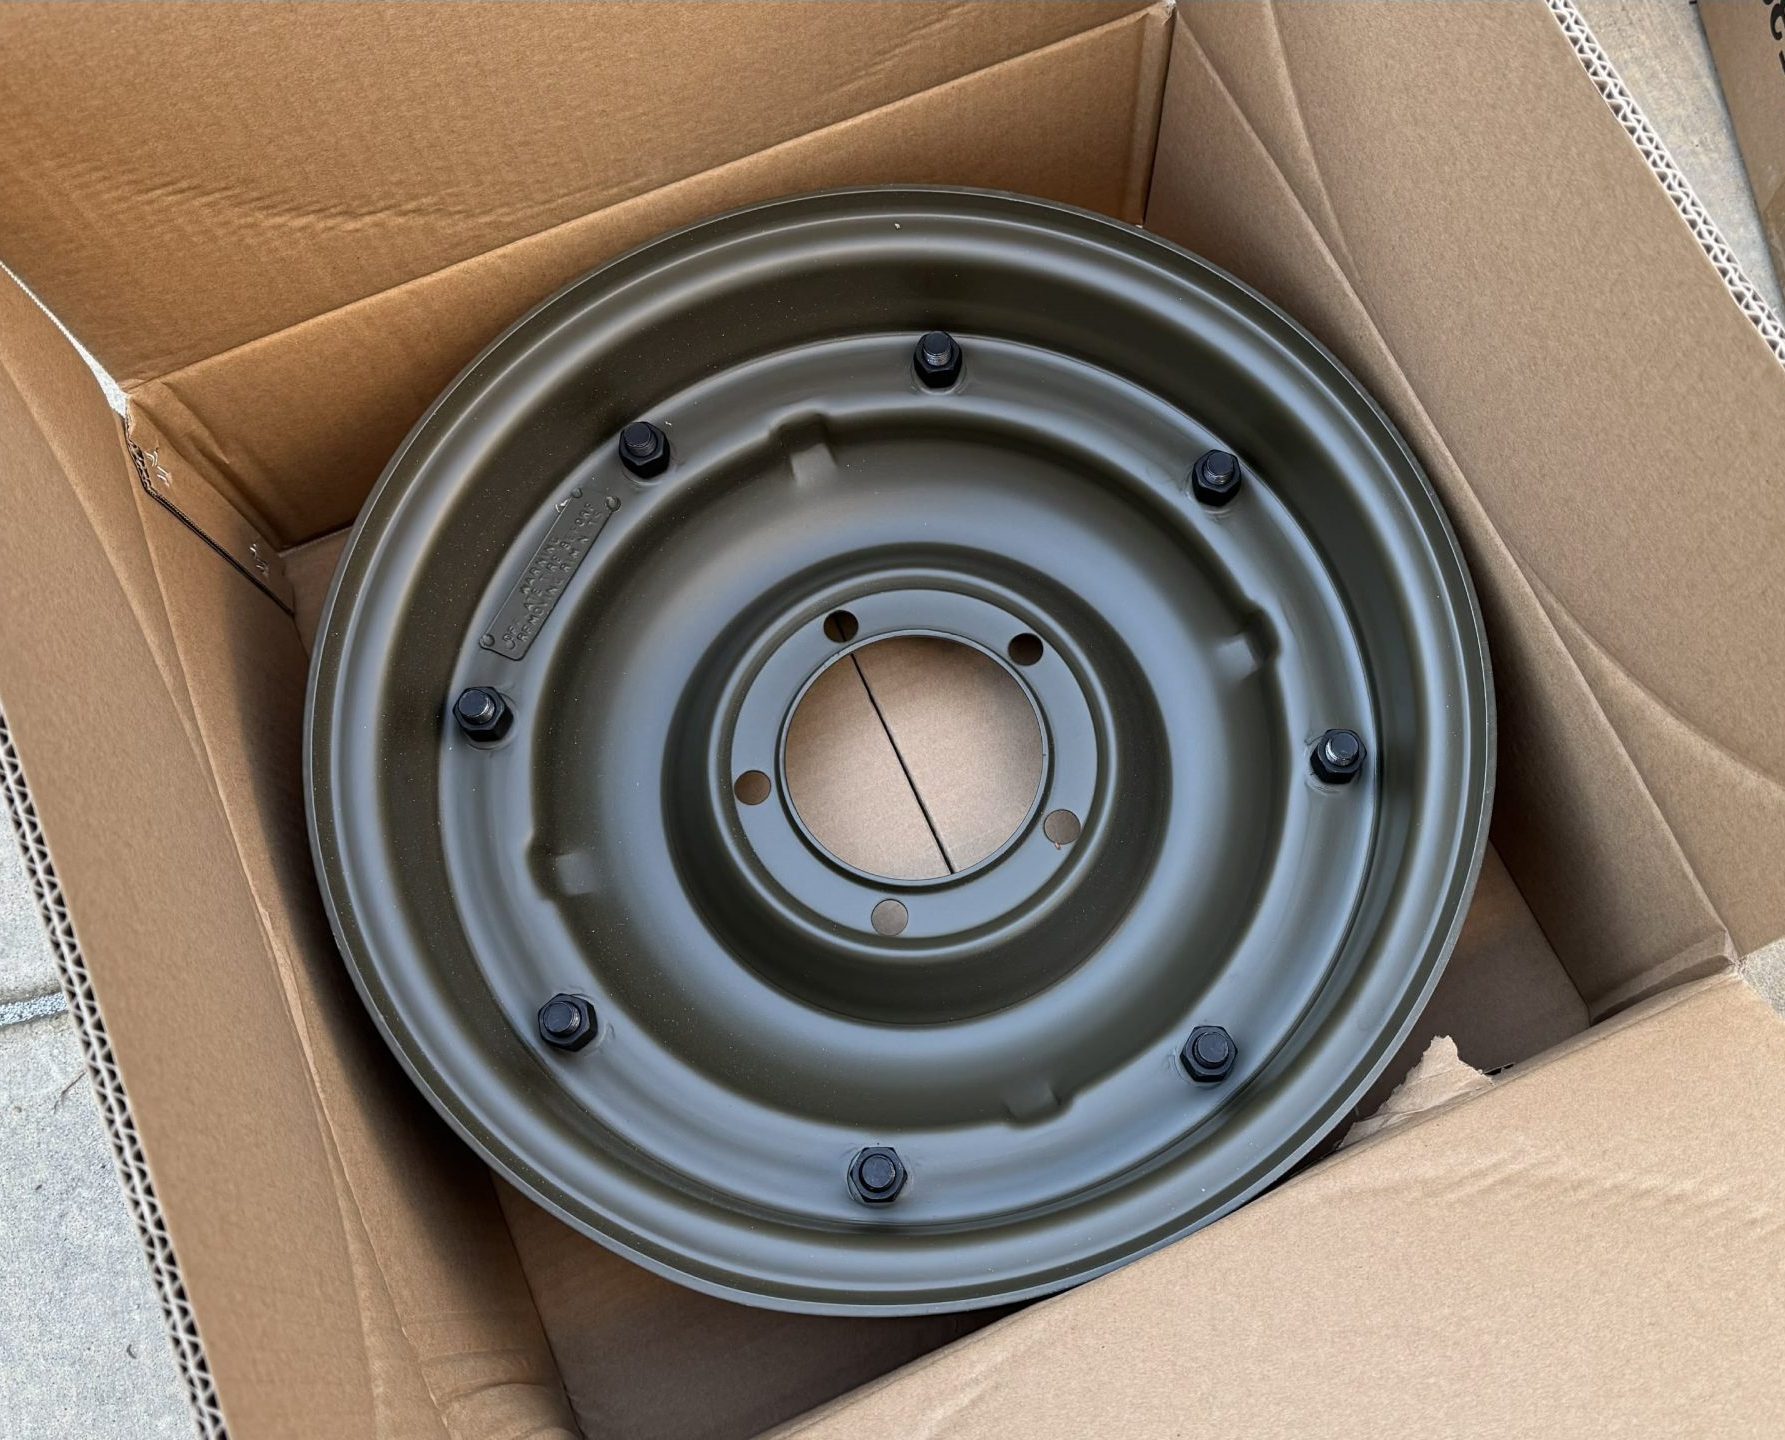
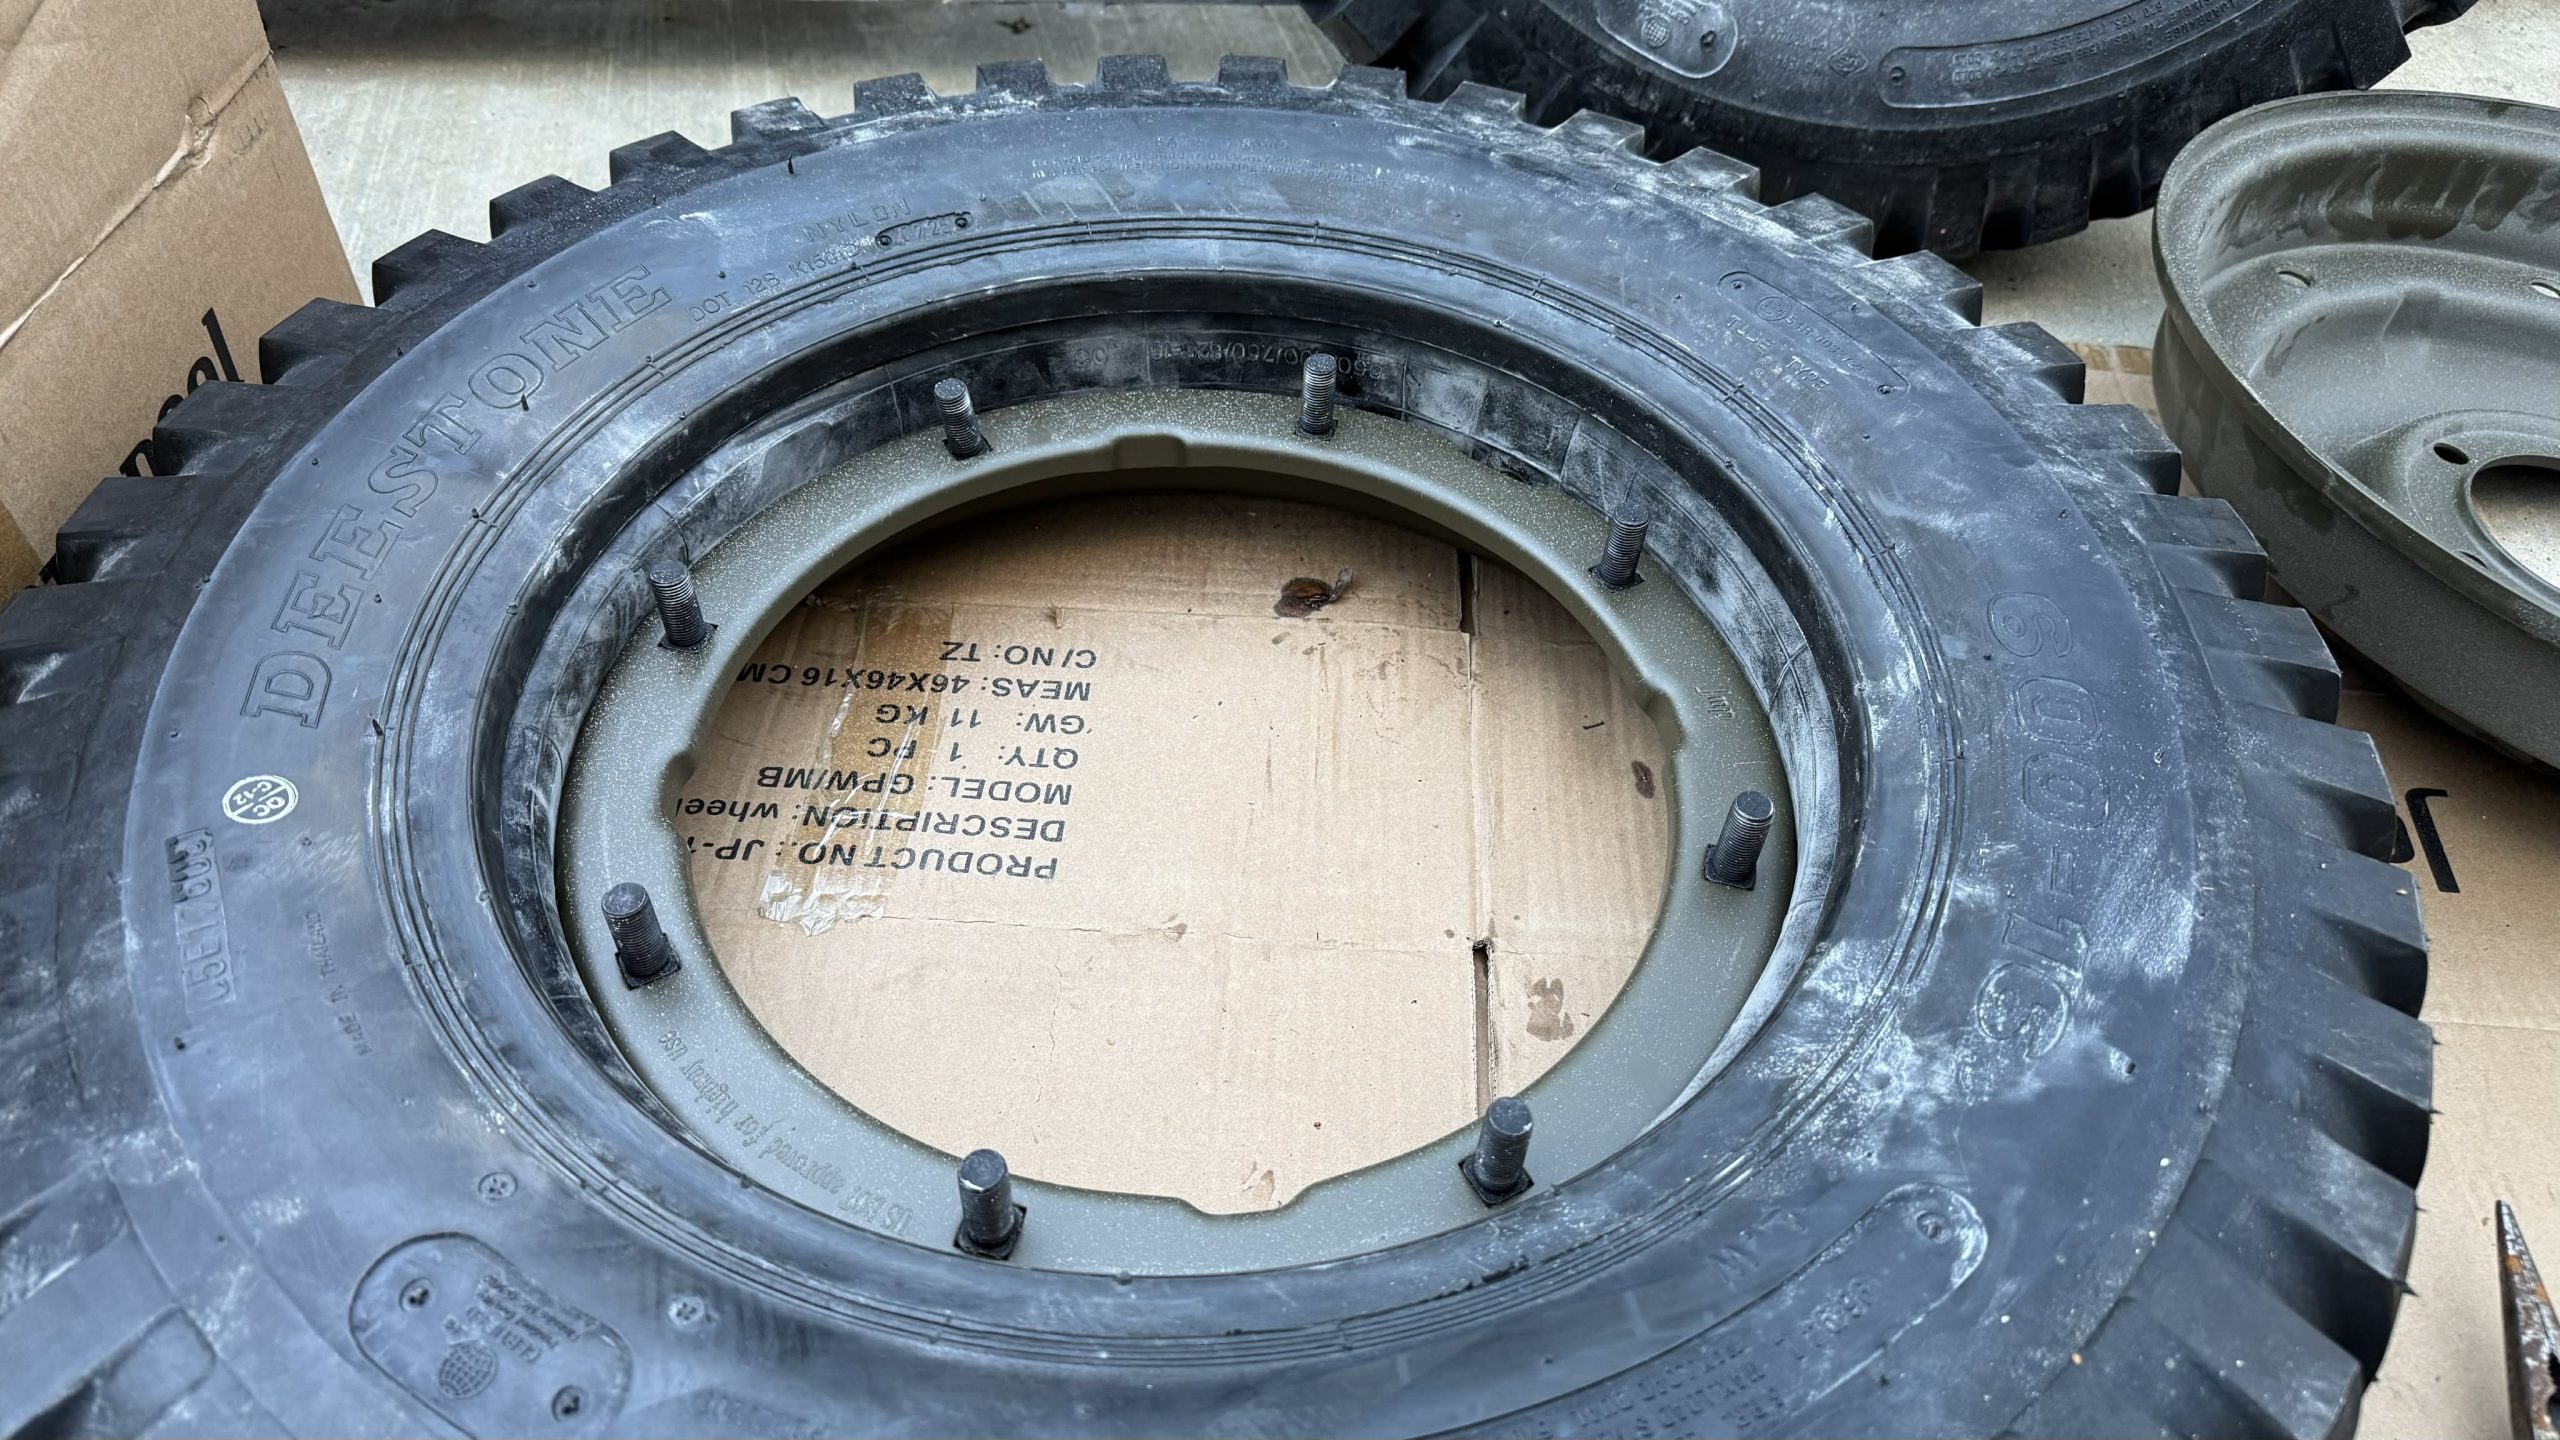
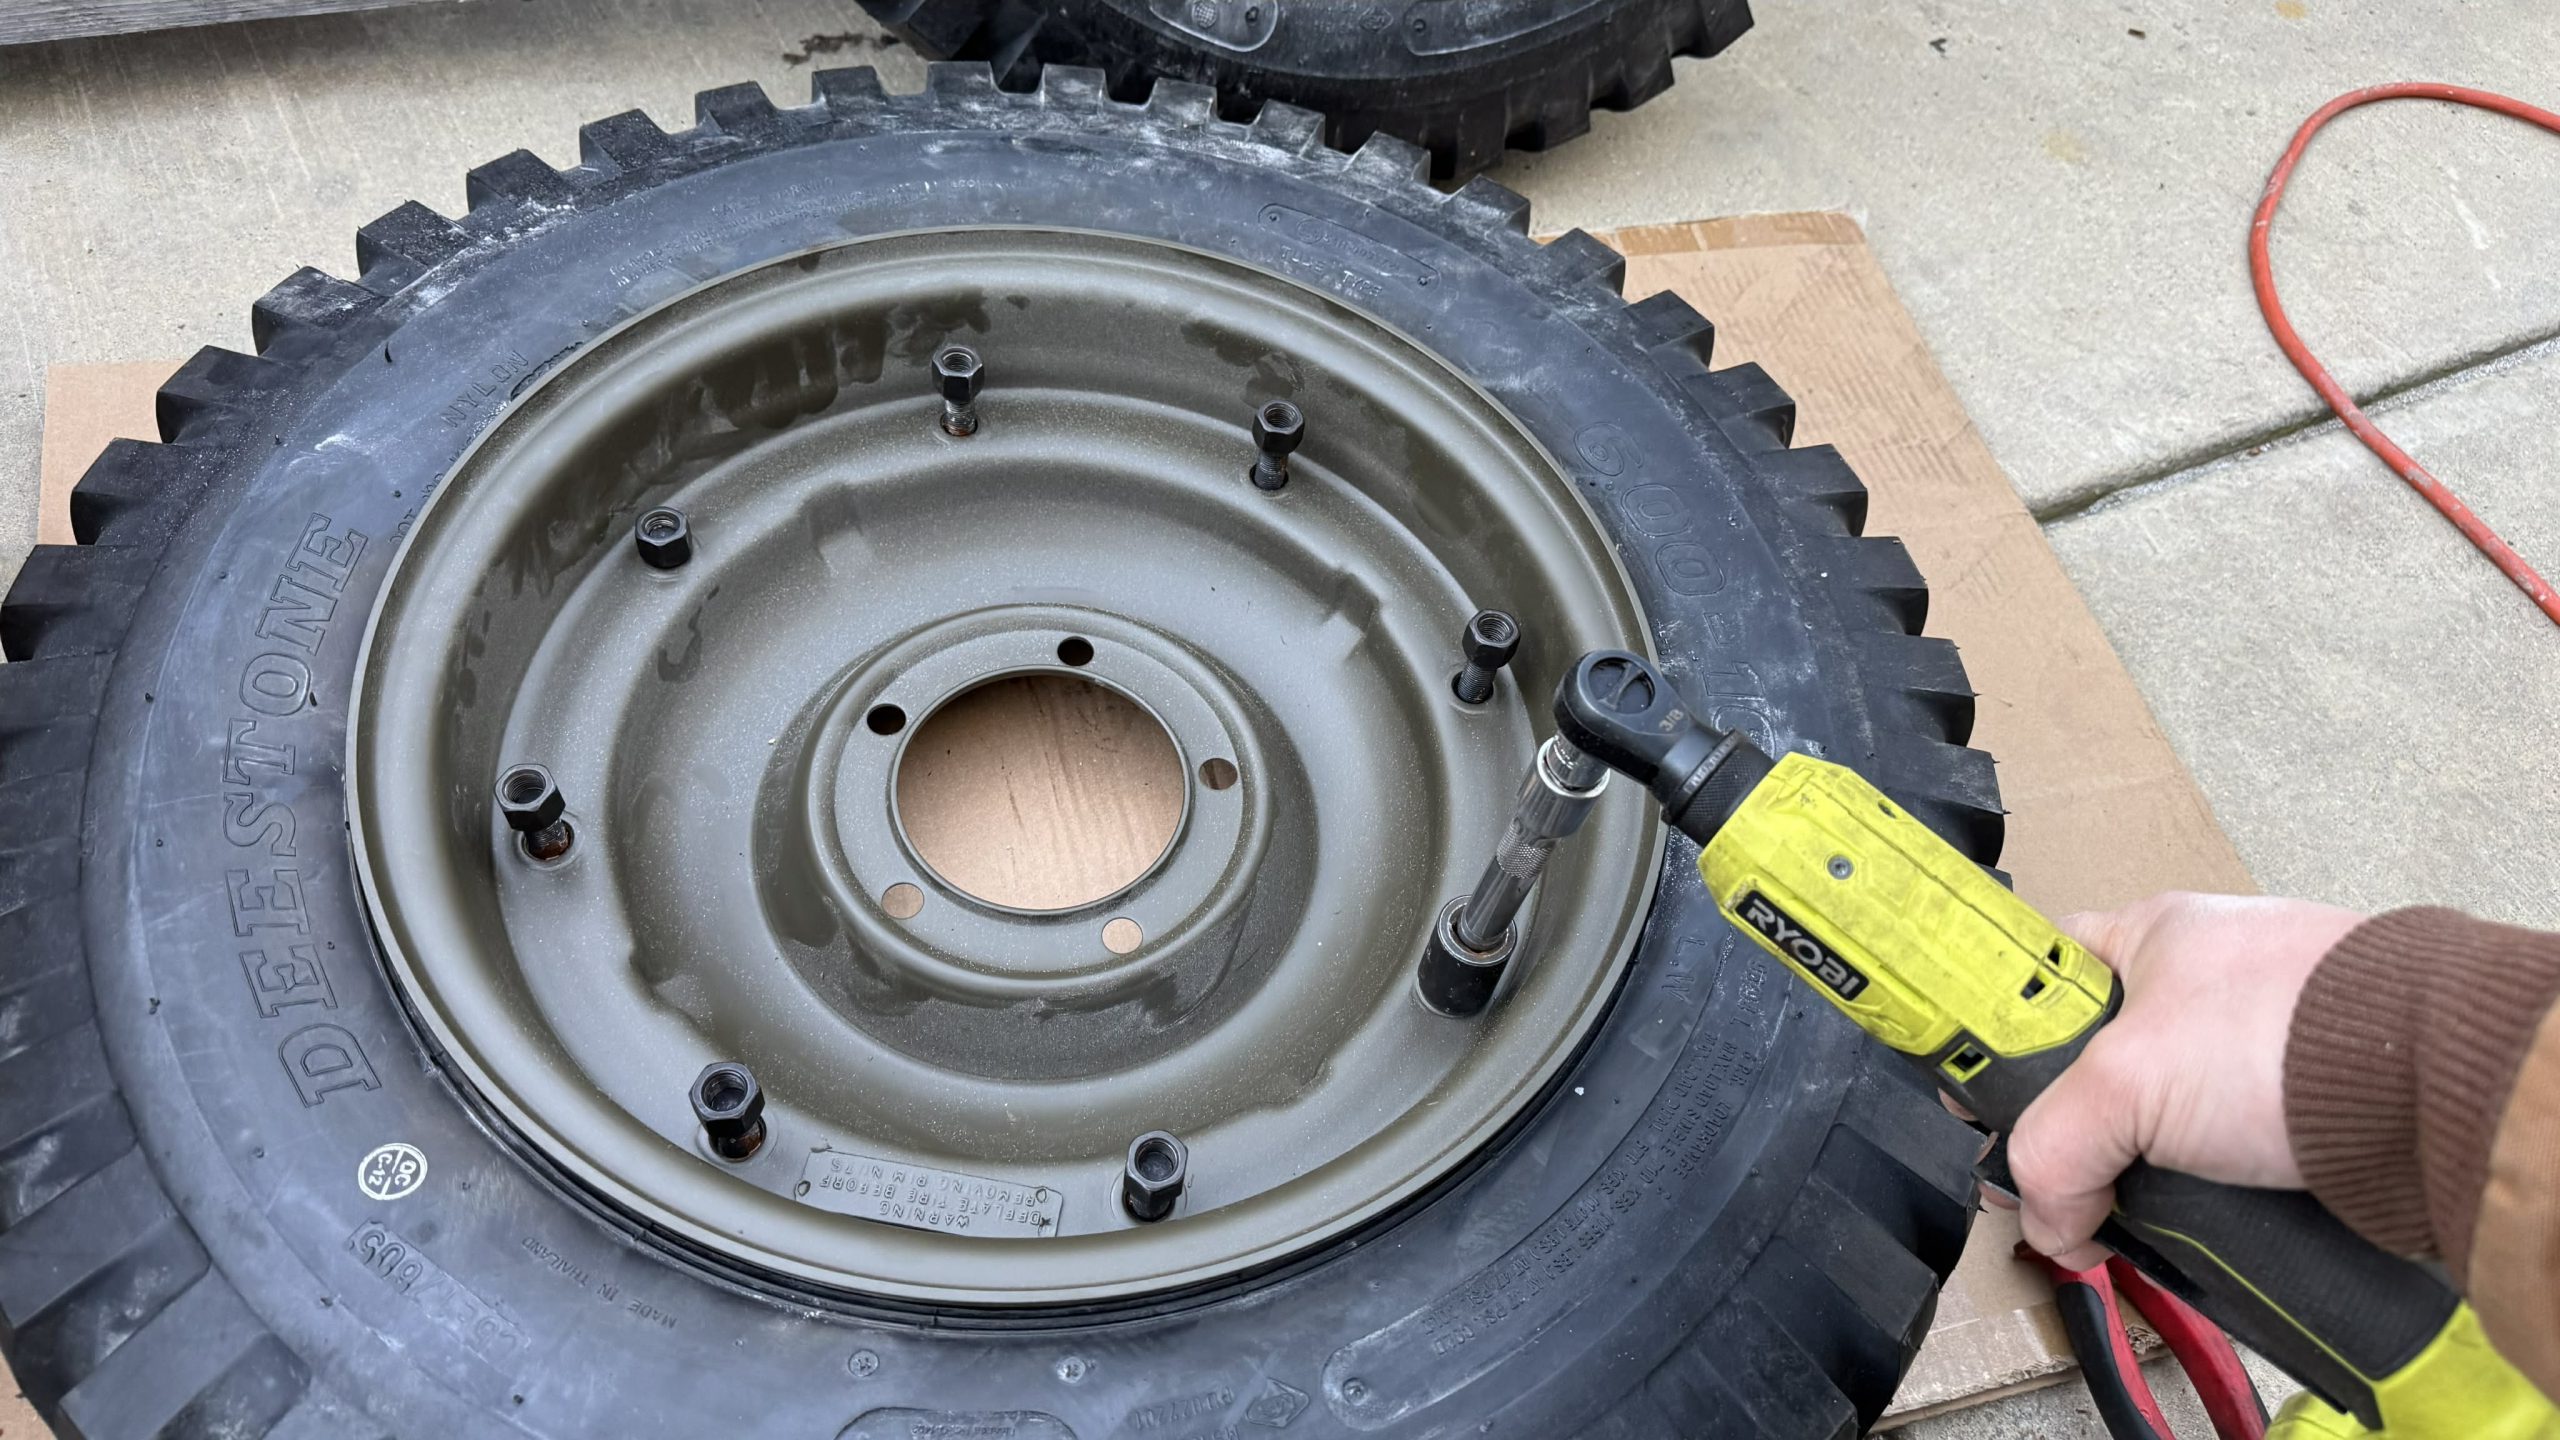
Have a look at these wheels. On one side you’ll see the smooth, round heads of eight studs, which poke through square holes so they don’t rotate:
On the back side are nuts:
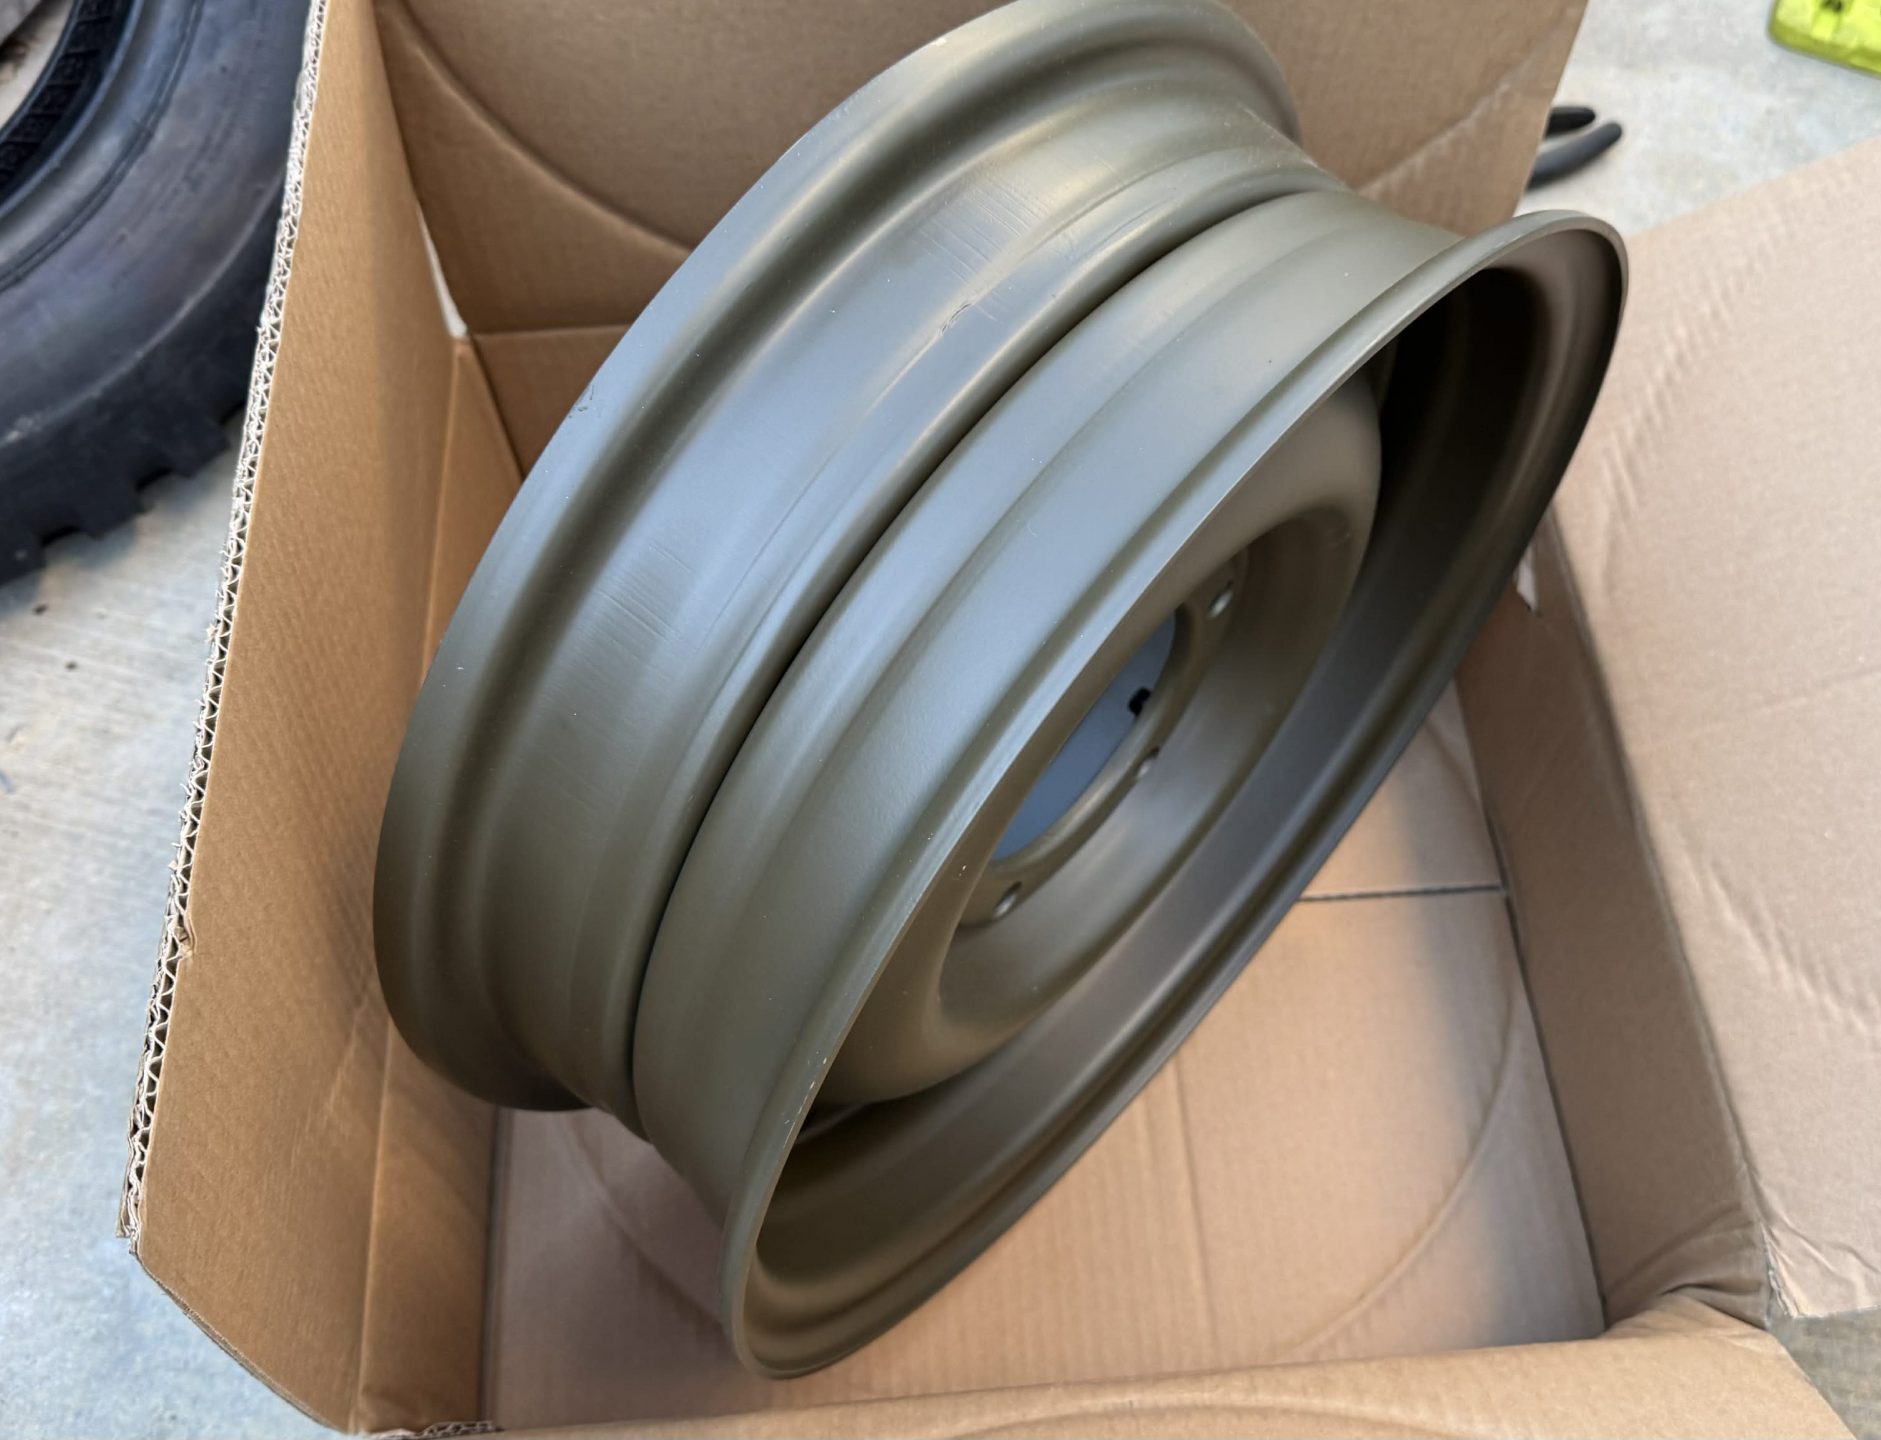
Looking at the barrel of the wheel, you see the seam between the two halves of the Combat Wheel:
Here’s a look at the wheel split apart:
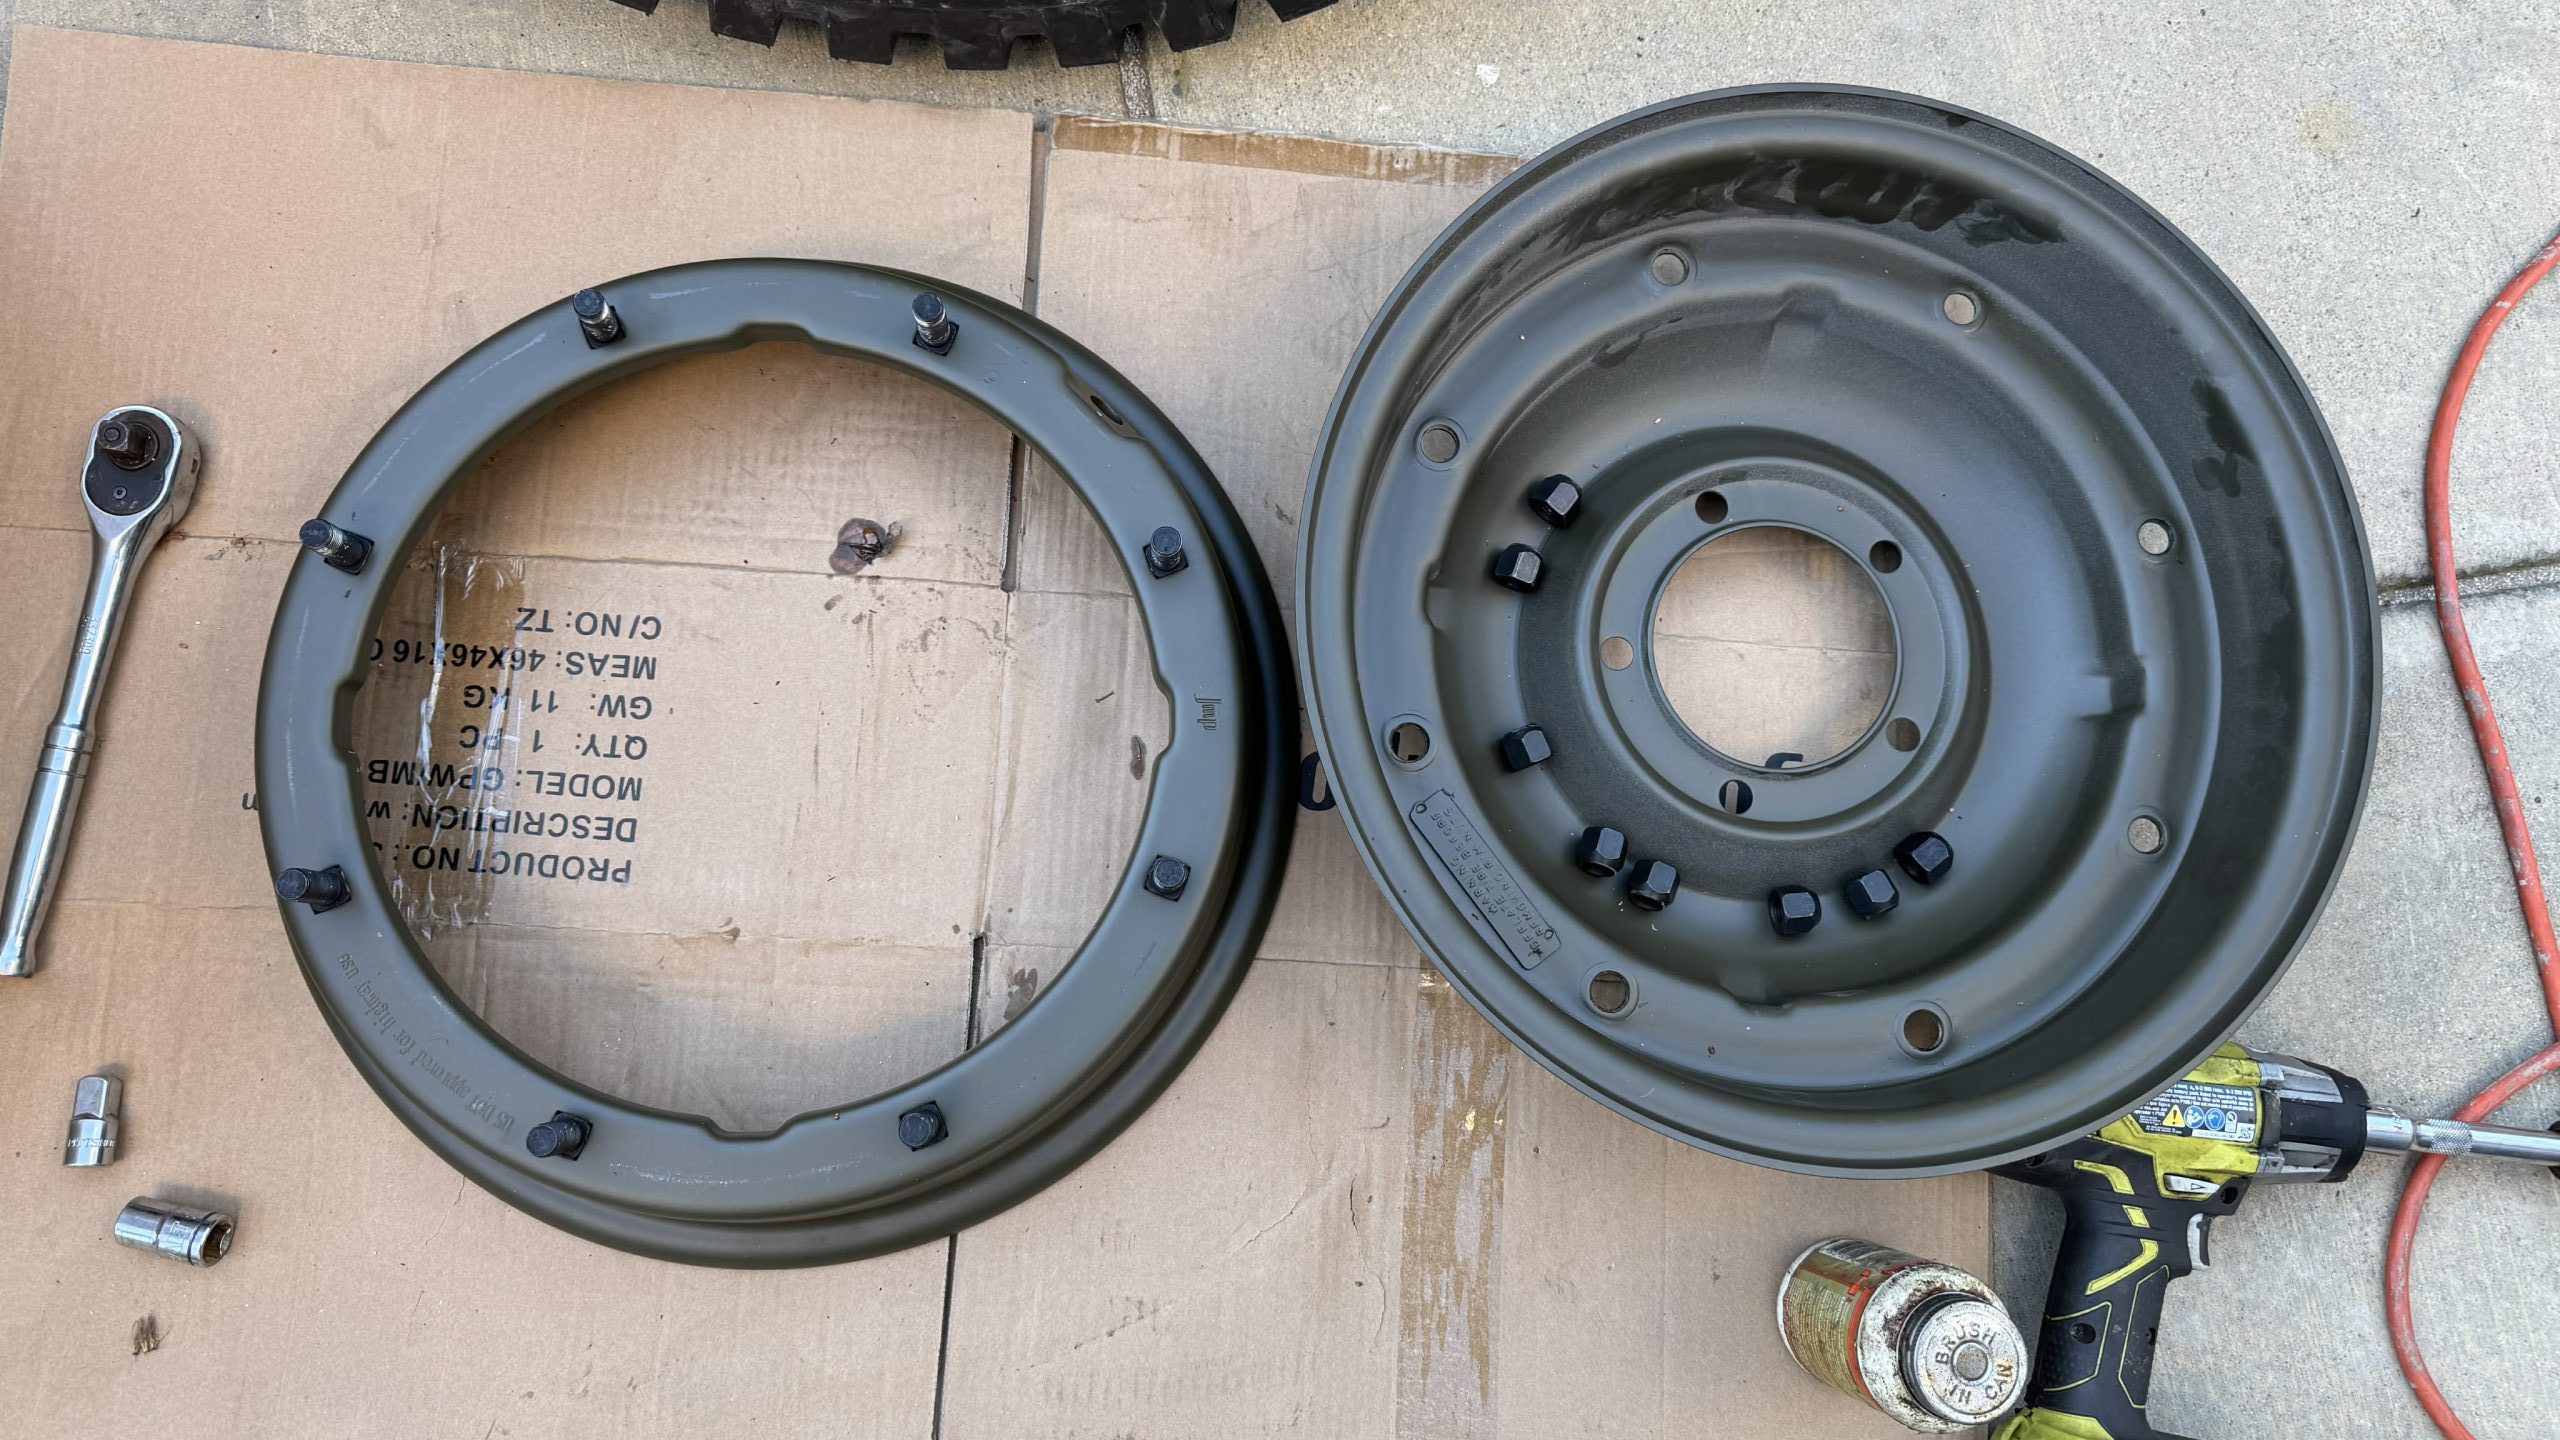
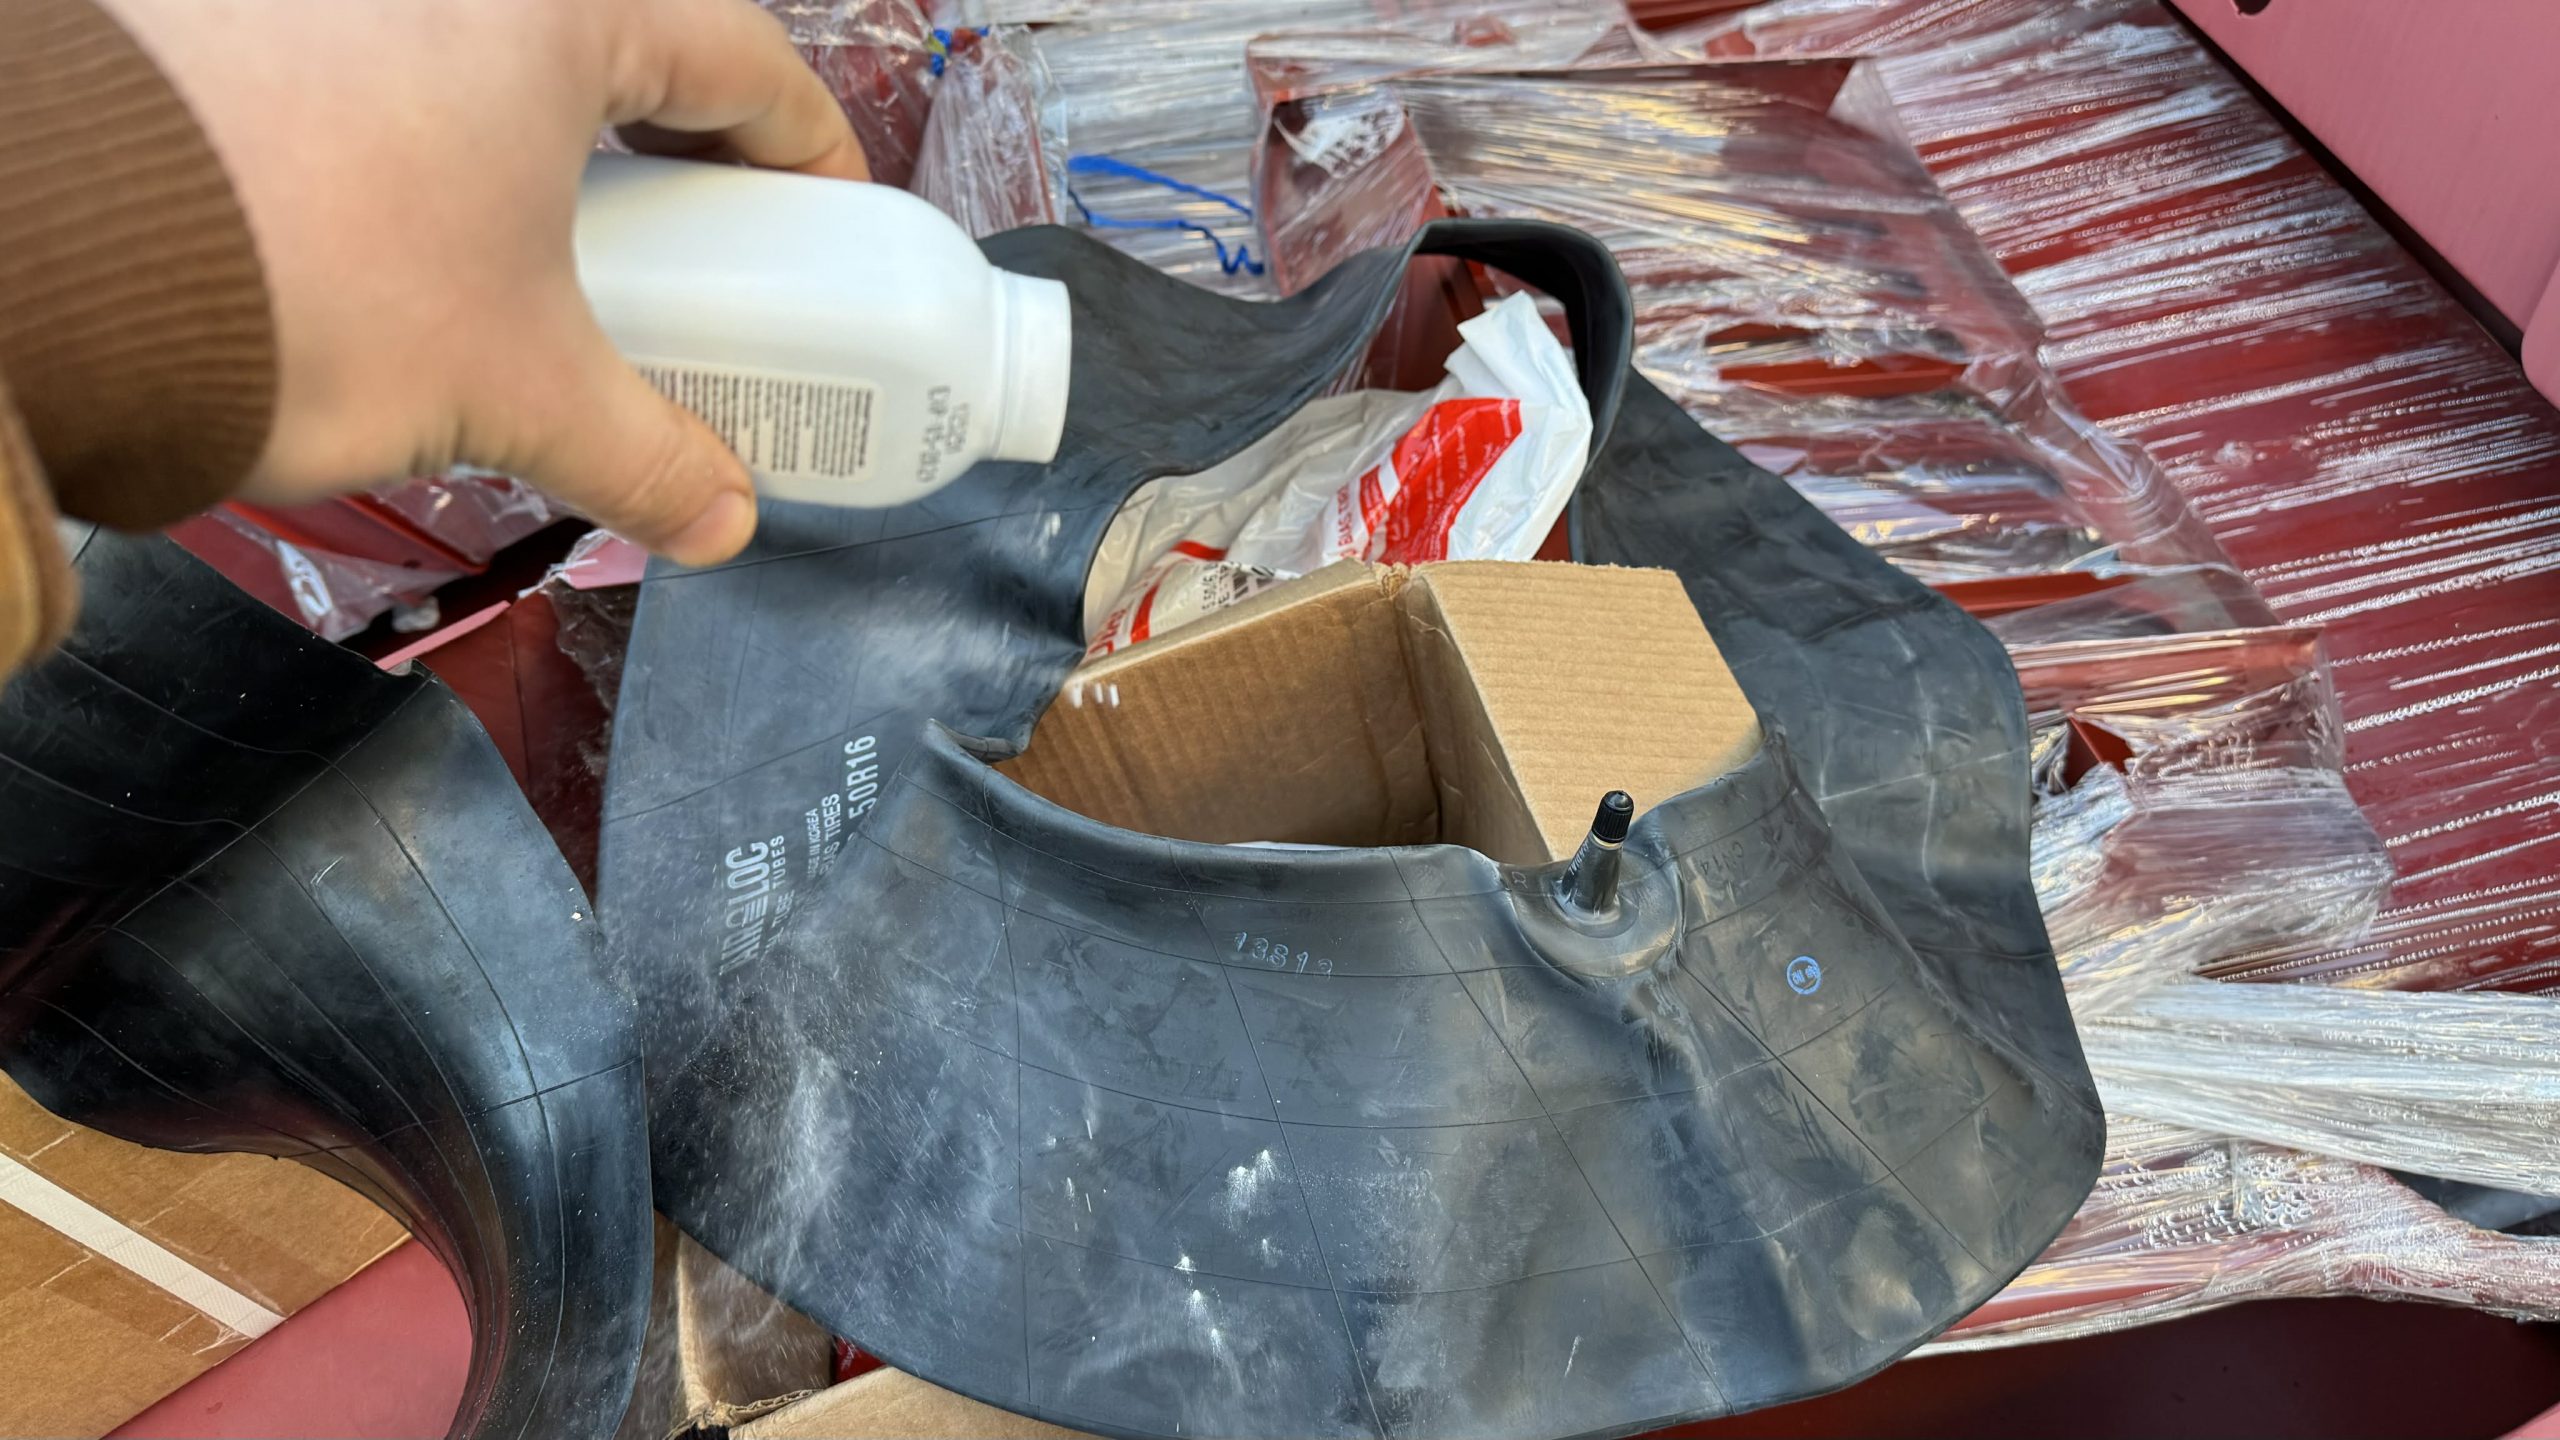
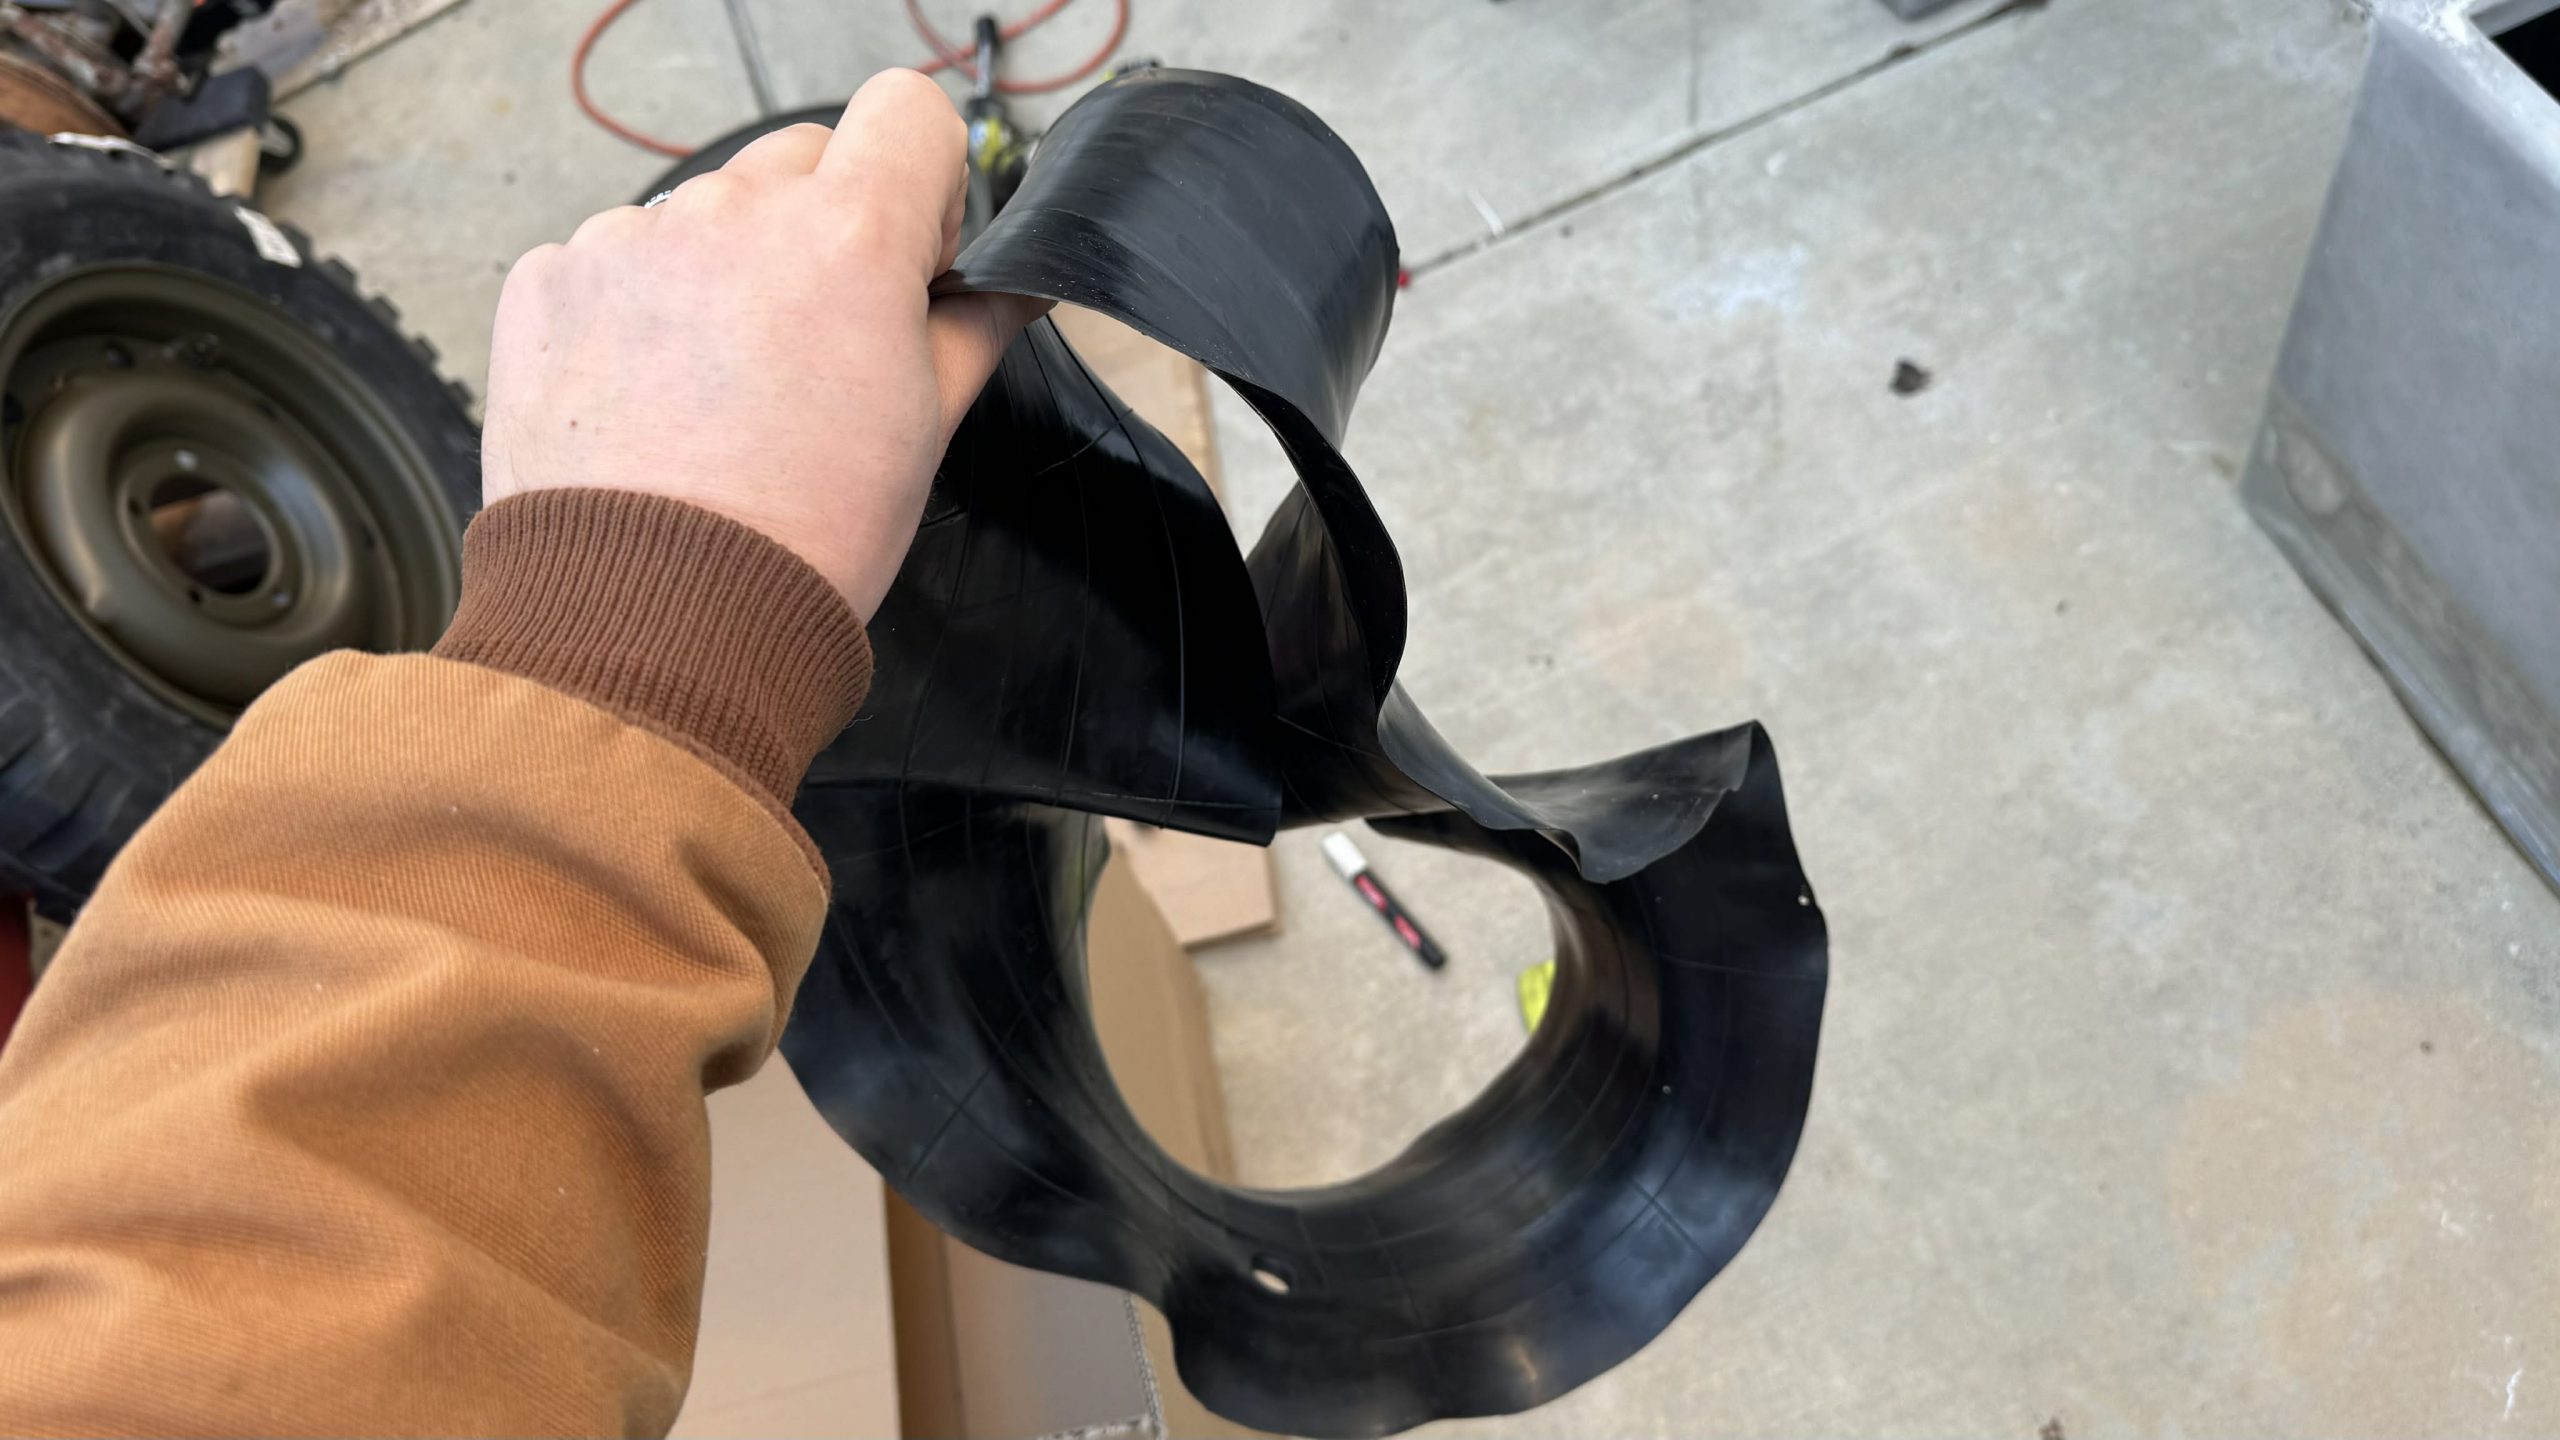
To install a tire, all a soldier had to do was use a 3/4-inch wrench and undo all eight nuts. Then, after separating the two halves of the Combat Wheel/Combat Rim, the soldier simply had to shove an inner tube like this one …
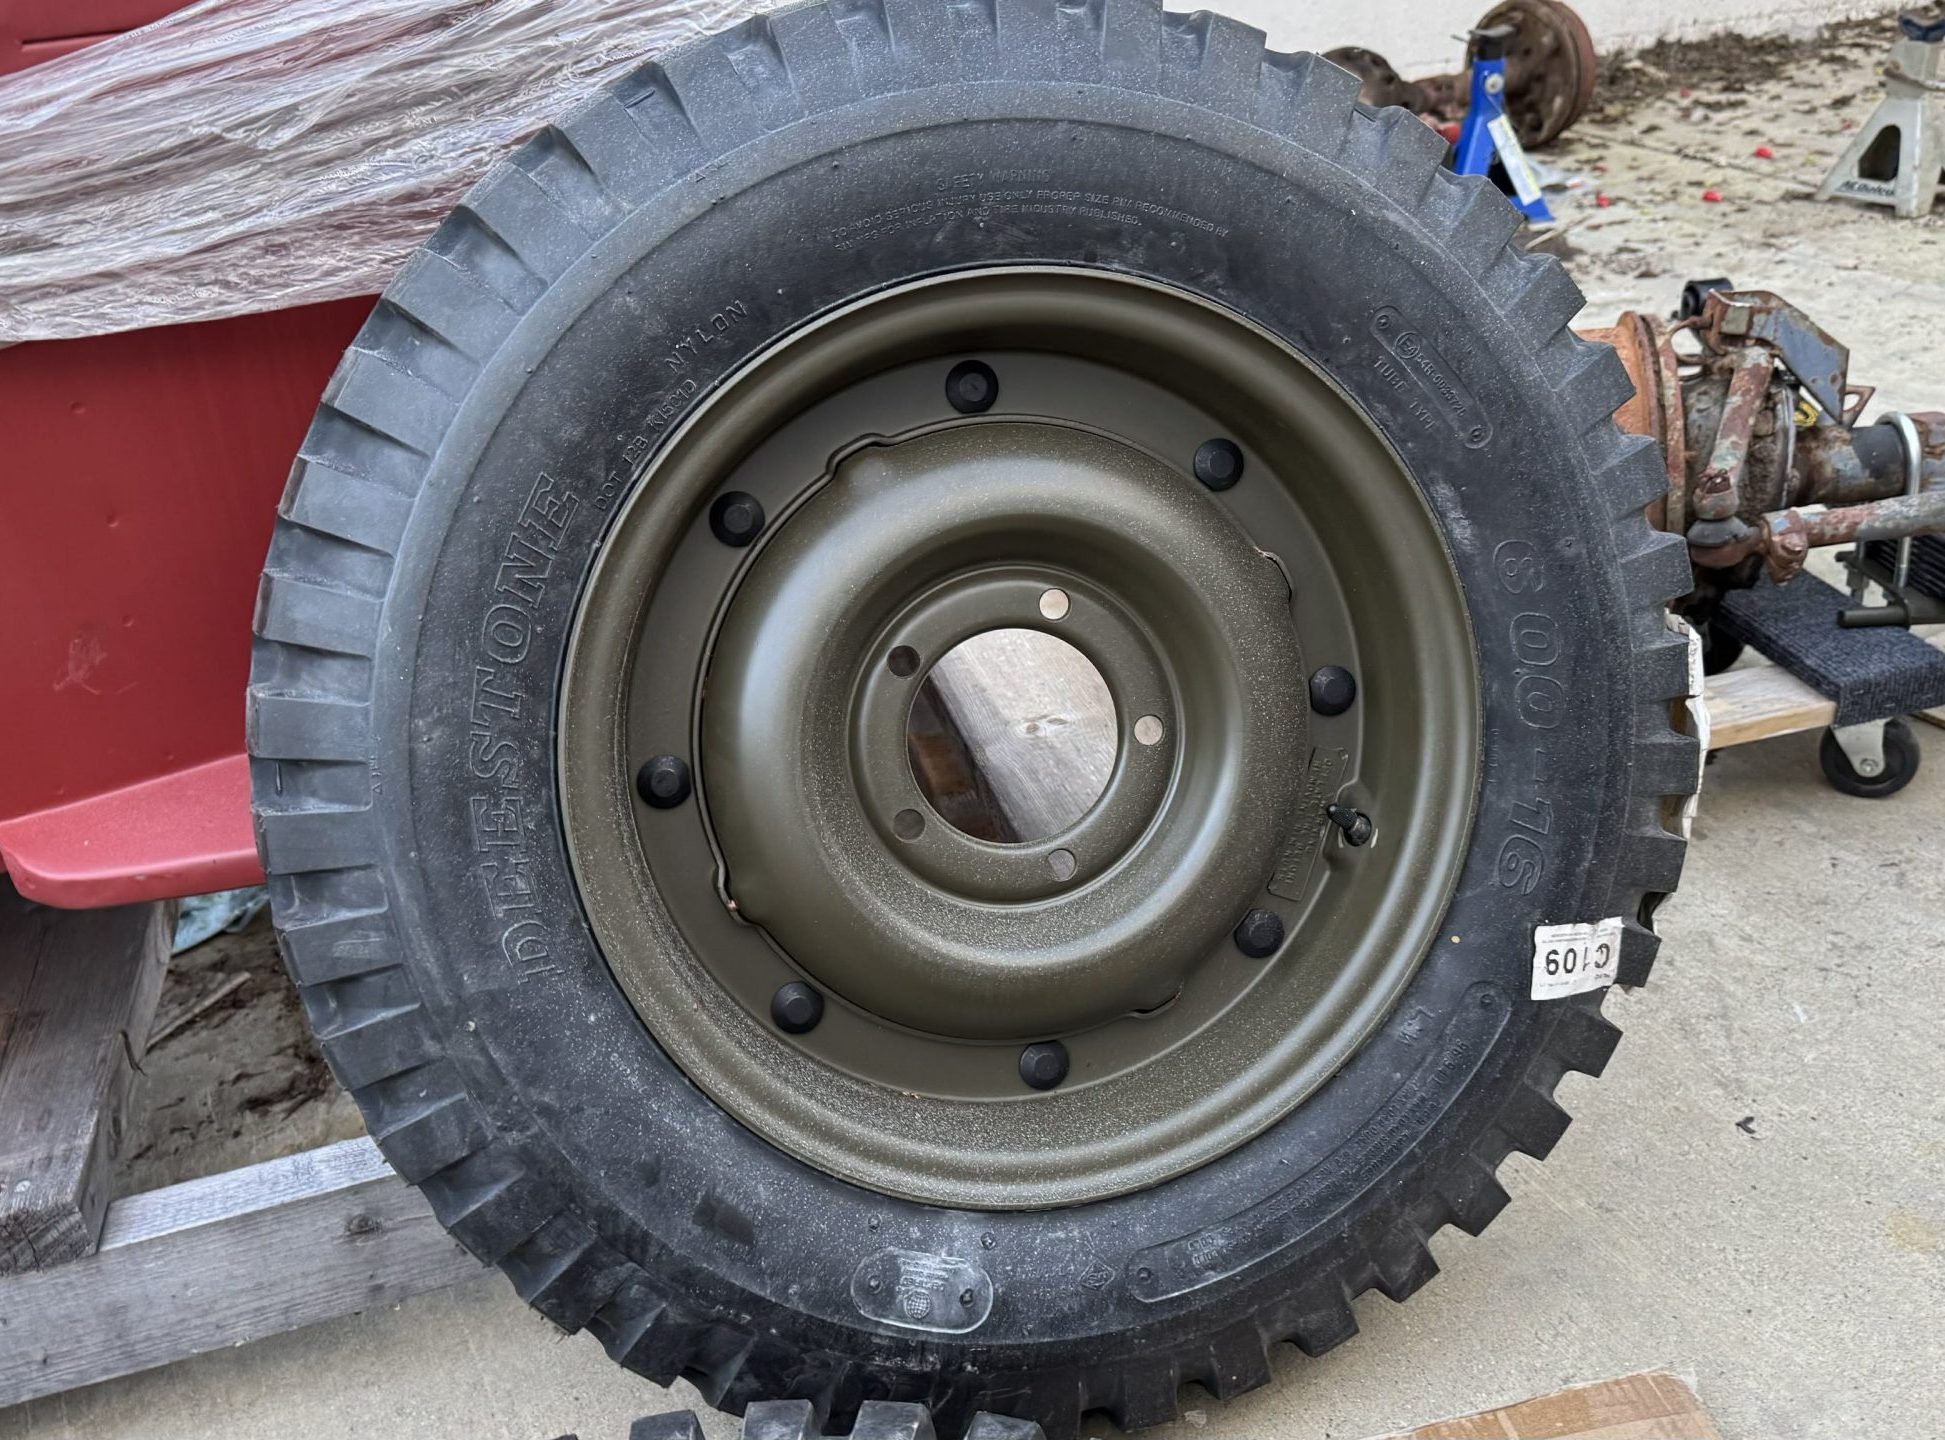
… into the new tire, which on a WWII Jeep would be an “NDT,” or “Non-Directional Tire.” Here’s a look at one:
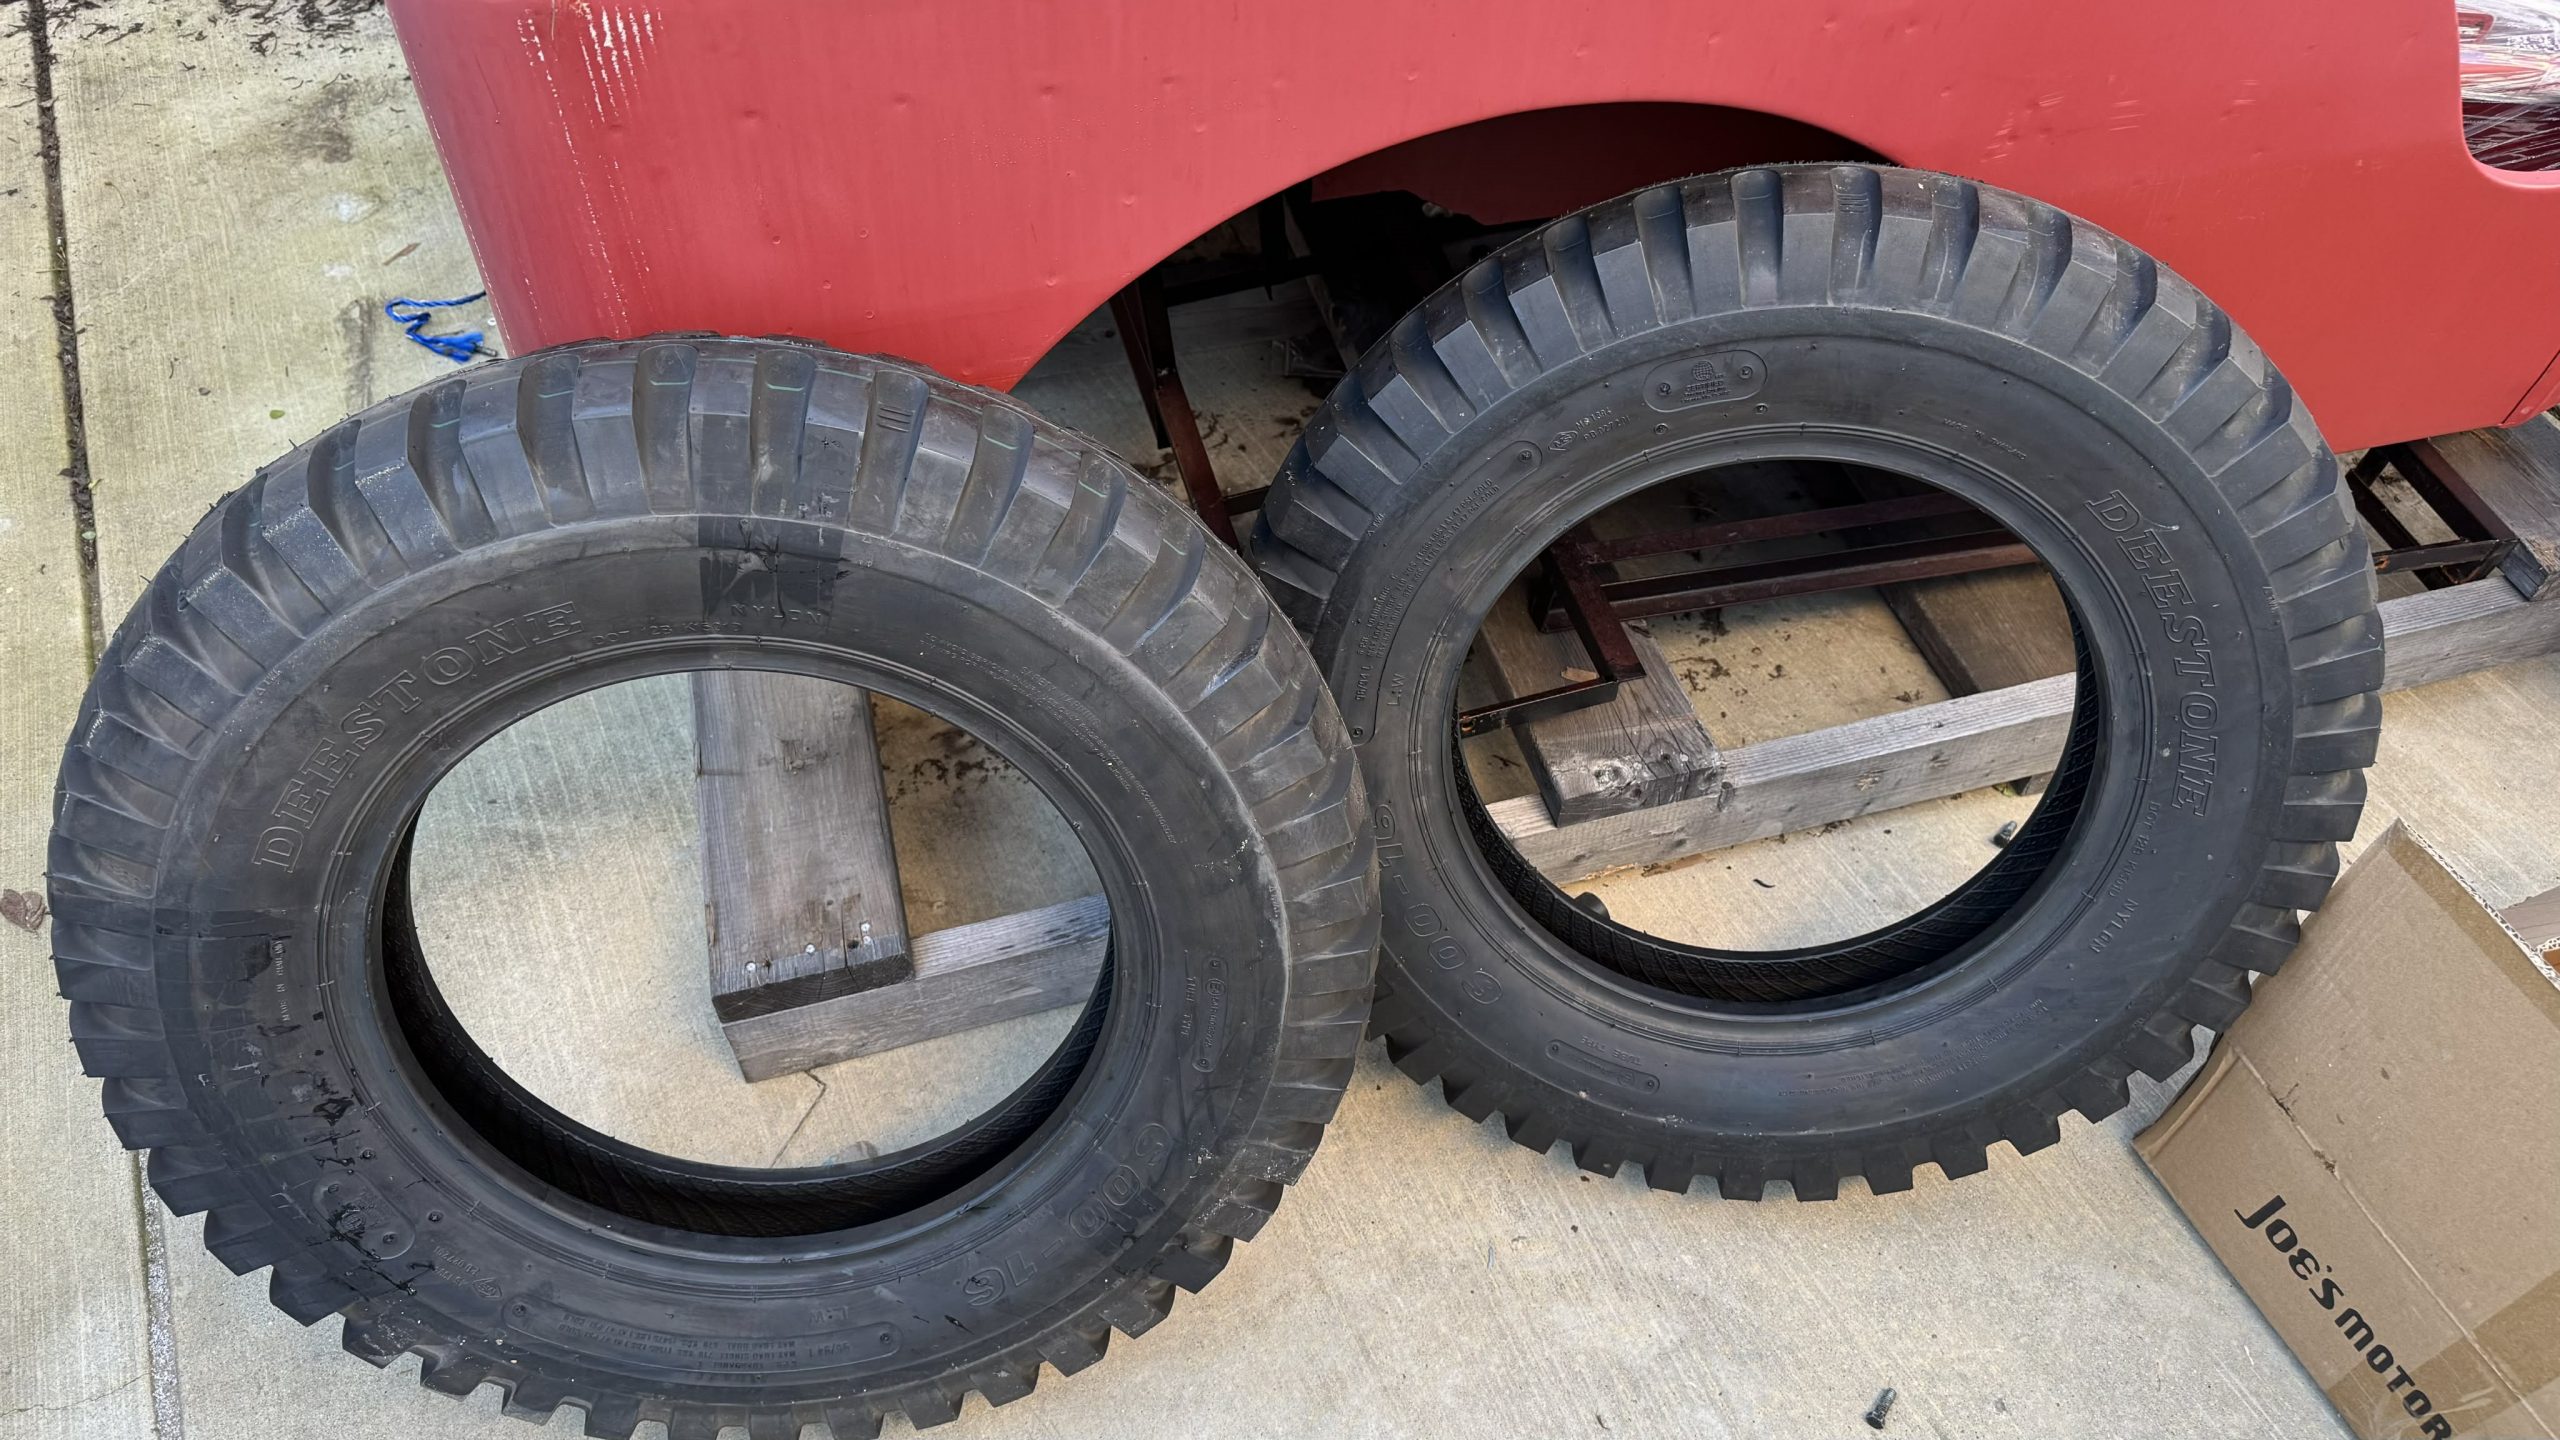
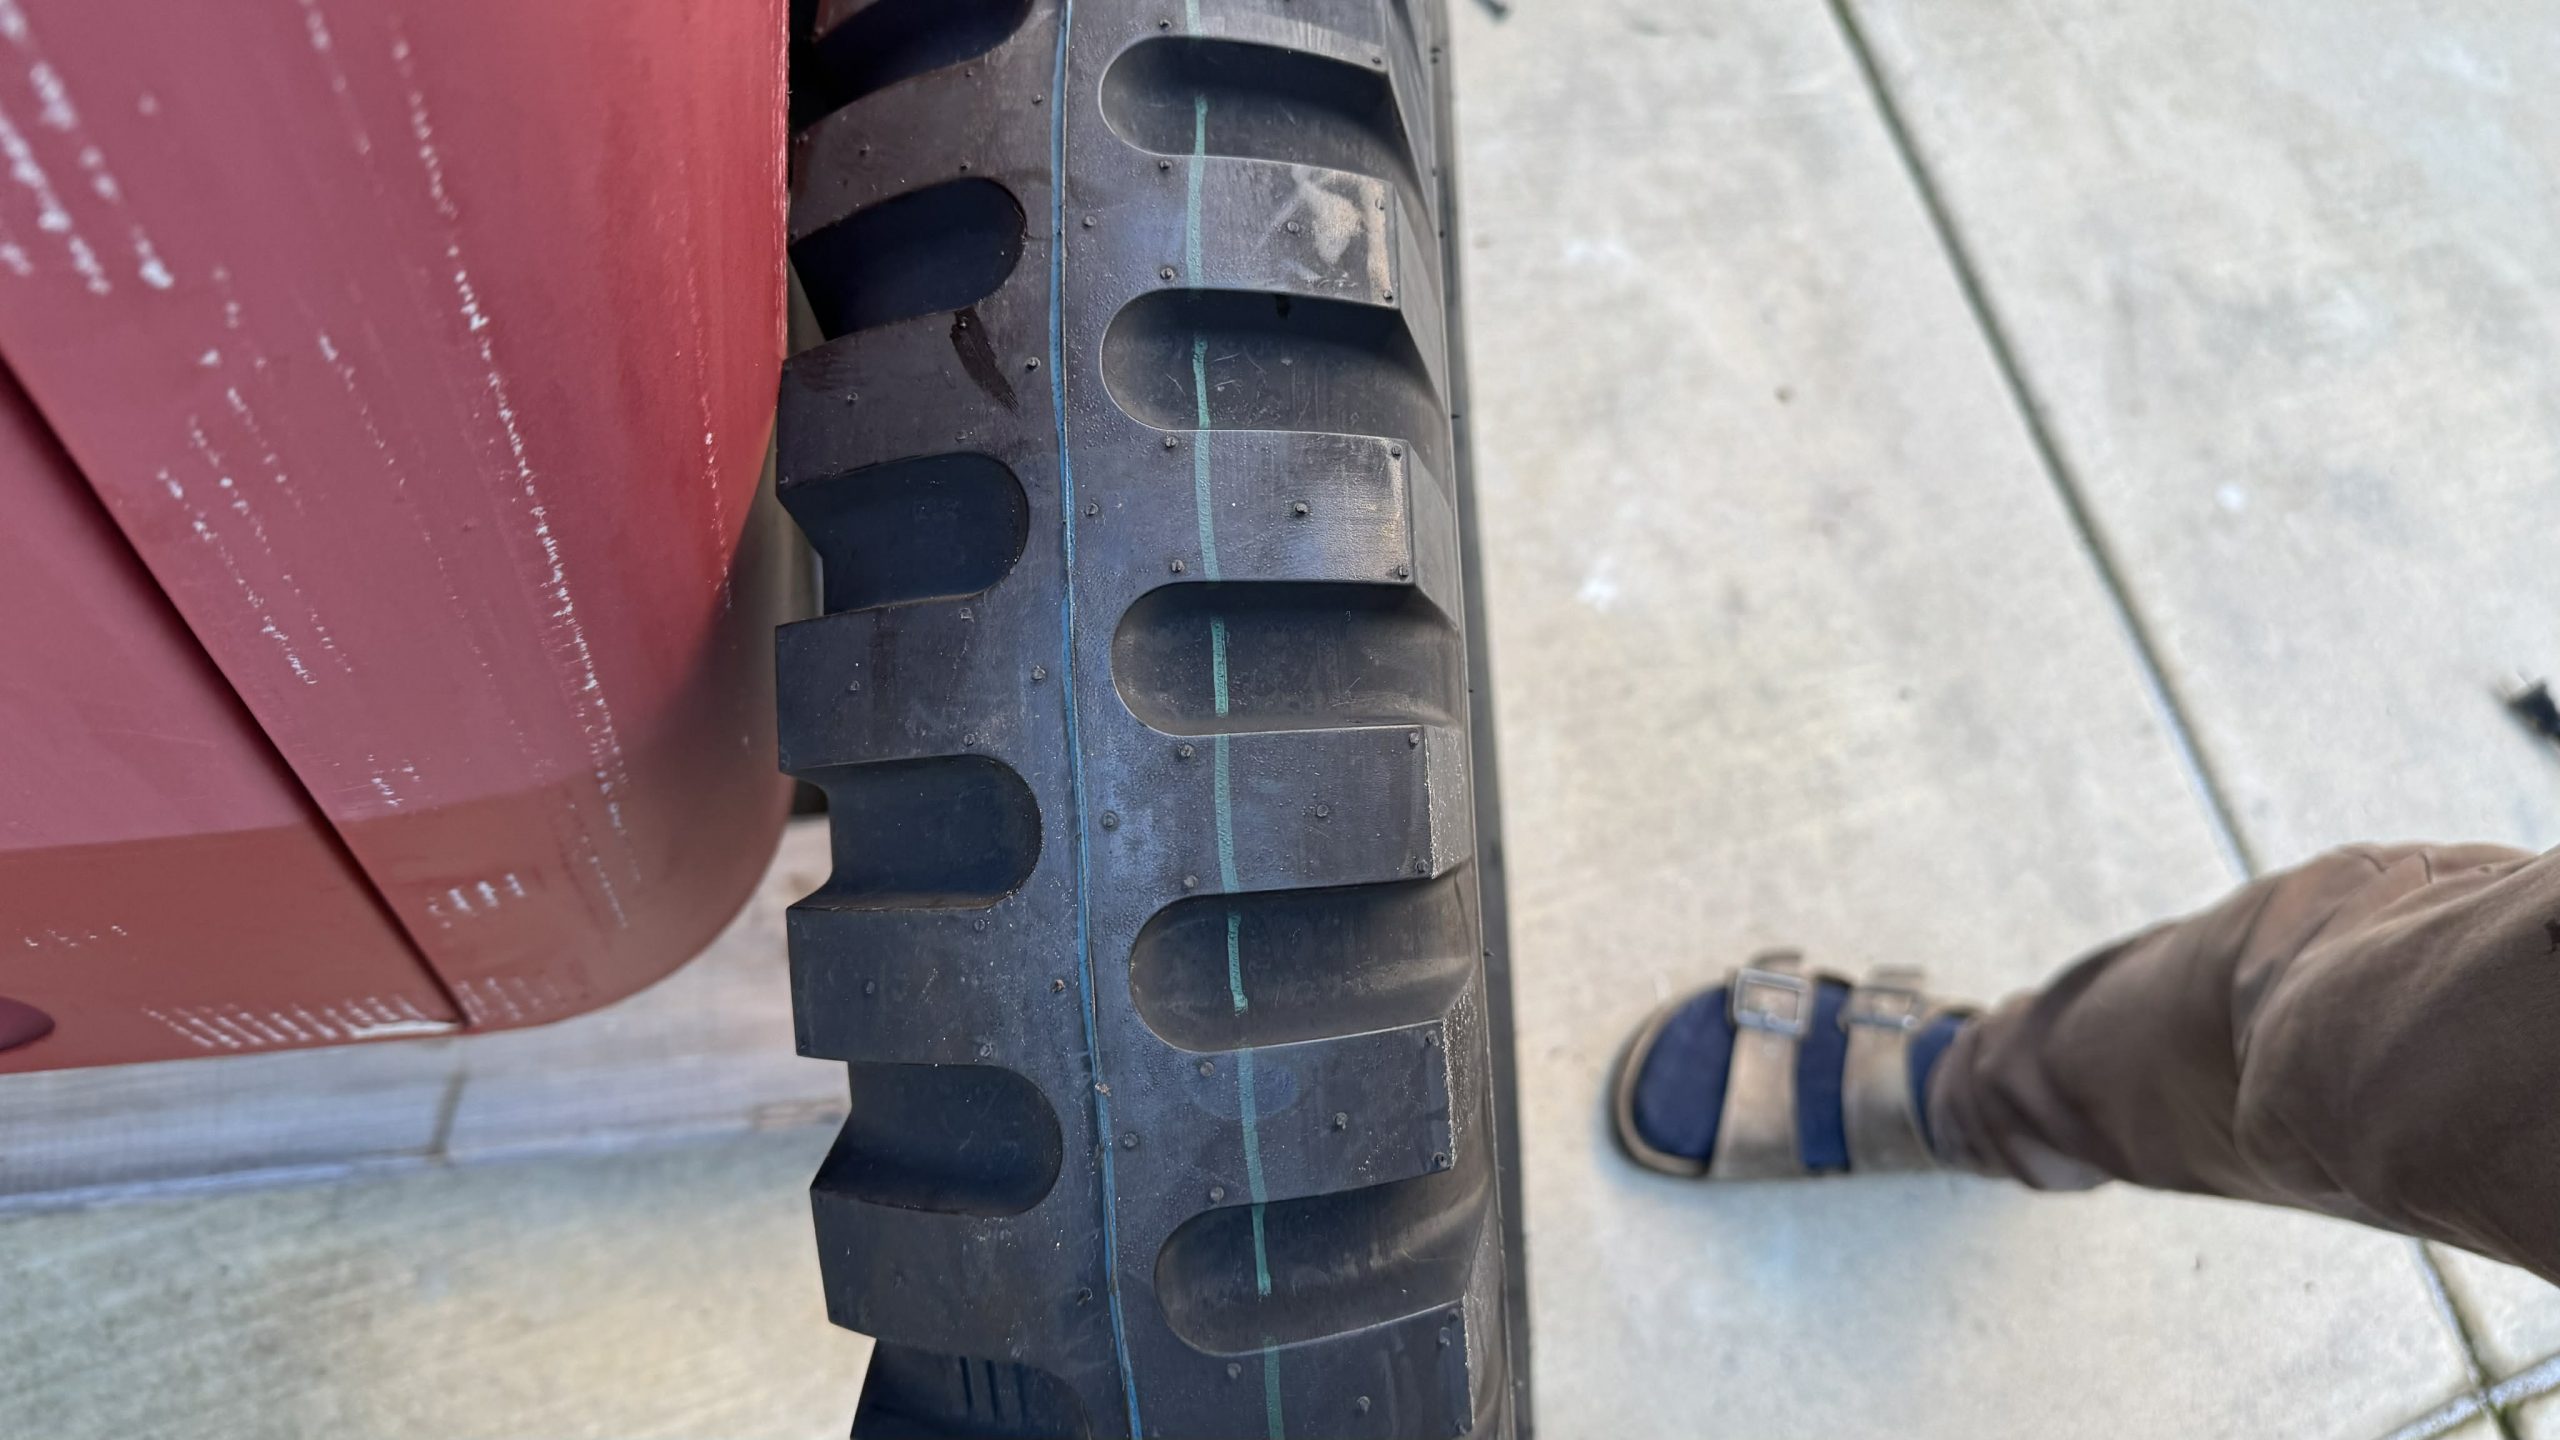
Here’s a closer look at the alternating tread pattern:
With the tube in the tire and slightly inflated, the soldier would shove the tube into the tire:
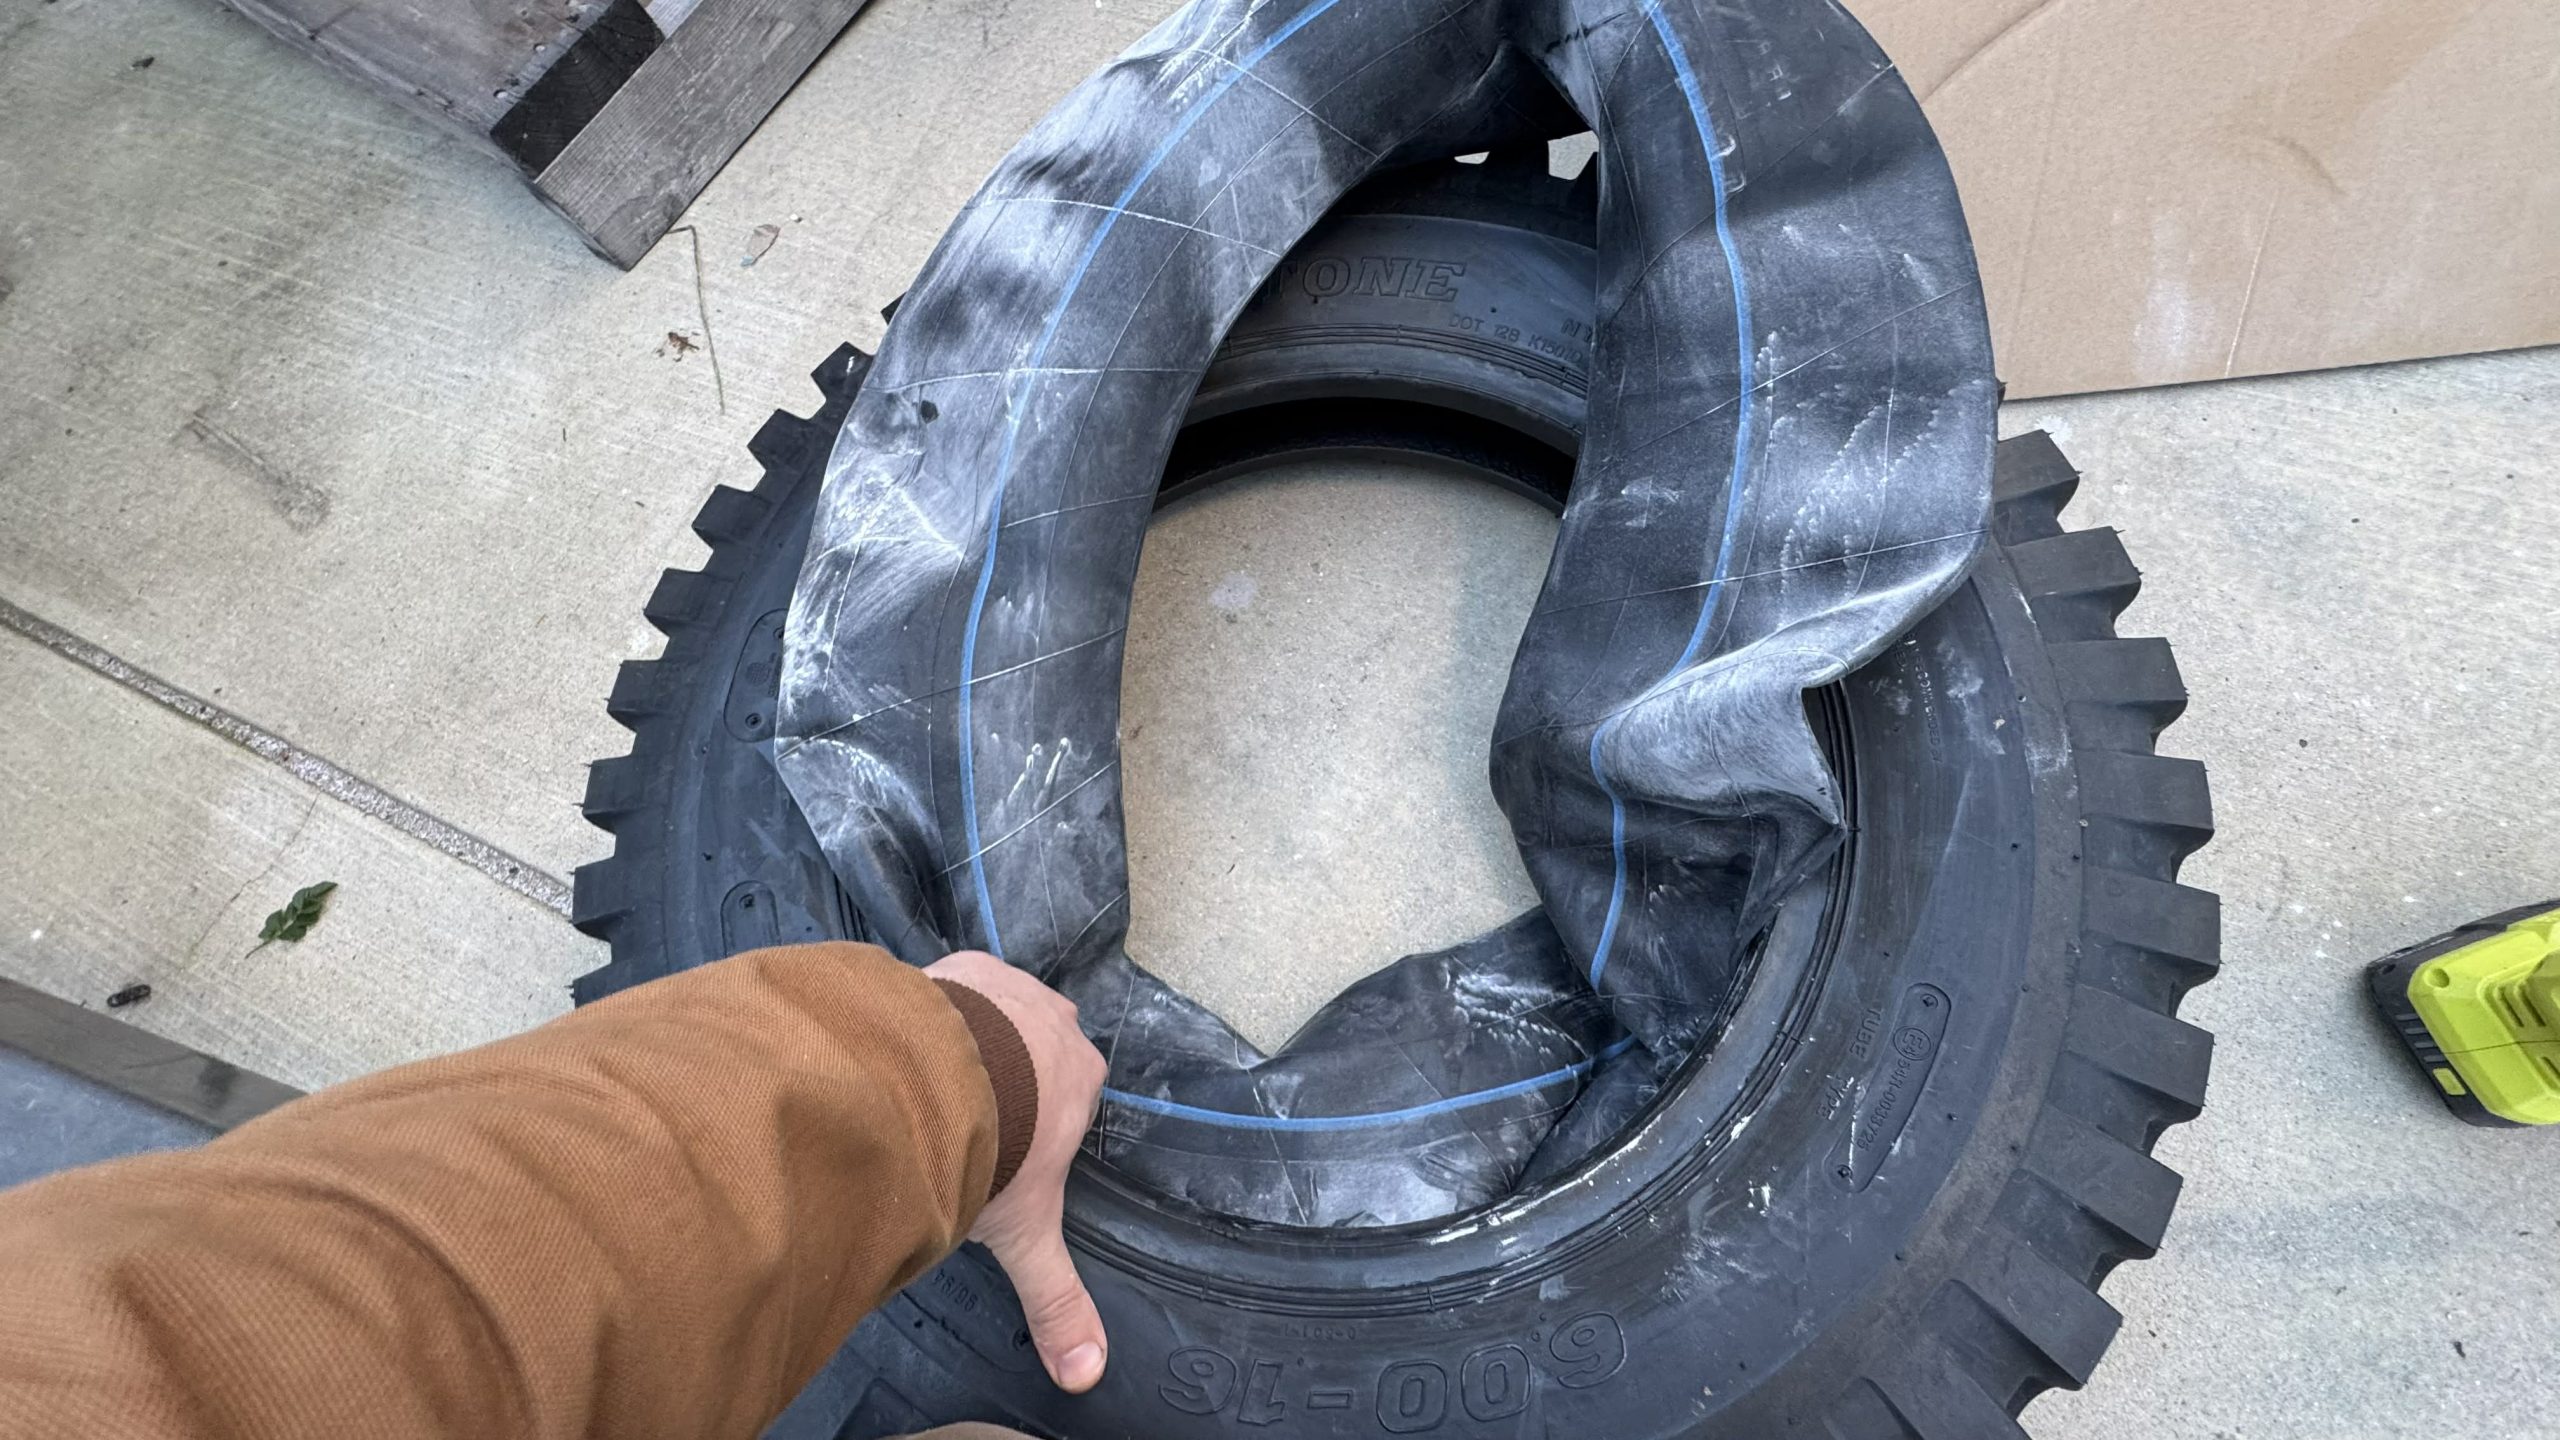
Then the solider would install an “inner tube flap,” which was meant to protect the inner tube from the wheel.
Tucking the inner tube flap around the inner tube yields a tire/inner tube/inner tube flap assembly that looks like this:
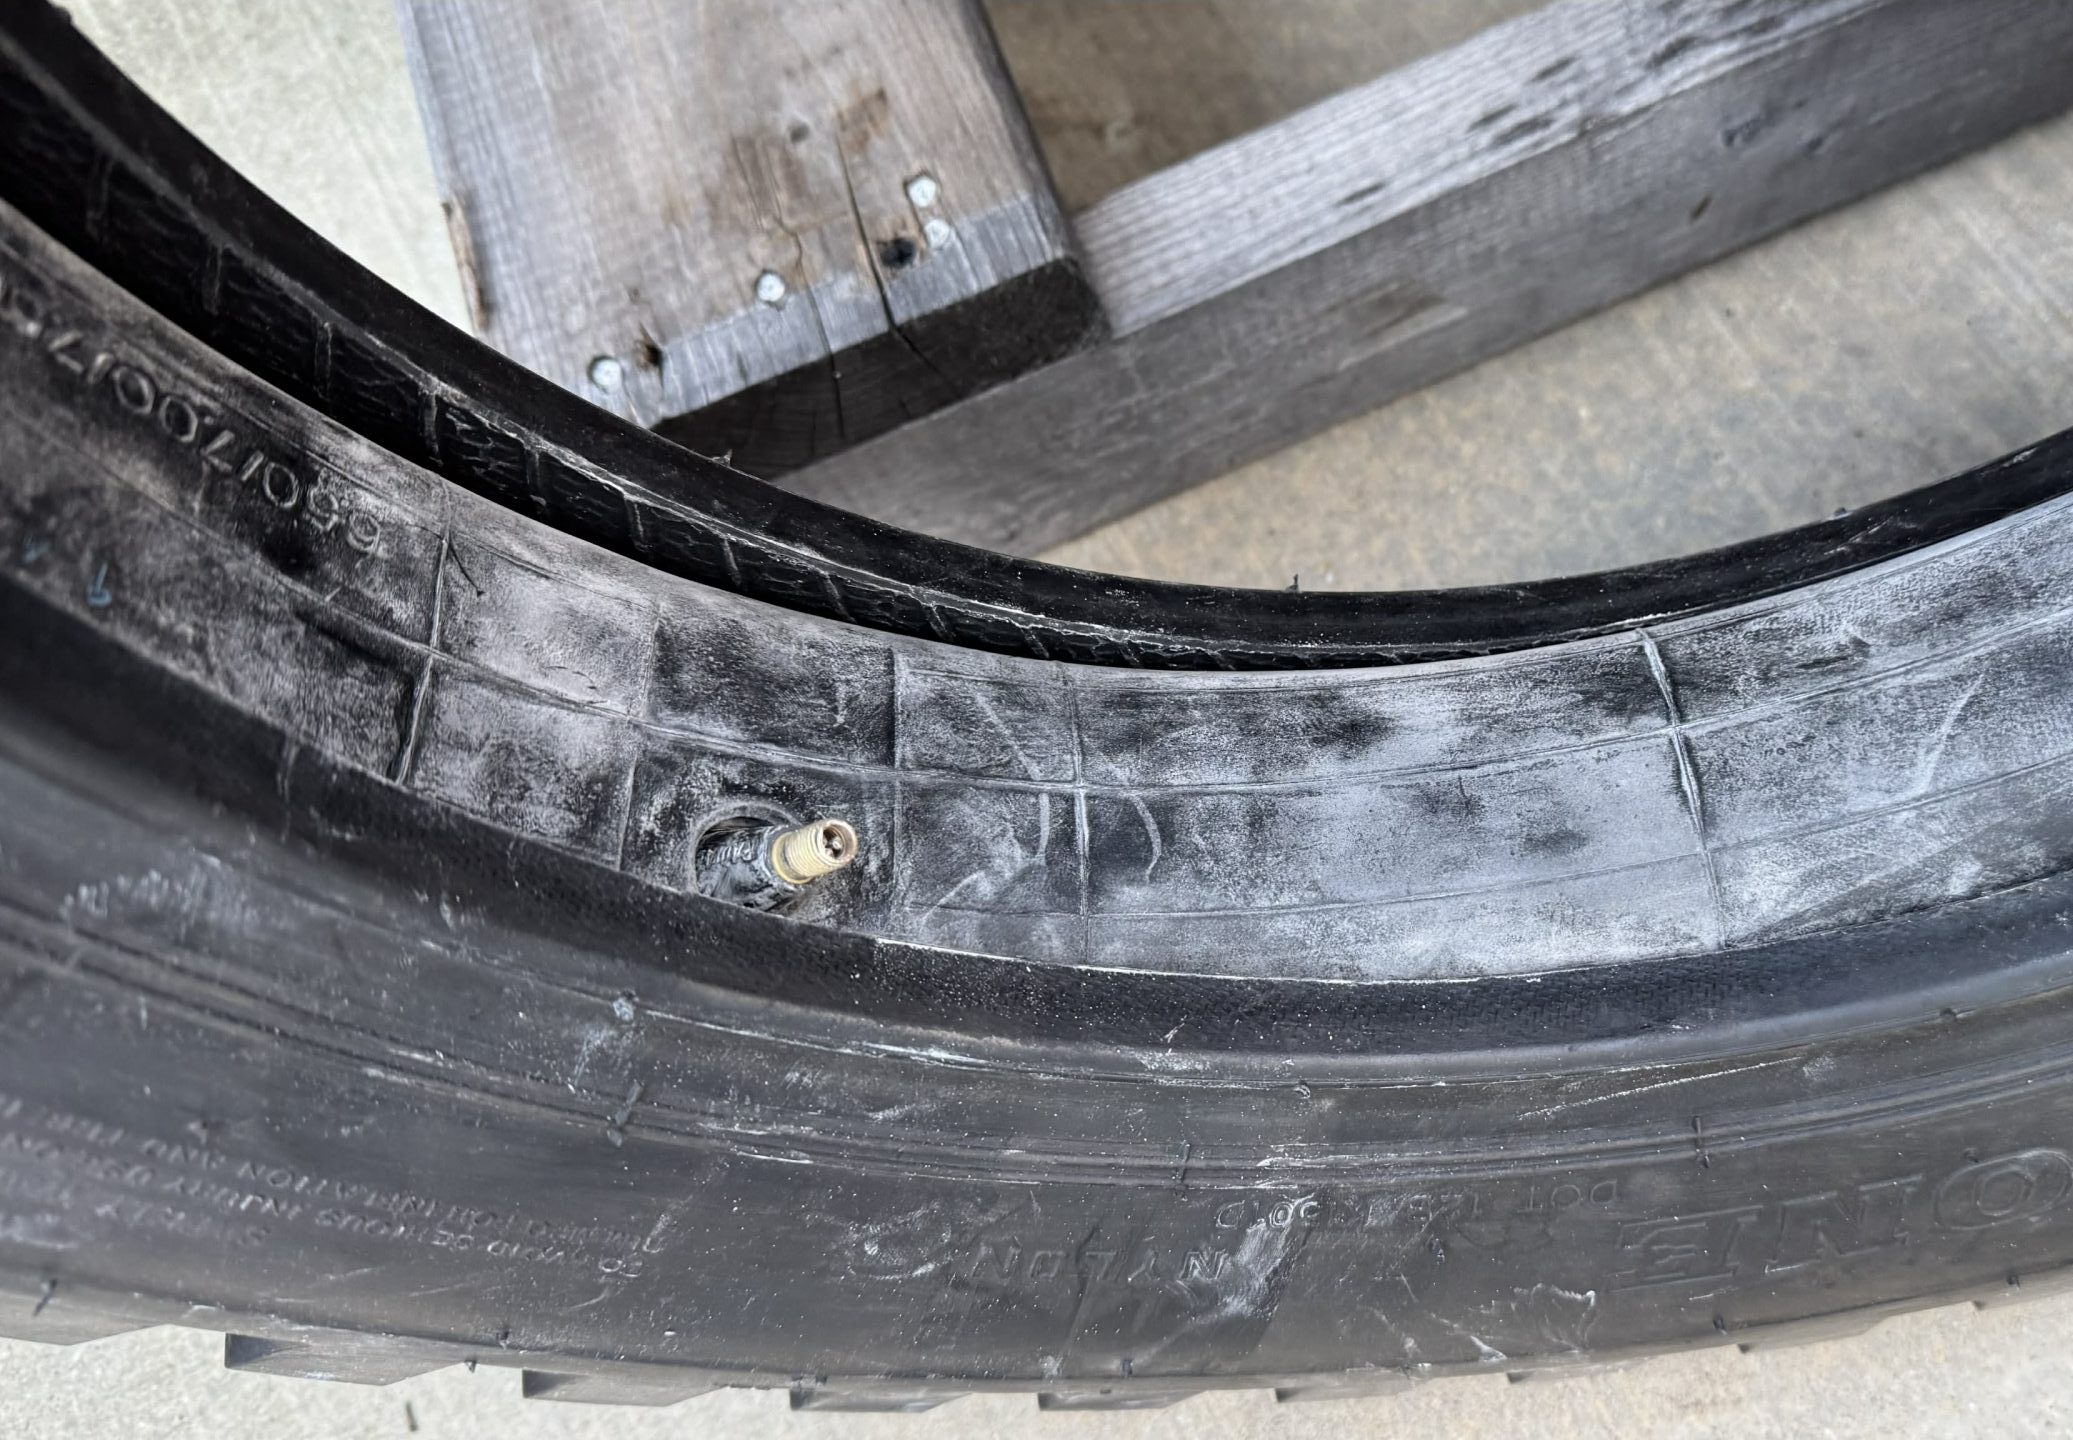
That whole assembly gets dropped onto half the wheel, with the inner tube’s valve stem lined up with the wheel’s valve stem hole.
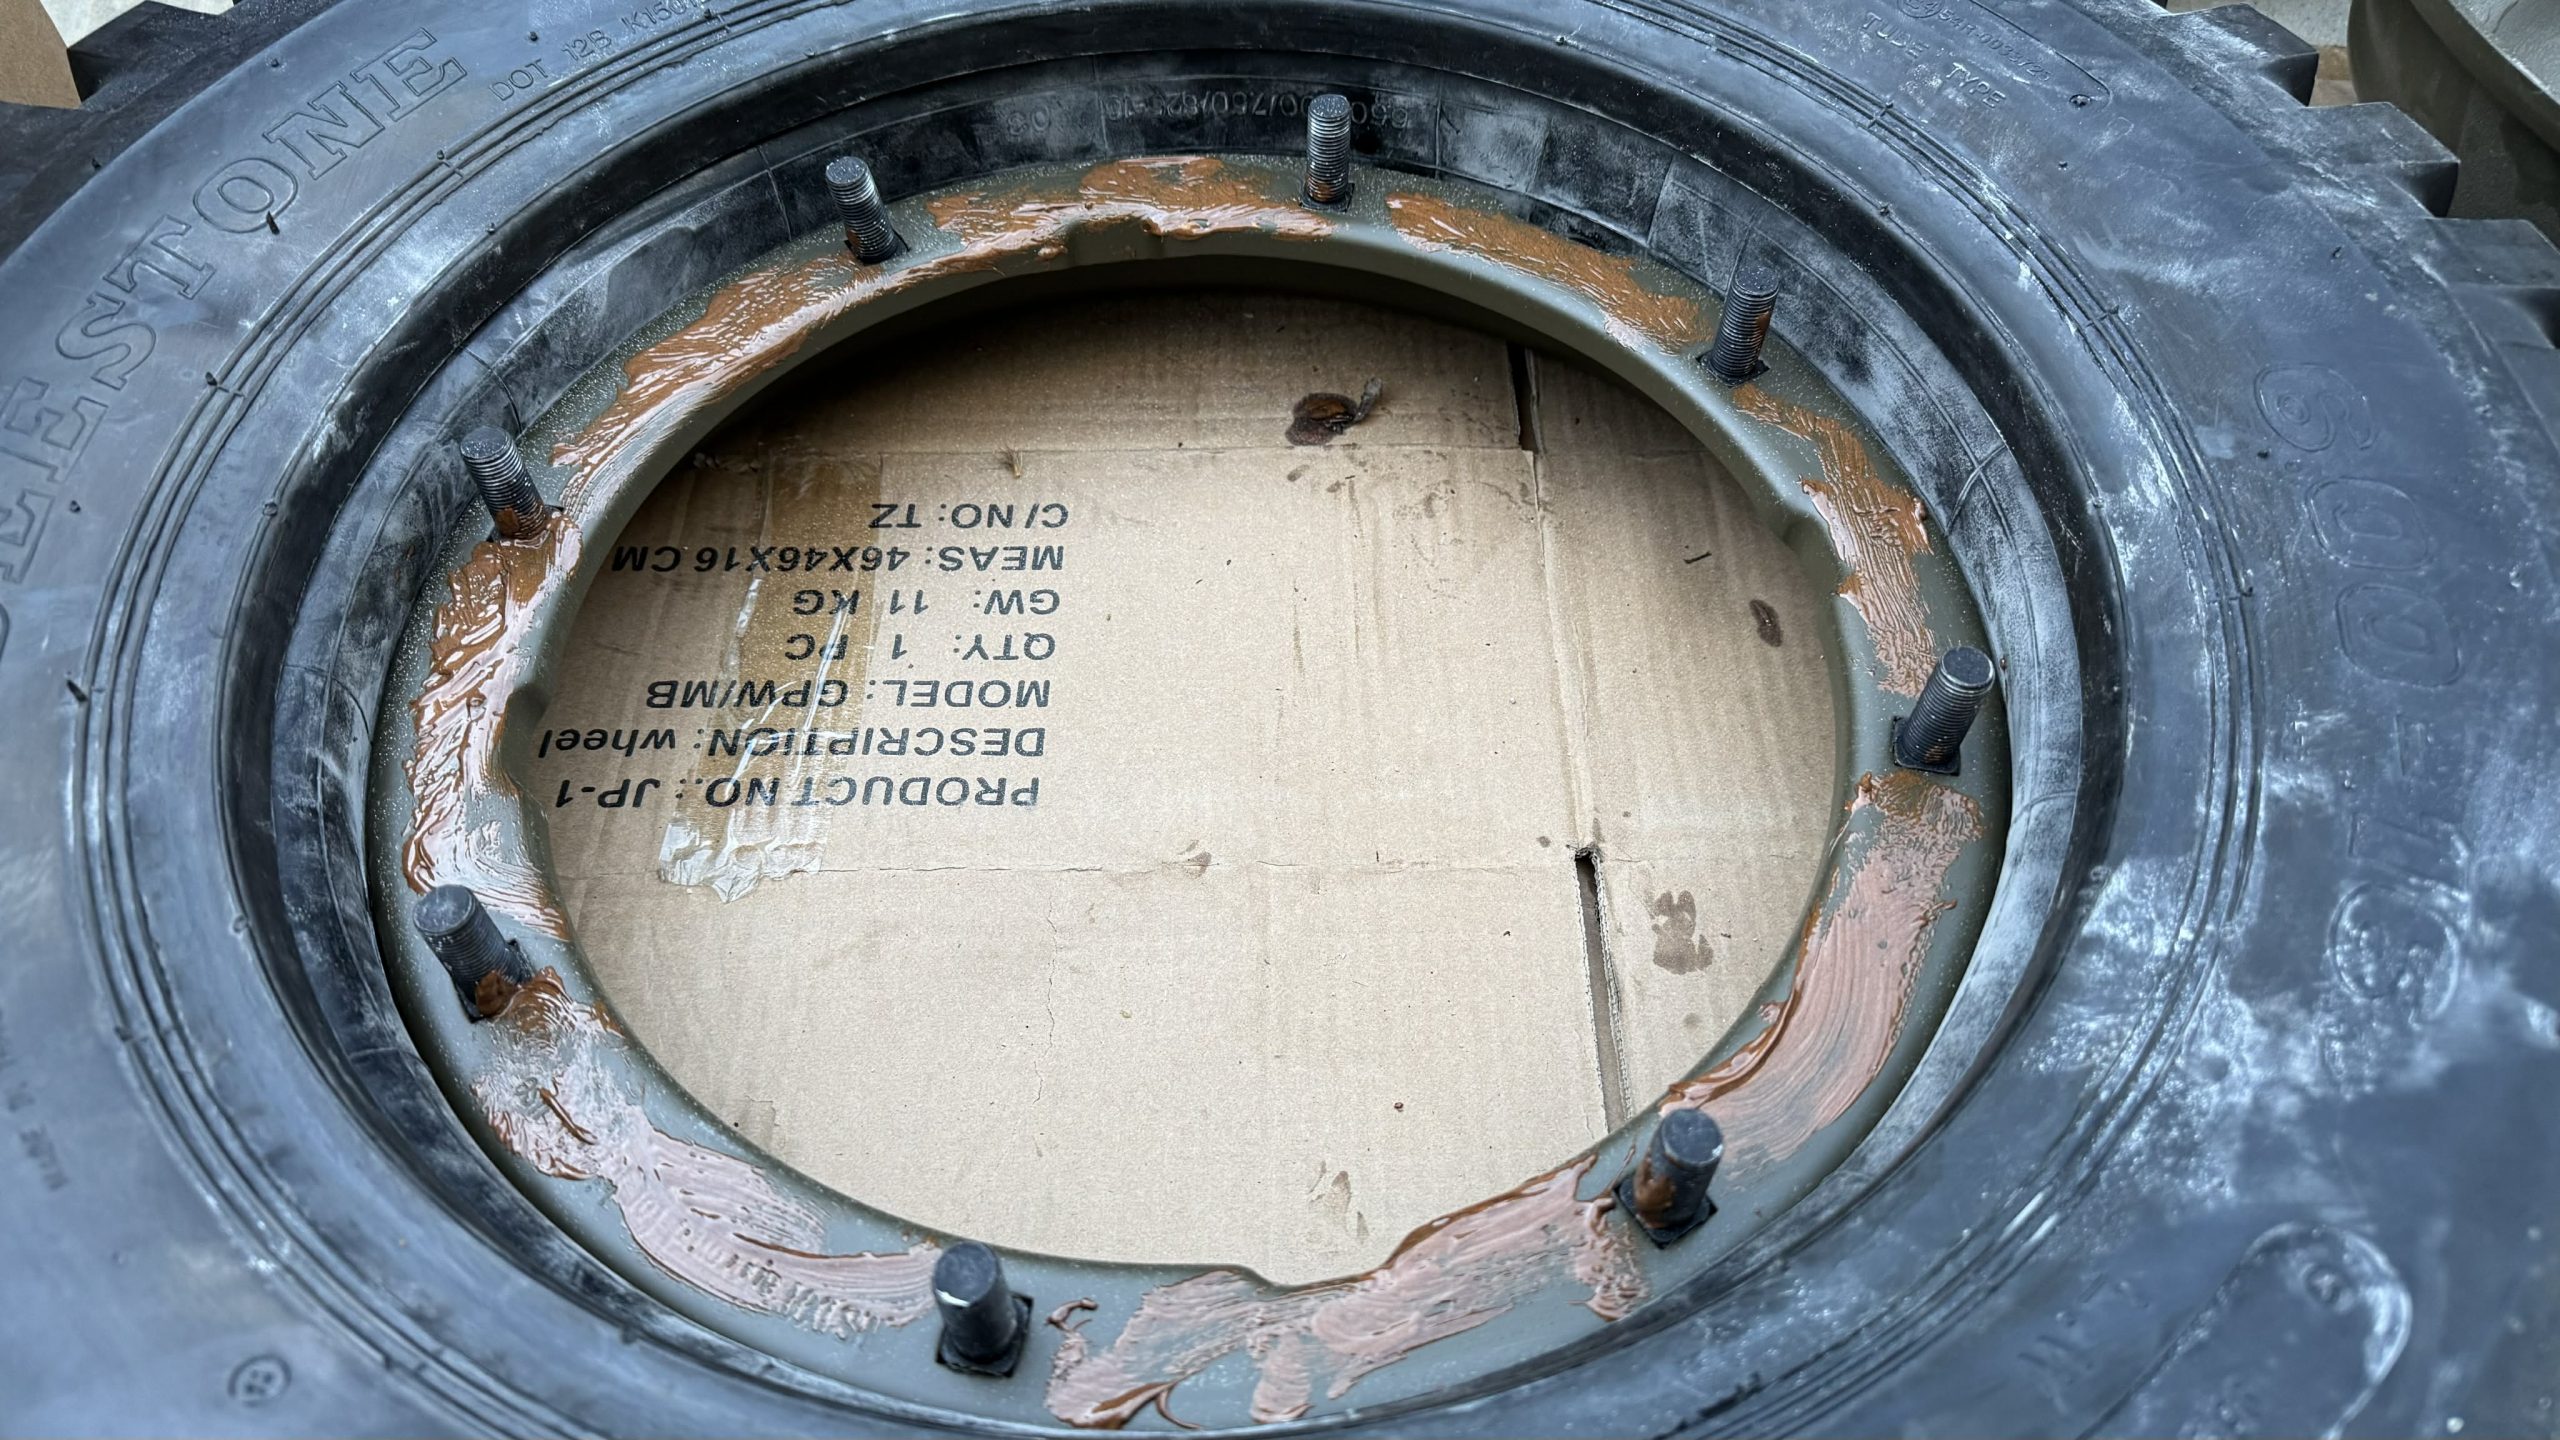
Then the other half gets dropped into place and bolted down. And that’s it! Inflate the tire to 24 PSI and fight for freedom!:
I used some baby powder to help ensure that the rubber inner tube and flap don’t get stuck, but other than that, I used only a wrench, a tire inflator, and about 10 minutes of my time. A seasoned field mechanic could probably install a tire in less than two minutes.
If I wanted to be really legit, I’d install valve stem protectors/retainers like these (I tried, but they made inflating too difficult):

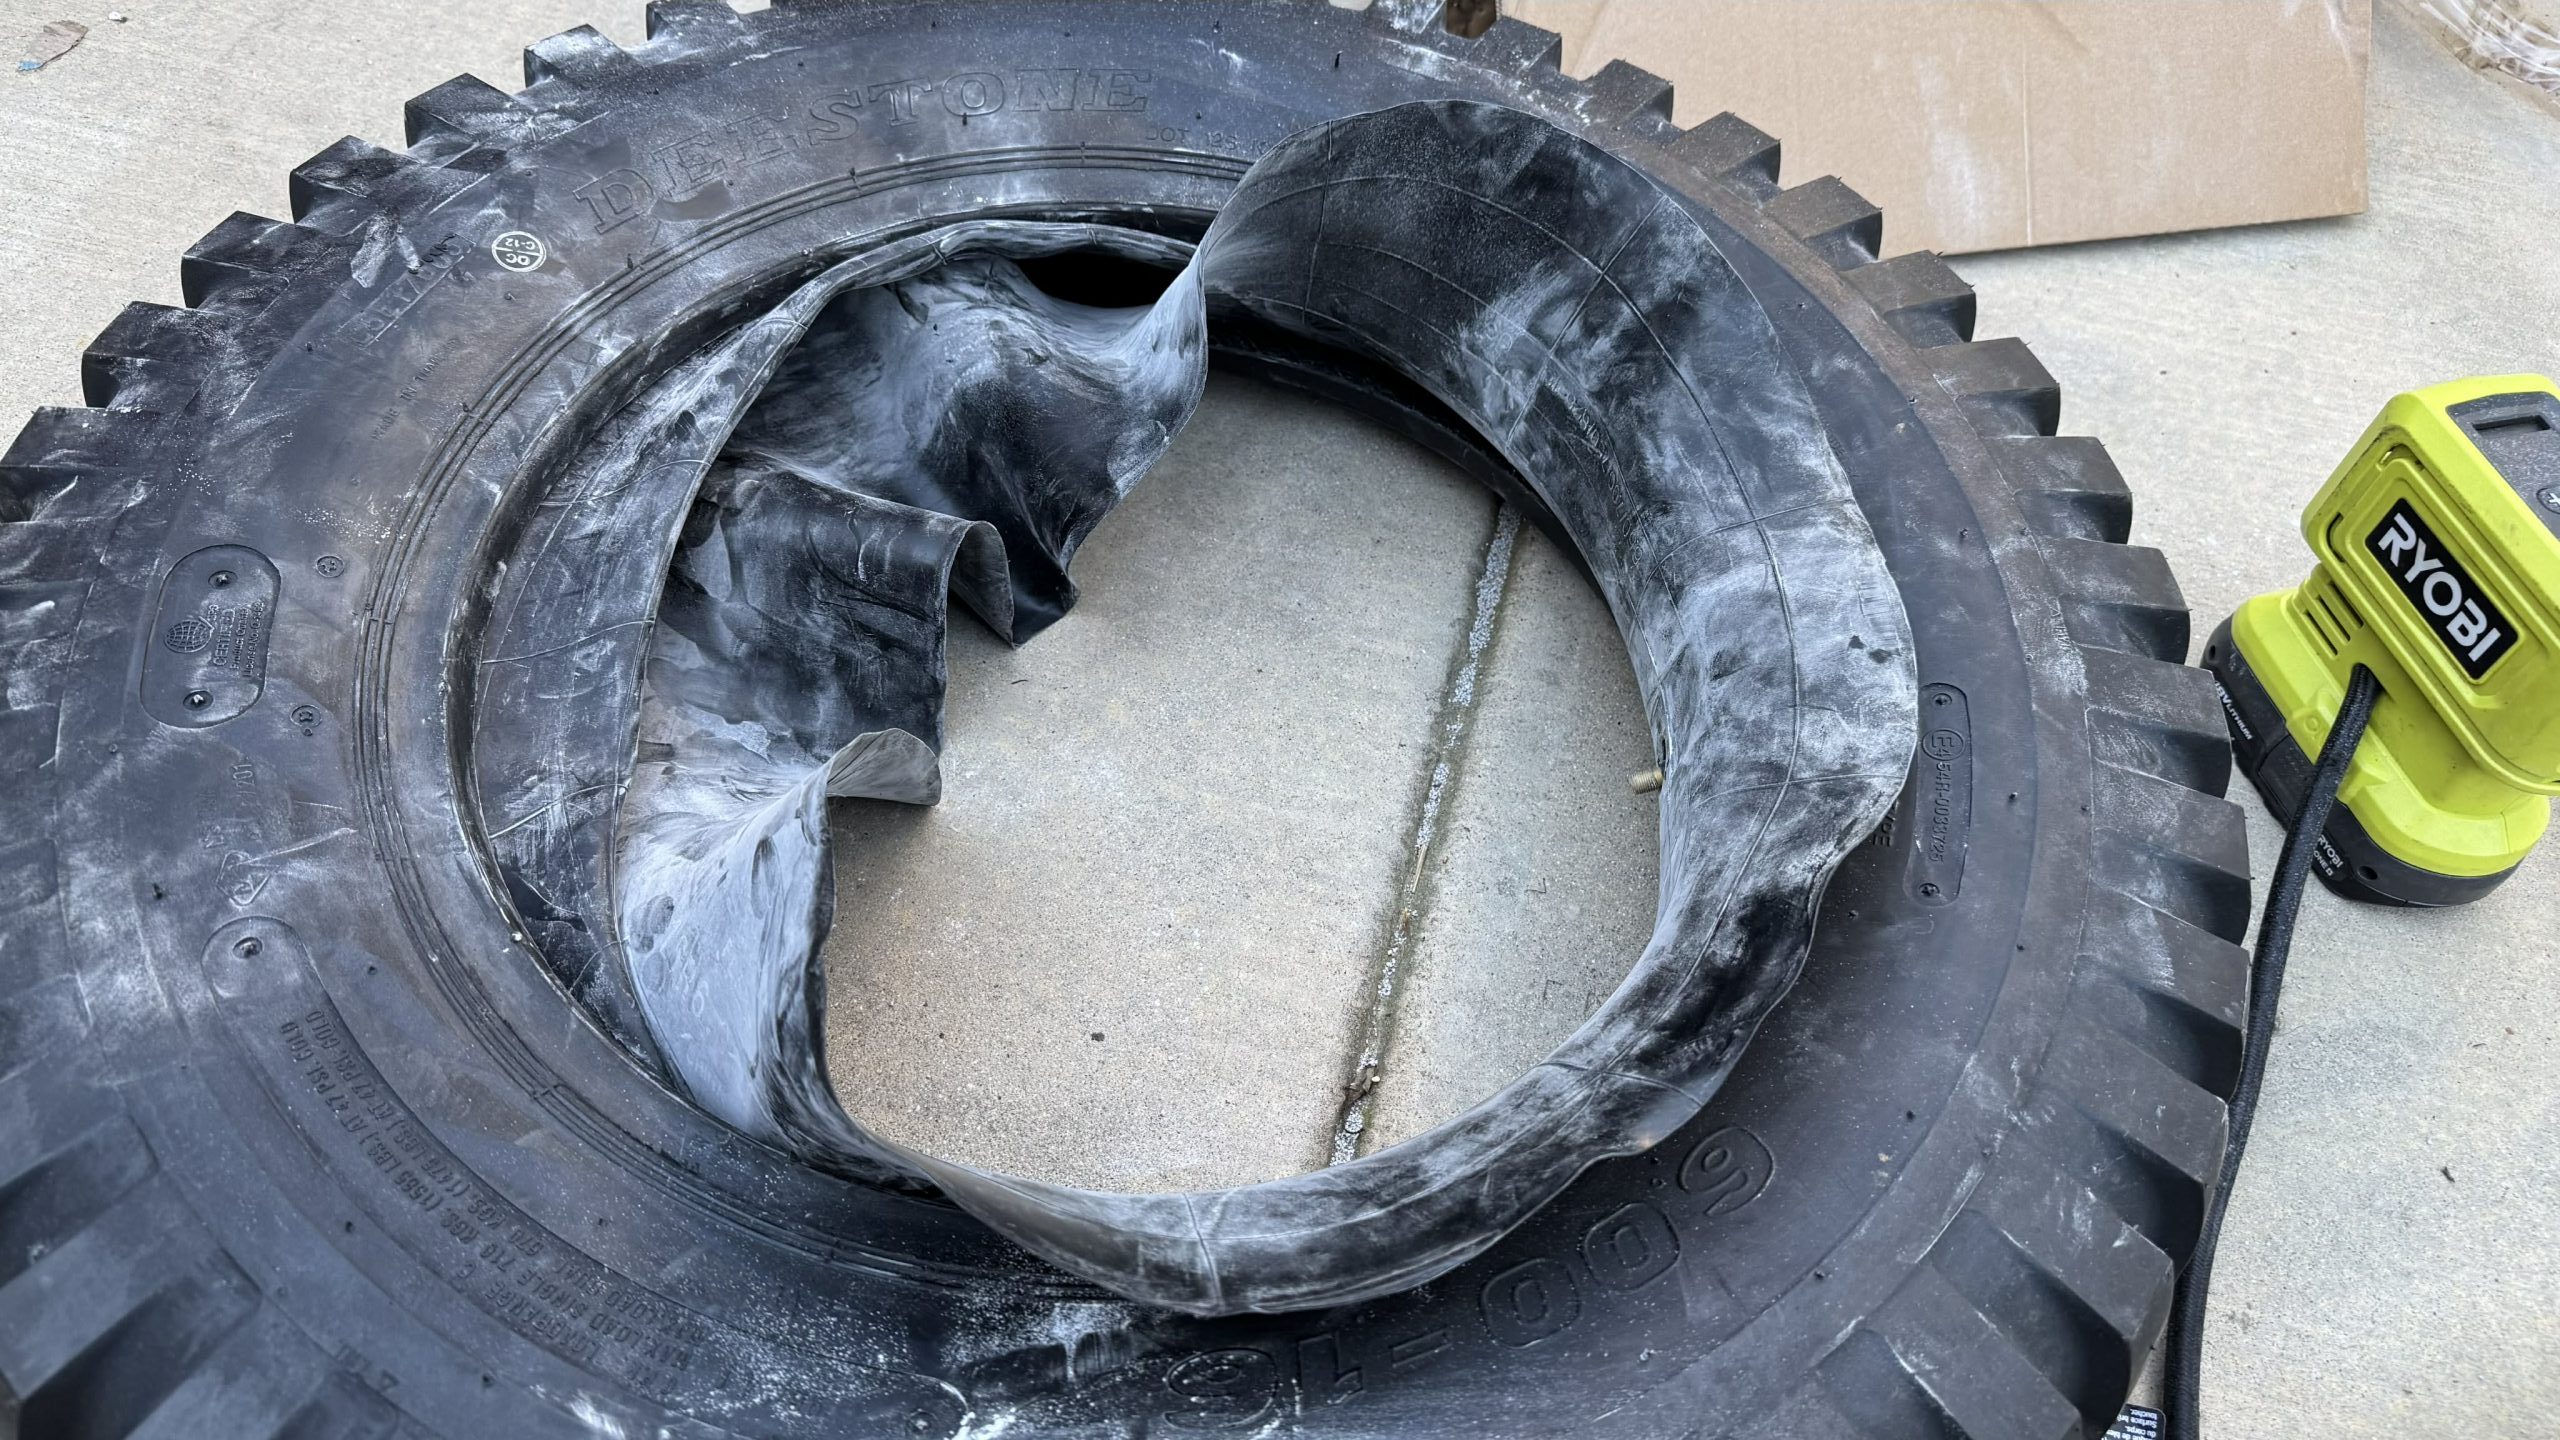
It’s a testament to the WWII Jeep’s brilliant, service-friendly design, and also to the value of inner tubes. With the tire and flap protecting the tubes — not just from the road and rocks outside and the rim inside, but also from the sun’s UV damage, WWII Jeep tires can go many, many decades before they won’t pump. up. In fact, have a look at this tire here:
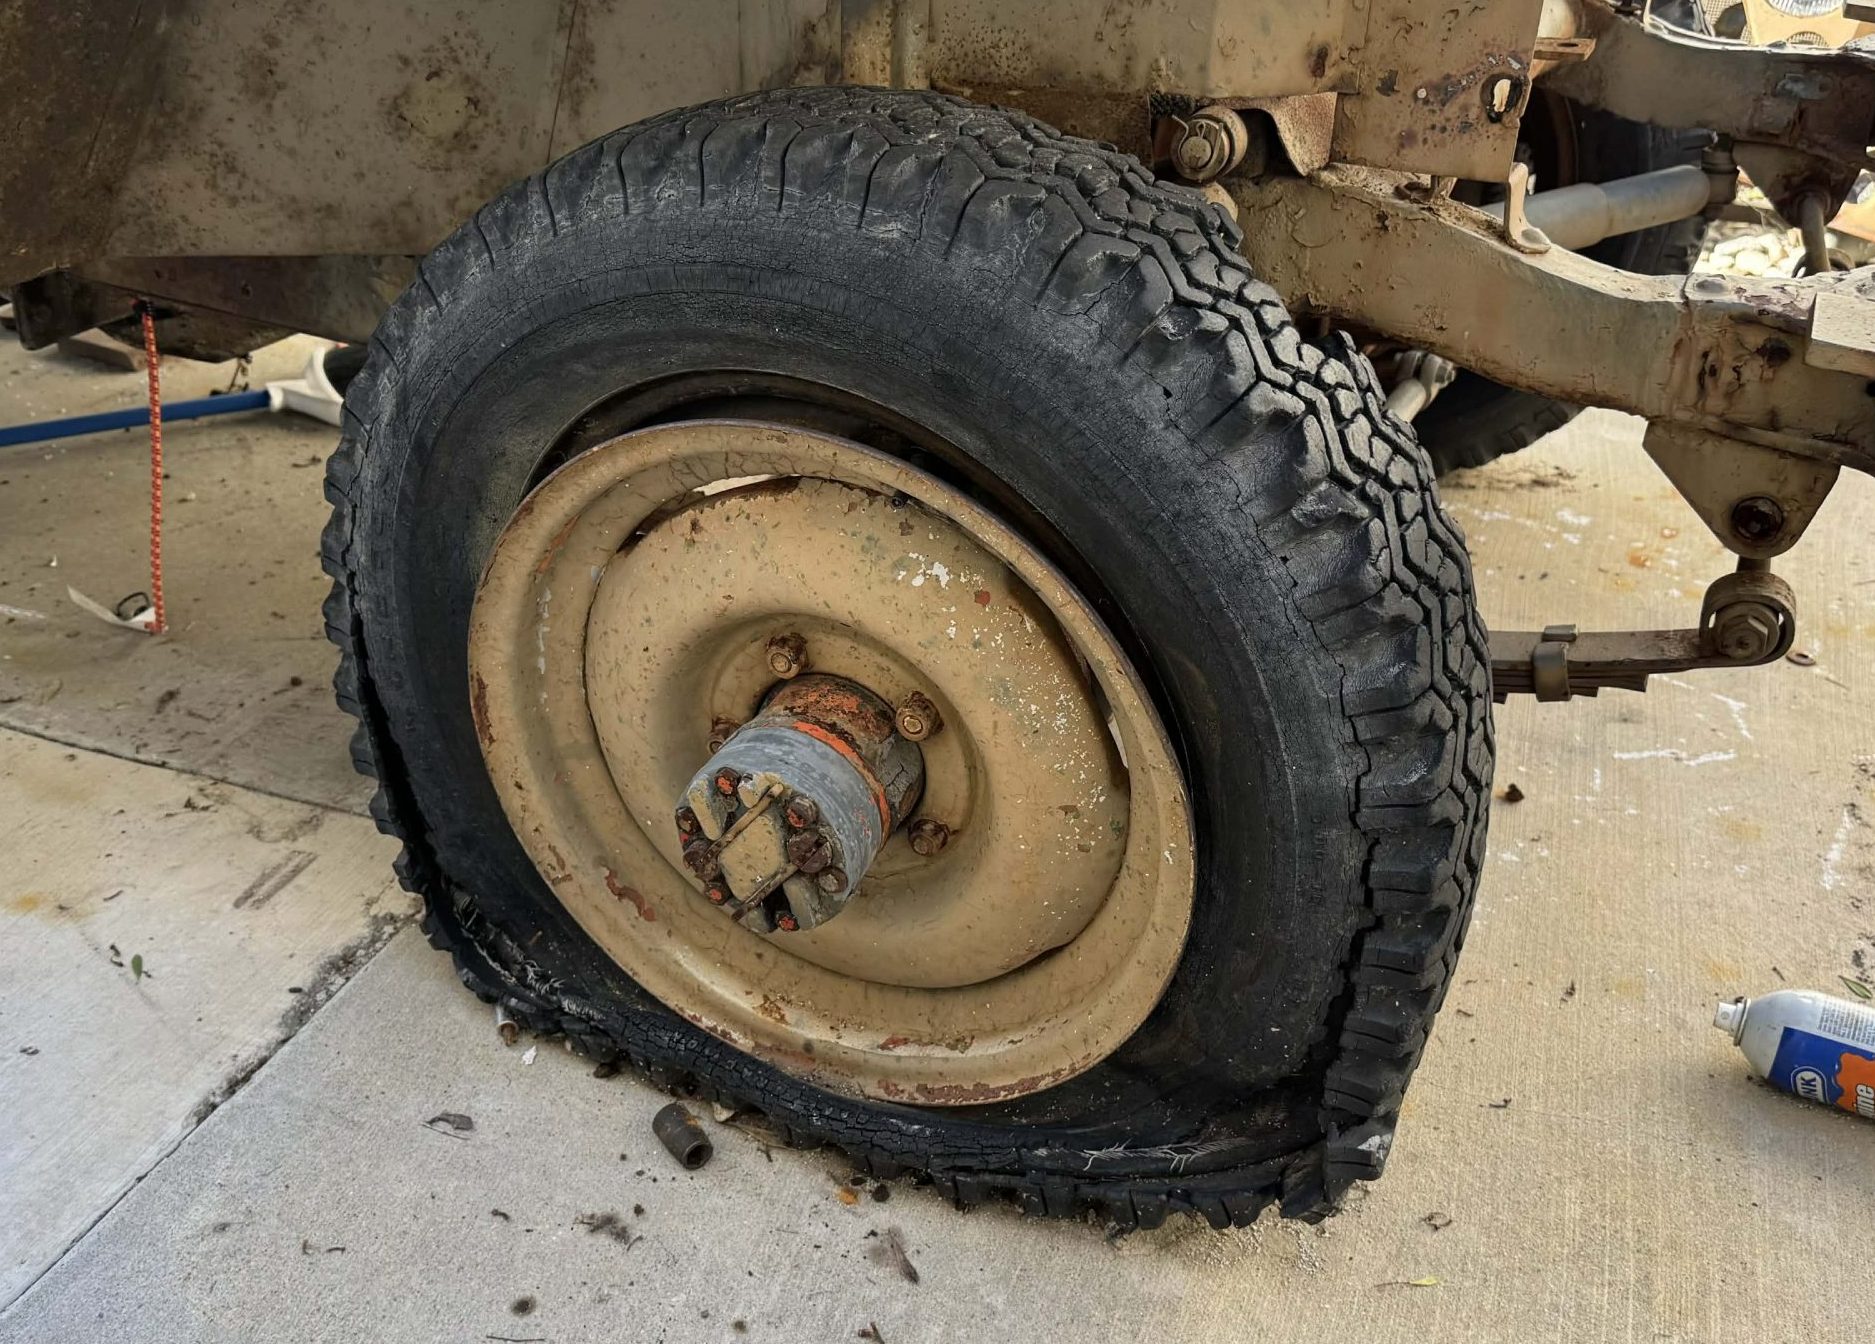
You’d never believe that it has any chance of inflating. And yet…
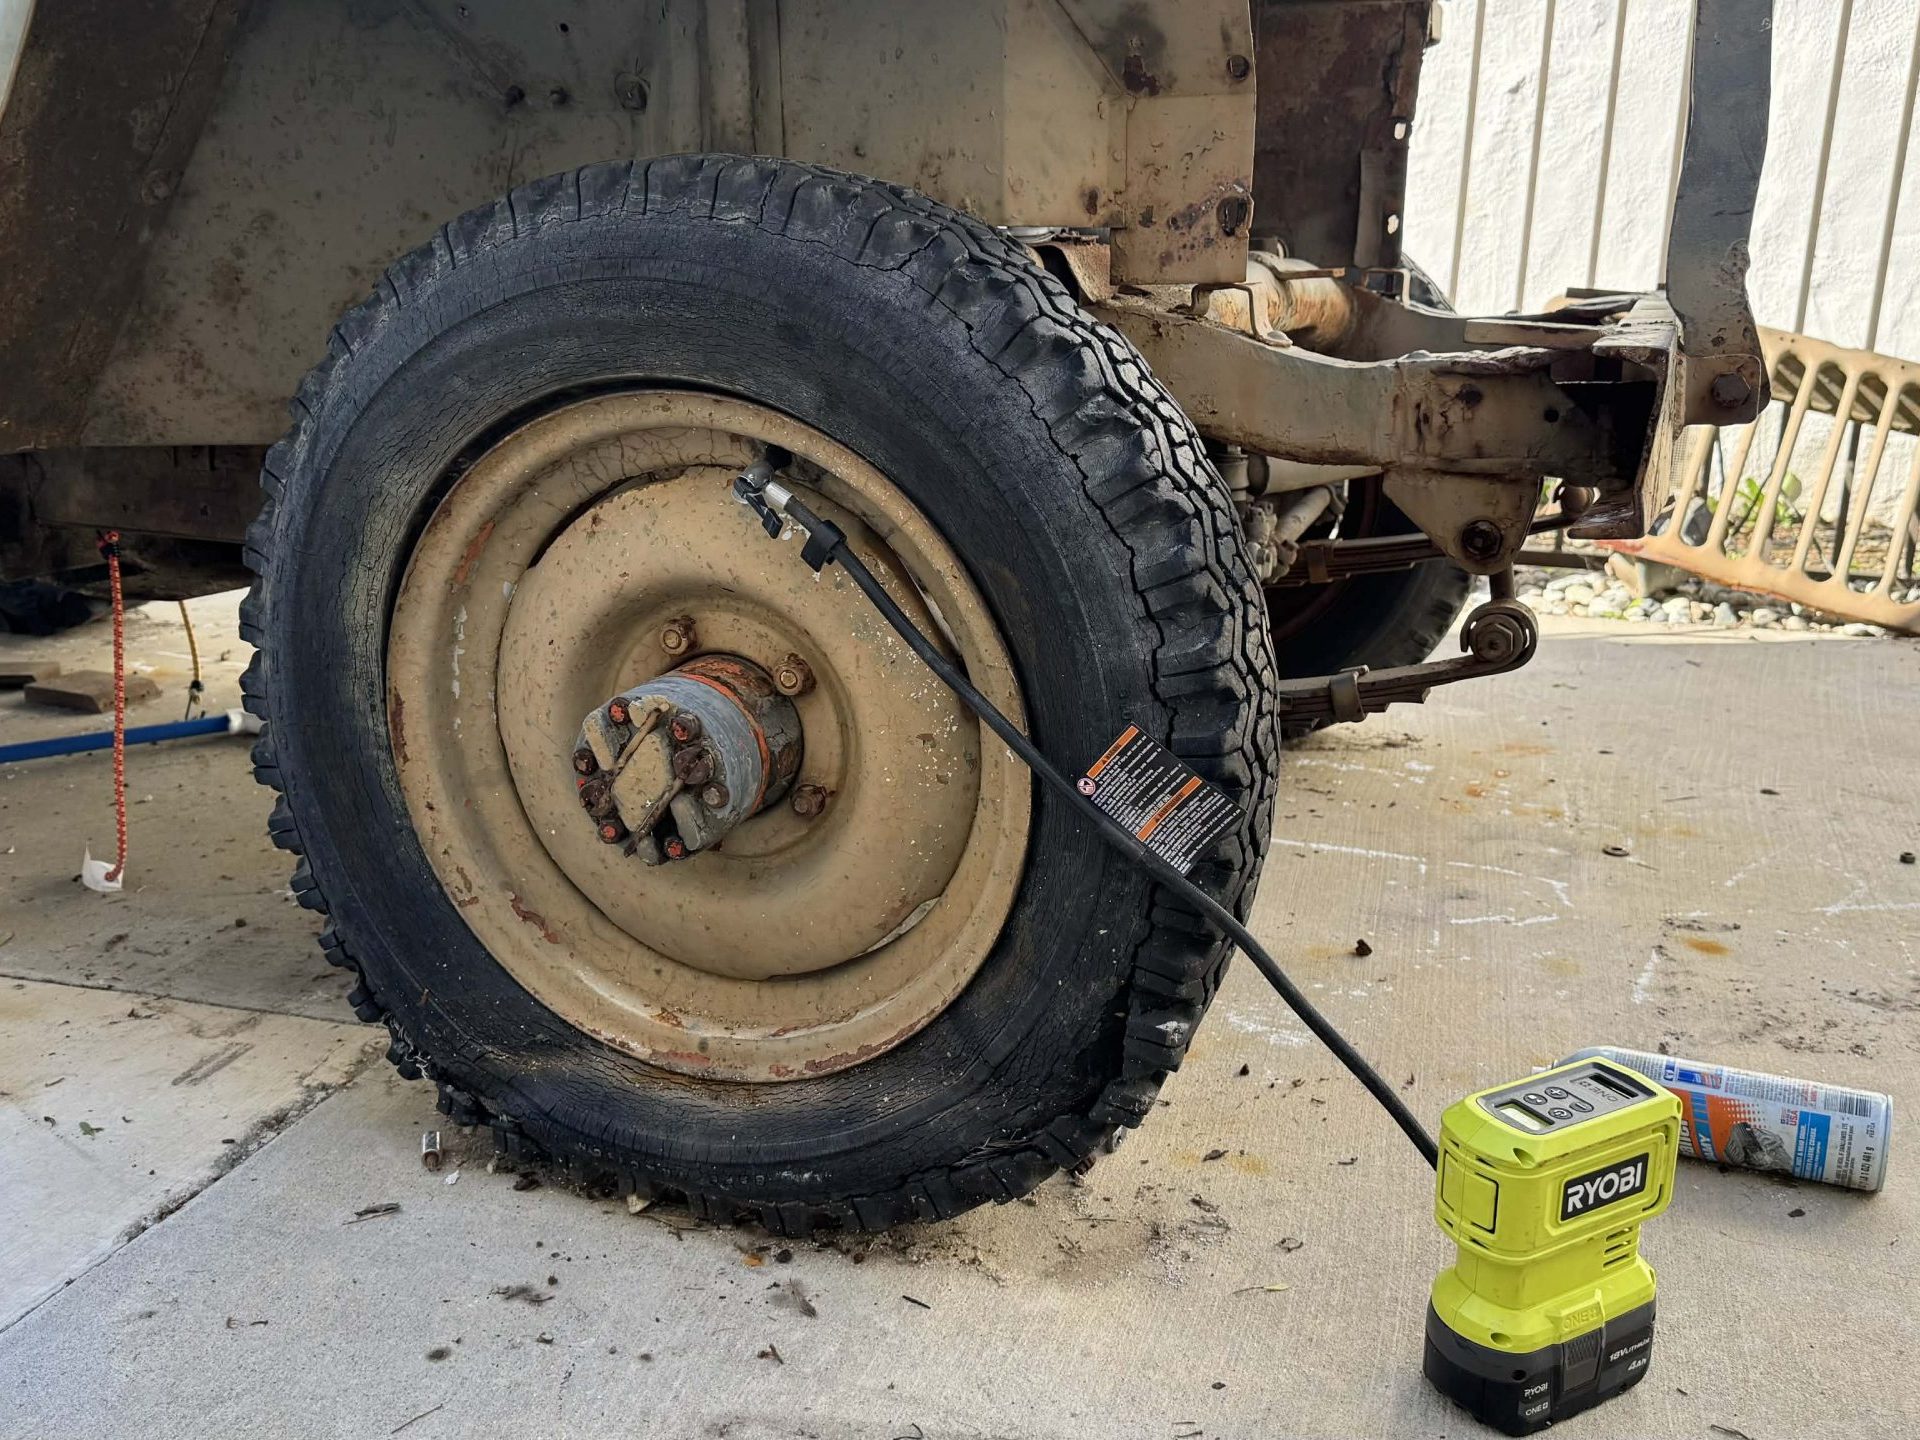
That’s the beauty of the inner tube, though it’s really that split-wheel design — and that incredibly quick and easy removal/installation process — that sets the WWII Jeep apart from most civilian cars.
View this post on Instagram
[Ed Note: This story is part of a series of articles involving the construction of a new WWII Jeep using parts sourced from eBay. David mentioned the idea of building a brand new WWII Jeep to the team at eBay, and they loved the idea so much that they said, “How can we help?” Their support and David’s Jeep-obsession are the fuel behind this crazy build. – MH]


Anyone know if this was a US innovation, or was it standard for most trucks of the era?
Side note, I love WW2 history, and one of the things that comes up quite often is the tremendous manufacturing might of the Allies combined with the simple designs and ease of maintenance and operation of the Allied vehicles. For all of their propaganda, the Germans were vastly outclassed in regard to mechanization.
Being a WW2 military buff myself, I’ve poured over Crestline’s US Military Wheeled Vehicles (By Fred W. Crimson) many, many times, and I don’t recall seeing other vehicles of the same era with those types of wheels, but I could be wrong.
I never really paid much attention to the wheels, but now I’m going to haha.
I take that back, it looks like some of the Dodge WC lighter-duty had combat wheels.
I was thinking about those but didn’t say anything because I wasn’t sure.
I wasn’t thinking about them and spoke confidently like I actually knew something…I think there must be something in the air, Supreme Over Confidence must be catching.
Yeah, but you did say, “but I could be wrong”.
The overconfident ones don’t even acknowledge the possibility they could be wrong, never mind actually admitting it.
Who knew combat rims could elicit such a conversation?
Oops. Wait. Did I just open the rims vs wheels debate?
So.. a tire was mounted to a wheel in the last month or so?
It does feel like there’s been a low number of updates on the old eBay Jeep project…
Seriously… it bothers me more than it should lol. It just seems so typical of this site – disorganization and little follow-through on anything major.
That is fascinating. 🙂 Even if it weren’t for the no-big-tools simplicity/field serviceability thing, I like the simple steel stampings that make up the components. I’ve never had a car with tubes, and only used them on biciycles and wheelbarrows, with mixed results.
David, not counting all your actually-priceless knowledge/skilled labor, I’d love to see some kind of cost breakdown on the Jeep project when you’re done. Not because I’d ever attempt anything like this myself, but just out of morbid curiousity. An hours-of-labor estimate would be nice too… they never even bother to report the labor required on Wheeler Dealer, and it irks viewers because it renders the whole ‘budget build’ idea of the show kind of useless… only tracking parts.
Used to work with a guy who had significant damage to his face from inflating an aircraft tire outside a cage without a pressure limiter. Used to be a youtube video circulating of a similar instance with a mounted aircraft wheel/tire where a guy was shot into the opposite landing gear like a sock puppet.
Modern aircraft tire inflation is controlled remotely in a fully enclosed cage.
I’m sure tube tires at relatively low pressure would be much safer.
It would still be wise to use a controlled pressure source.
Probably just a hand pump during combat.