

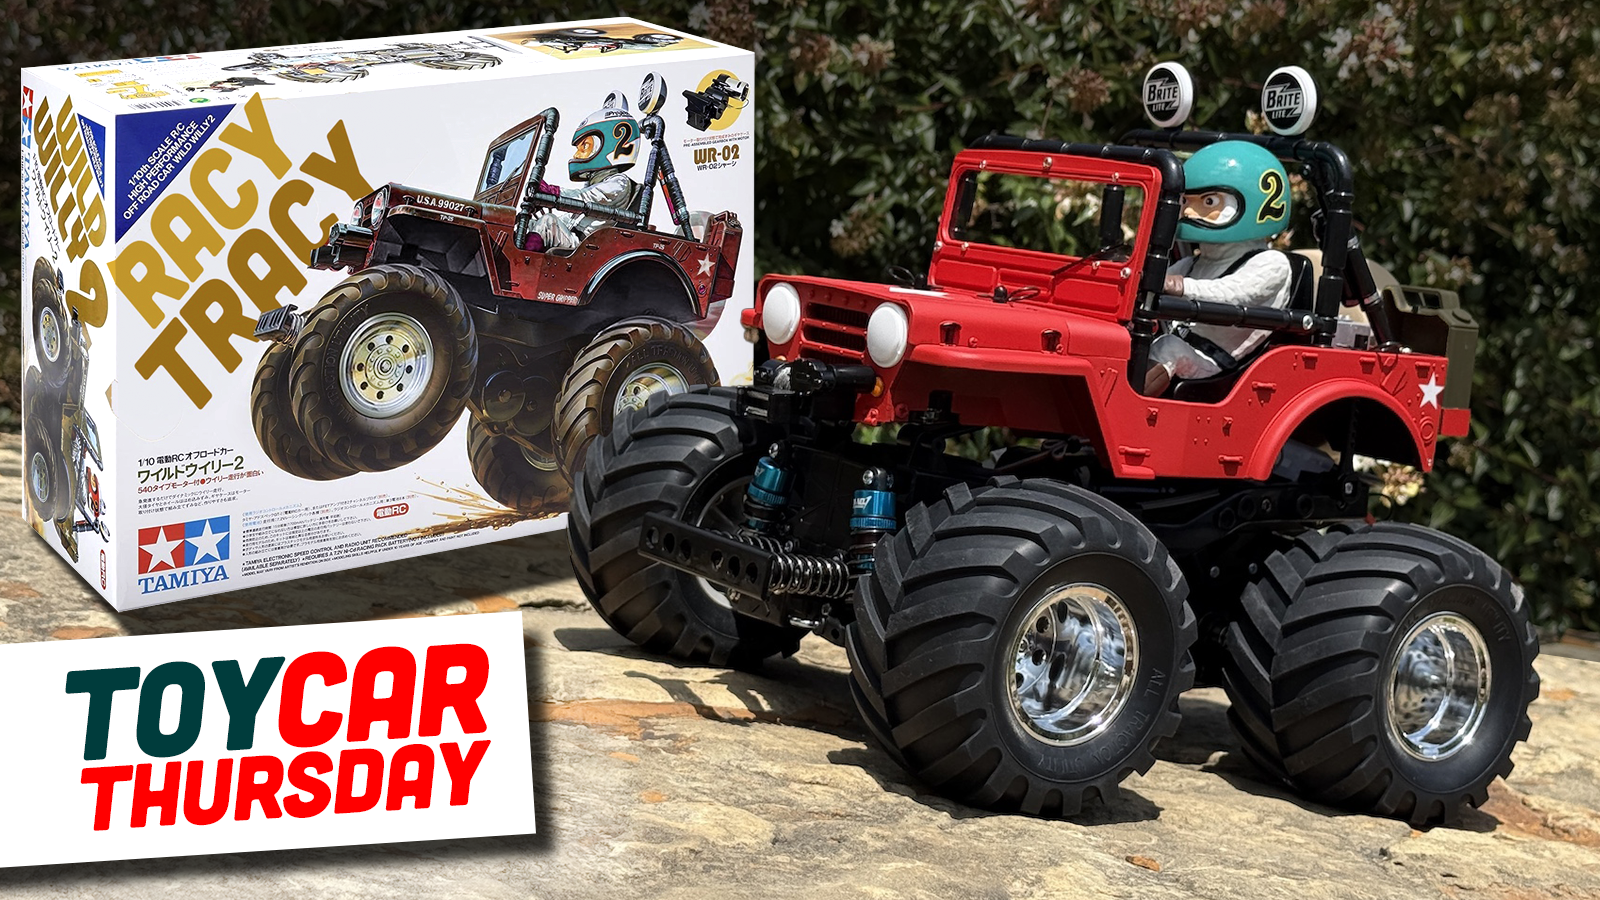
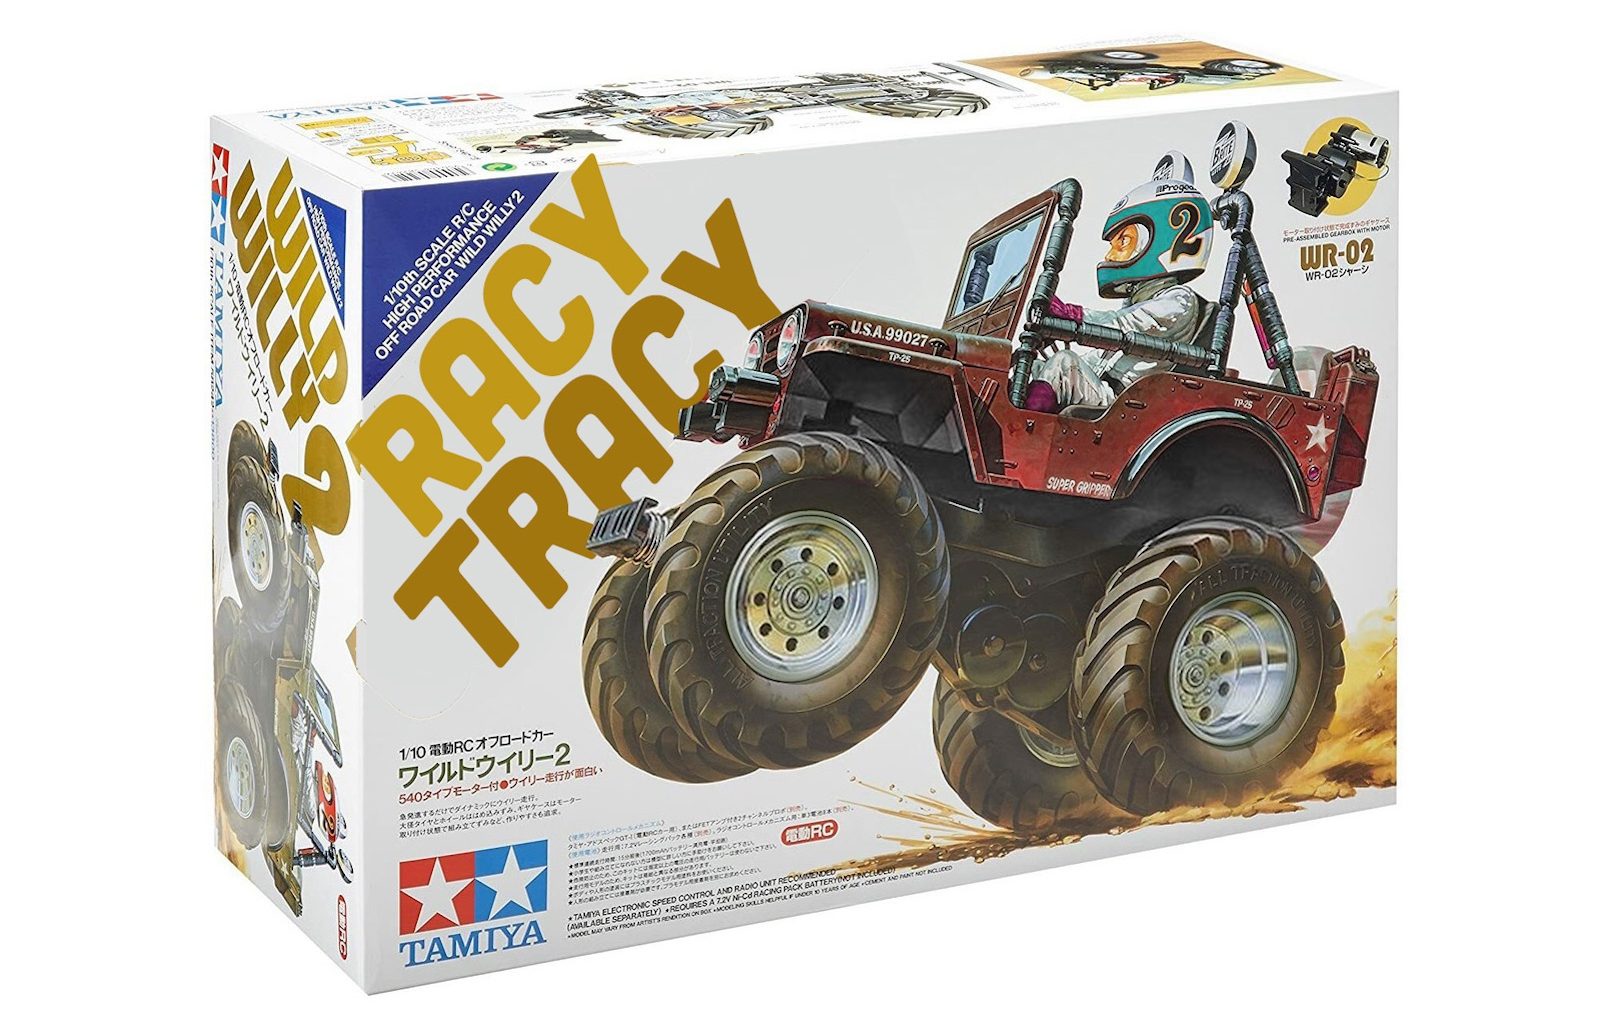
In case you missed it, which seems impossible but no judgements, David has been hard at work building a World War II Jeep essentially from scratch, using nothing but parts sourced on eBay. As his Jeep was coming together in its resplendent red-oxide primer finish, I was looking for a new radio-control project with an eye toward something affordable and fun to finish rather than a higher-performance (and more expensive) model. Tamiya‘s Wild Willy 2 made the short list, and the added fun of finishing it off as an extremely loose replica (just barely) of David’s Jeep made it my final choice as a fun build that would be even more fun to share with you for Toy Car Thursday.
If this is your first exposure to hobby-quality RC, please understand that there are much more detailed, realistic, and high-tech models out there, and the Wild Willy is very much a beginner fun-runner model – in case its cartoony chibi-style design wasn’t already getting that point across. I plan to do more advanced builds in future Toy Car Thursday installments (hopefully with a Traxxas TRX-4 soon) to show you what that end of the hobby spectrum looks like, but for now, let’s have some low-cost RC fun.


First, a little about the Wild Willy 2, or 2000 as it’s also called (so named because it came out in late 1999). That’s right, we’re building what is essentially a 27-year-old kit today – and you thought full-size automakers held onto platforms for a long time.
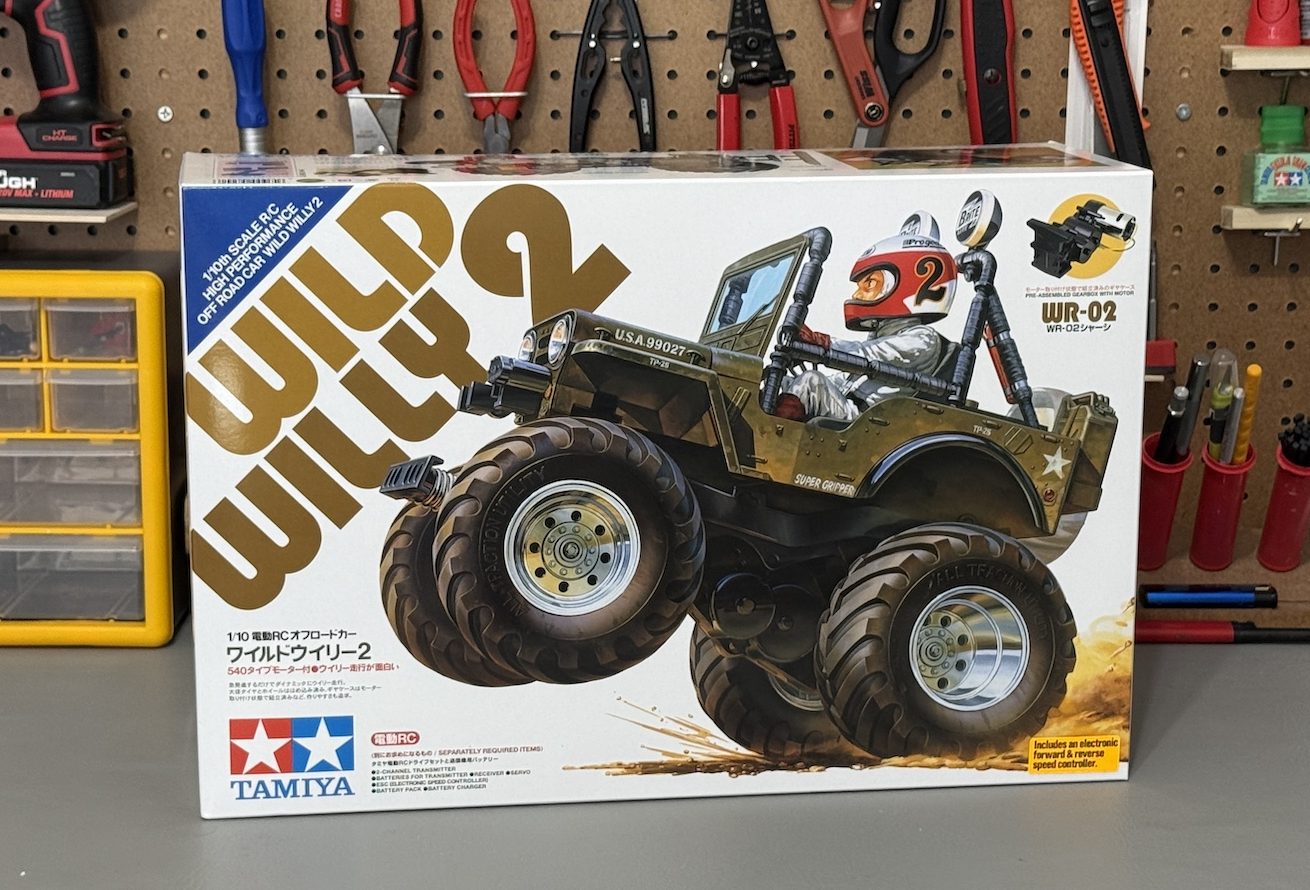
But remember, this is the Wild Willy 2, the sequel if you will. The original Wild Willy debuted in 1982, and was dubbed Tamiya’s first “stunt vehicle,” as its high center of gravity and short wheelbase made it a wheelie machine.
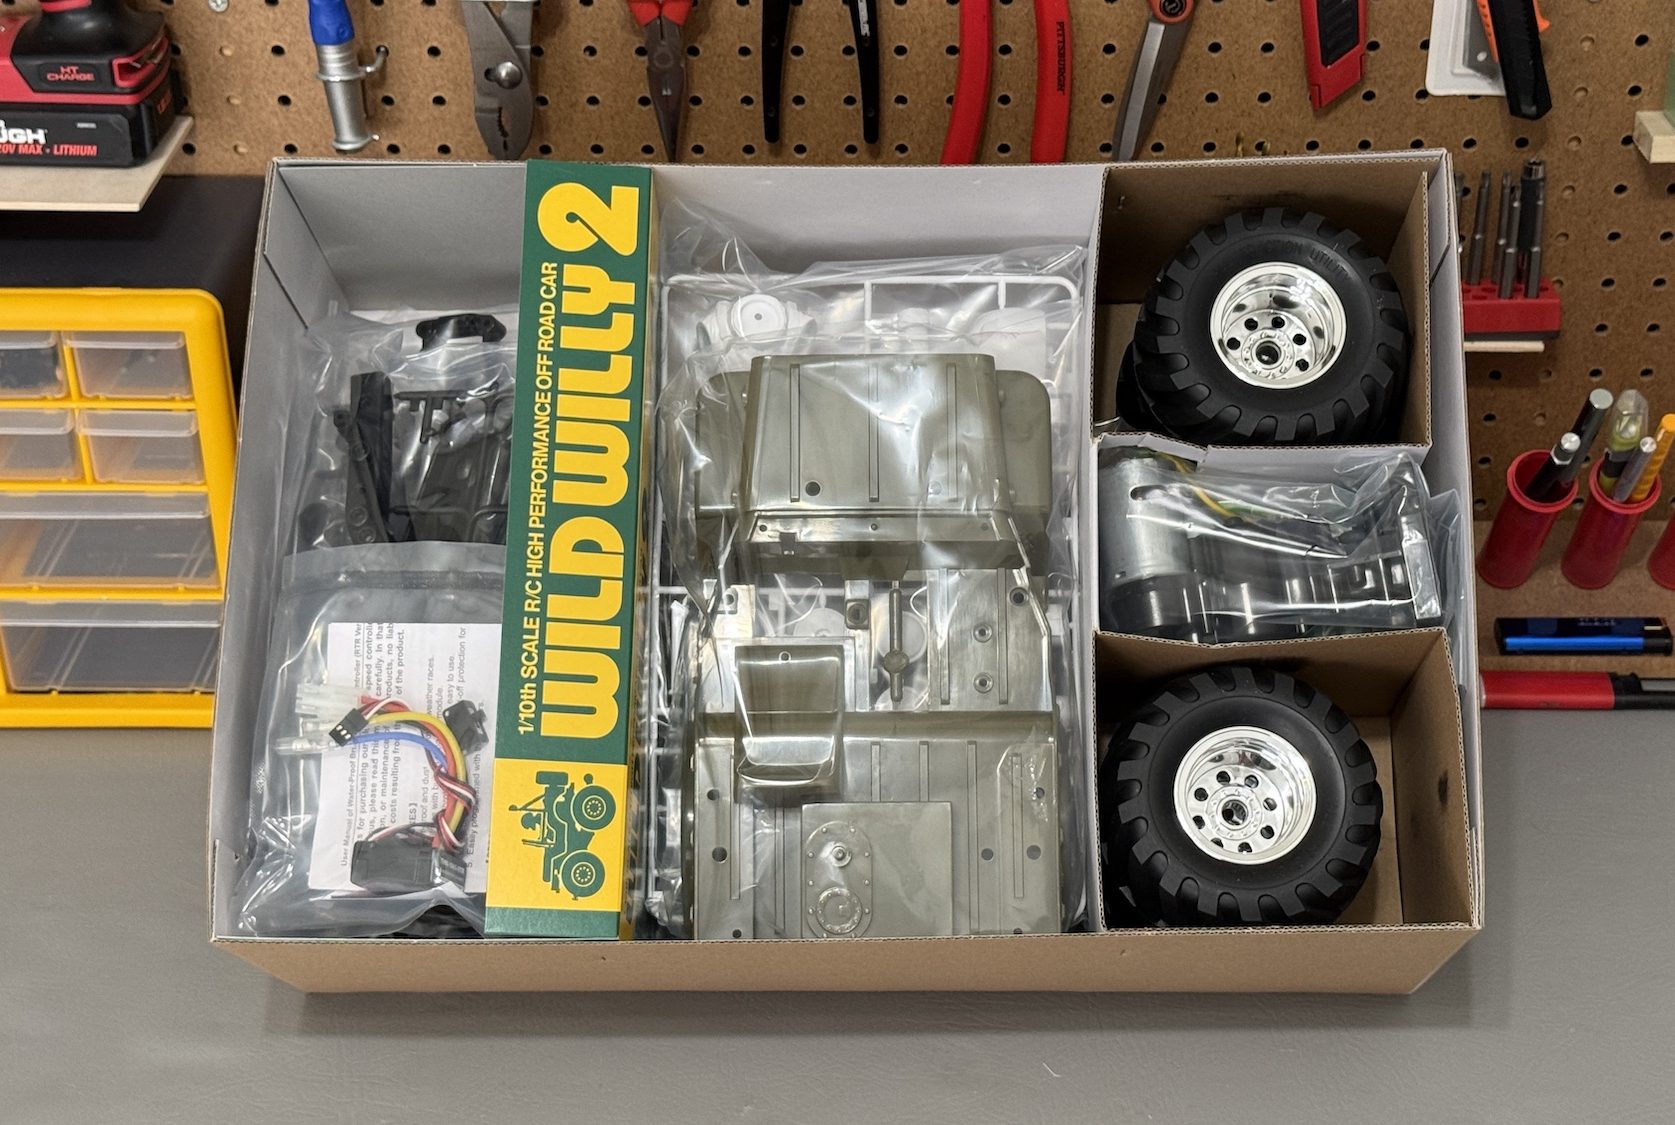
The Wild Willy 2 retains the look of the original, but is on the WR-02 chassis and replaces the original kit’s solid rear axle suspension with a fully independent design. Here’s what you’ll find when you open the box:
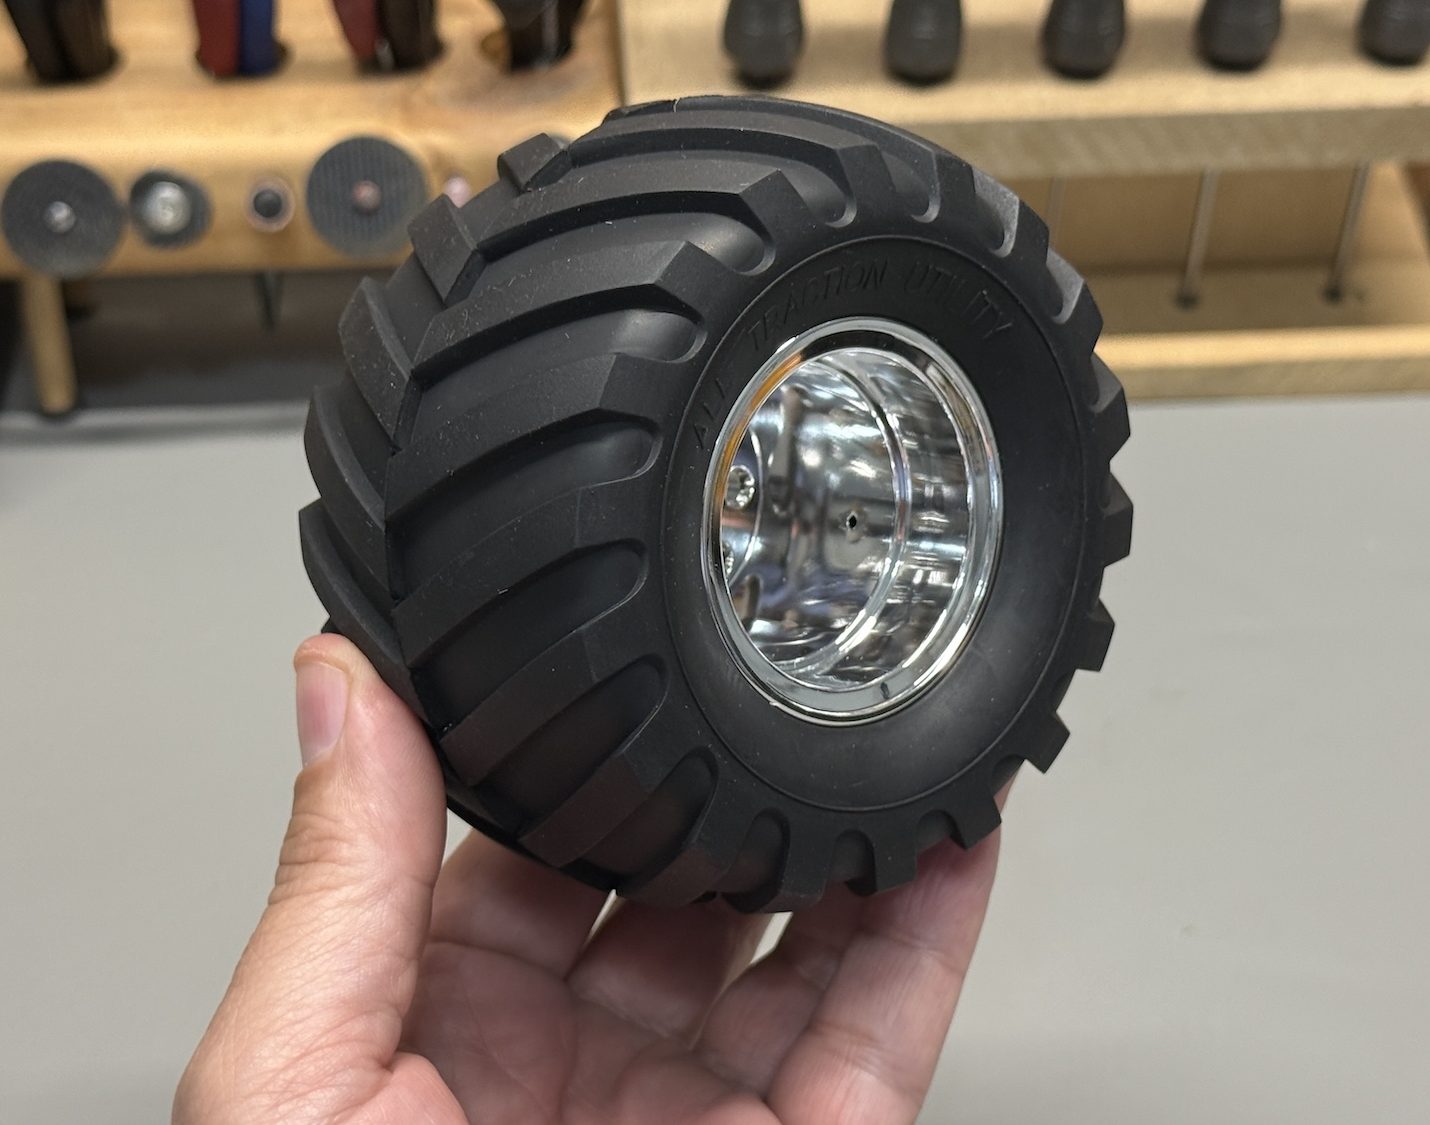
It’s pretty much standard for all RC hobbyists to grab the wheels and tires out of the box first. The WW2 gets squishy chevron tires pre-mounted to chrome wheels. Most RC models require the tires to be superglued to the wheels so they don’t peel off under cornering and acceleration loads, but the WW2 is mild enough that no gluing is required.
Most RC models’ bodies are vacuum formed from .040 clear polycarbonate for durability and light weight, and painted from the inside. The WW2 uses an injection-molded ABS body that is mostly unchanged from the original. The biggest difference is the grille, which sports horizontal openings instead of vertical – almost certainly to avoid licensing issues.
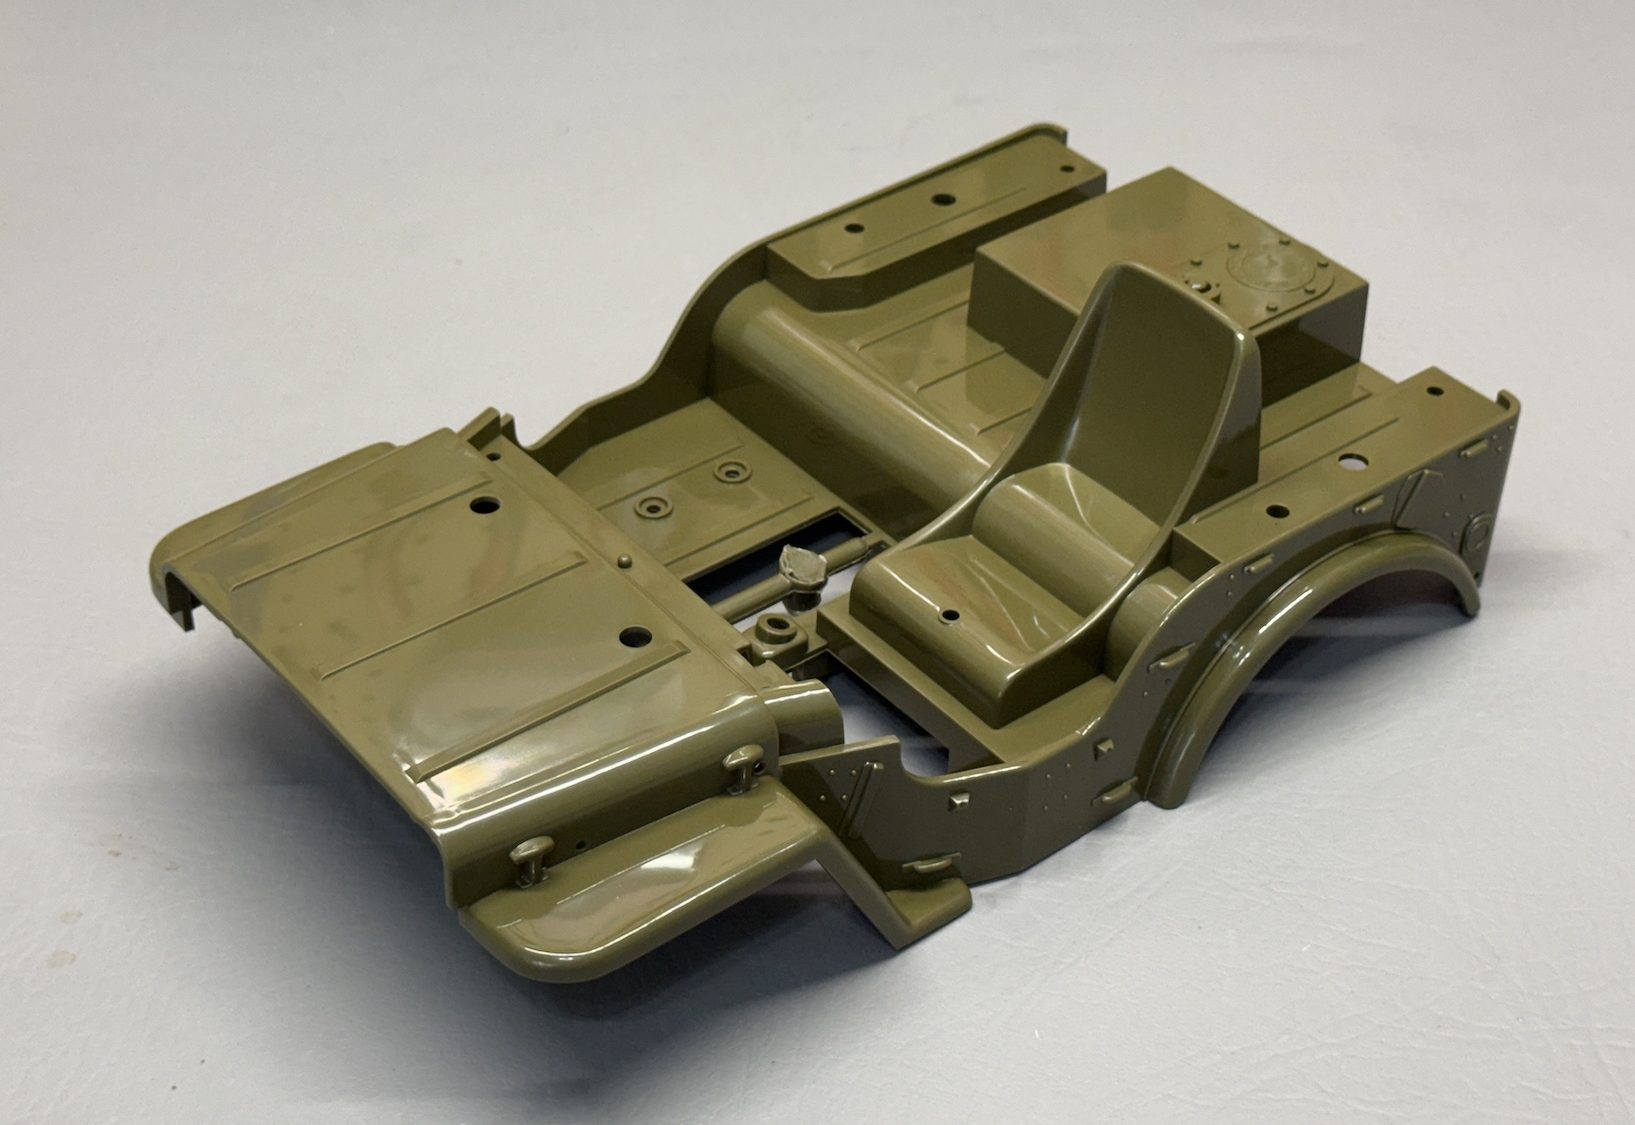
I do wish Tamiya molded the seat and fuel tank separately so they could be installed after painting, but oh well. The proportions are cartoonified, but it’s very nicely detailed and precisely molded.
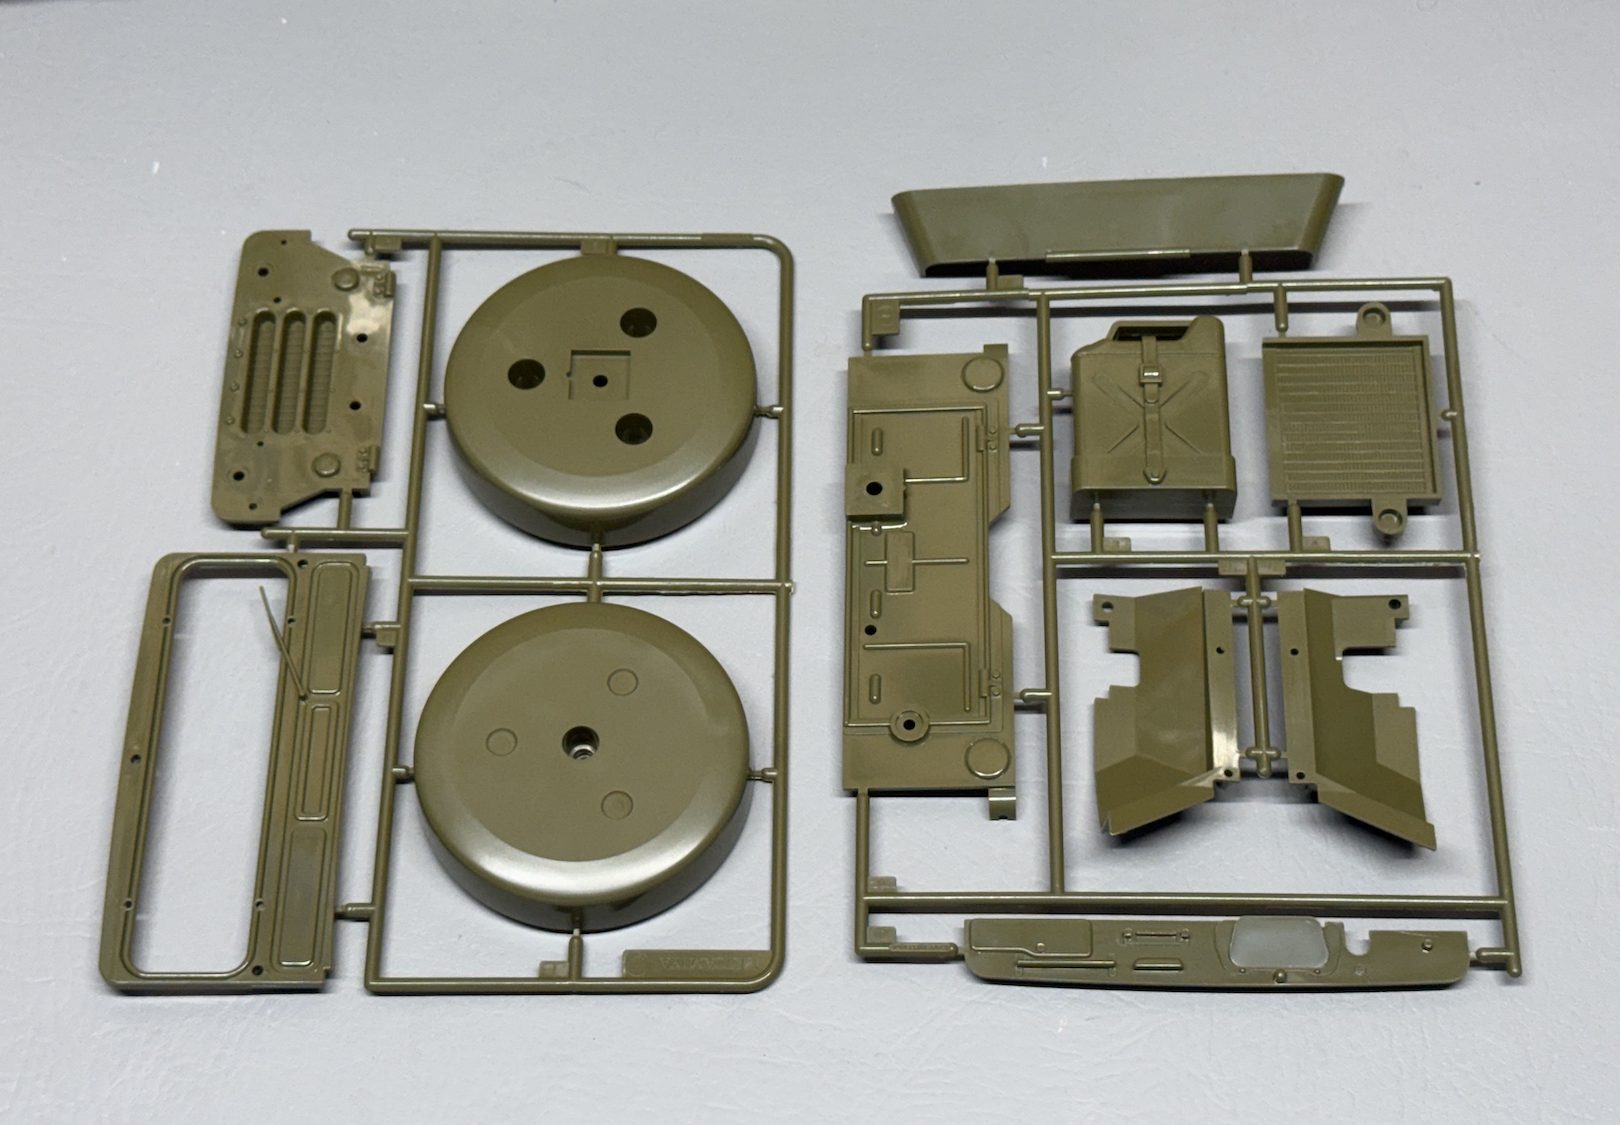
The multi-piece body is assembled with screws, no gluing required. Digging deeper into the box, we find the assembly manual and parts bags. The bags are lettered to correspond with steps, and if you can handle a no. 2 screwdriver (JIS preferred, just get the Tamiya one), you’ll have no trouble – here, page through the manual yourself.
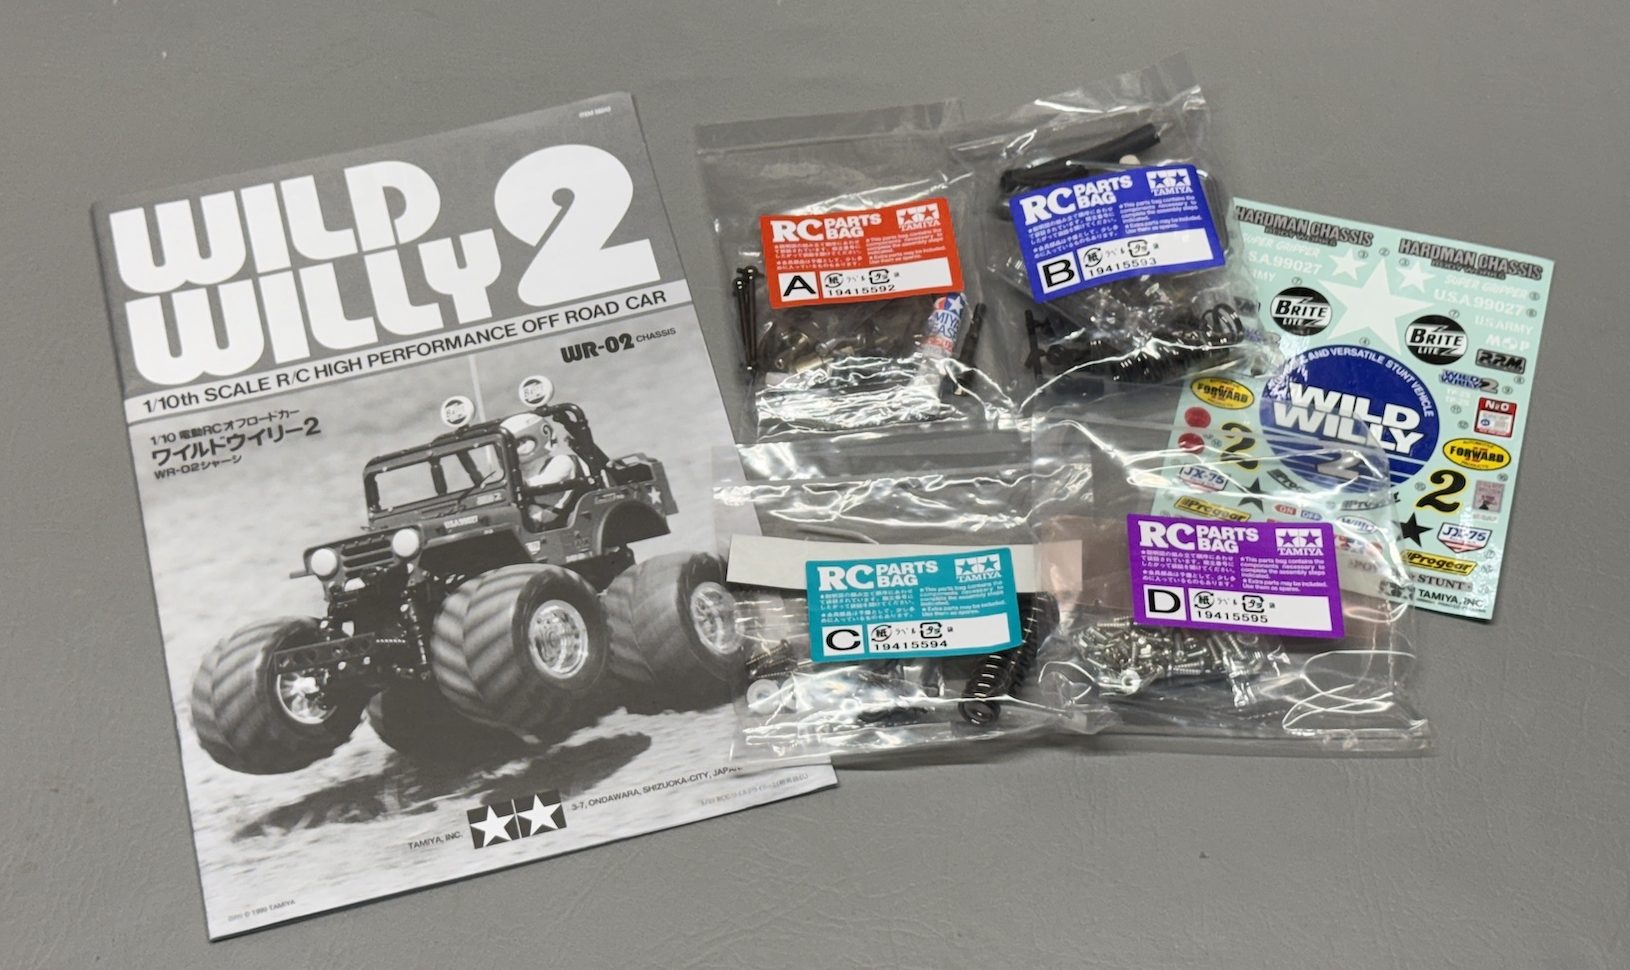
Like a static model kit, the plastic parts are attached to sprues. Numbers molded alongside the parts make it easy to ID what each step calls for.

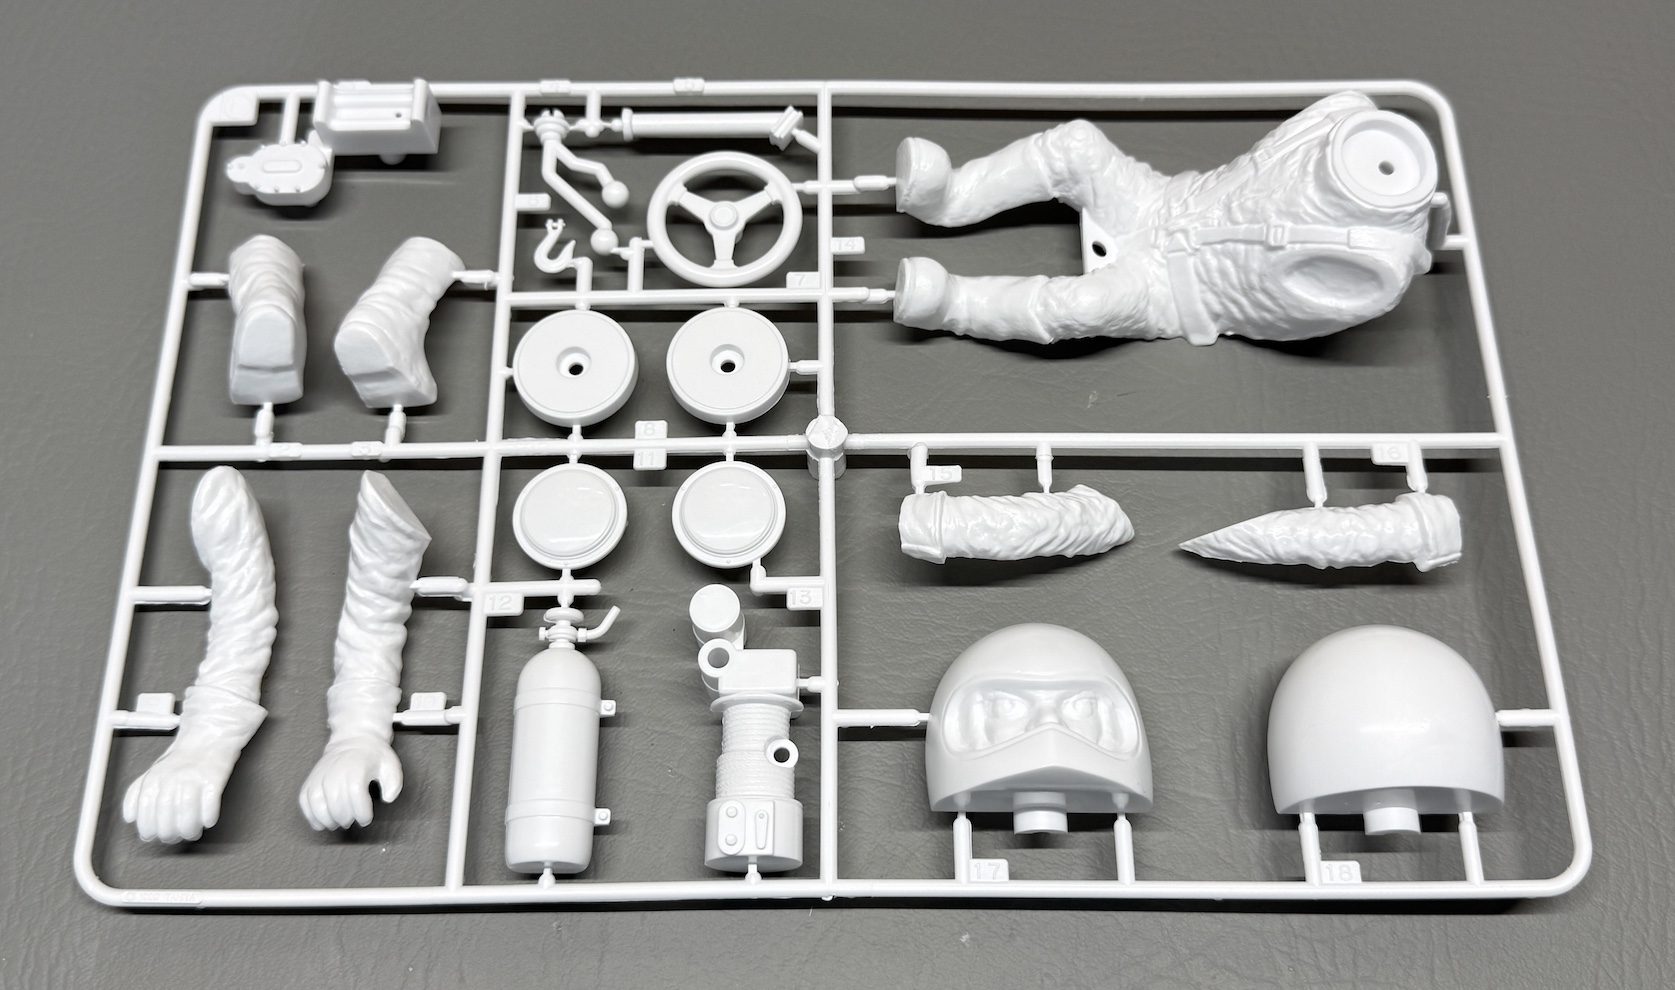
You’ll need a little painting skill to get Willy close to his box-art look. He’s a pretty large figure compared to tiny 1/24 and smaller guys, so it’s really not that hard to achieve decent results. You can also see the NOS bottle, winch, steering wheel, and other accessories on the tree.
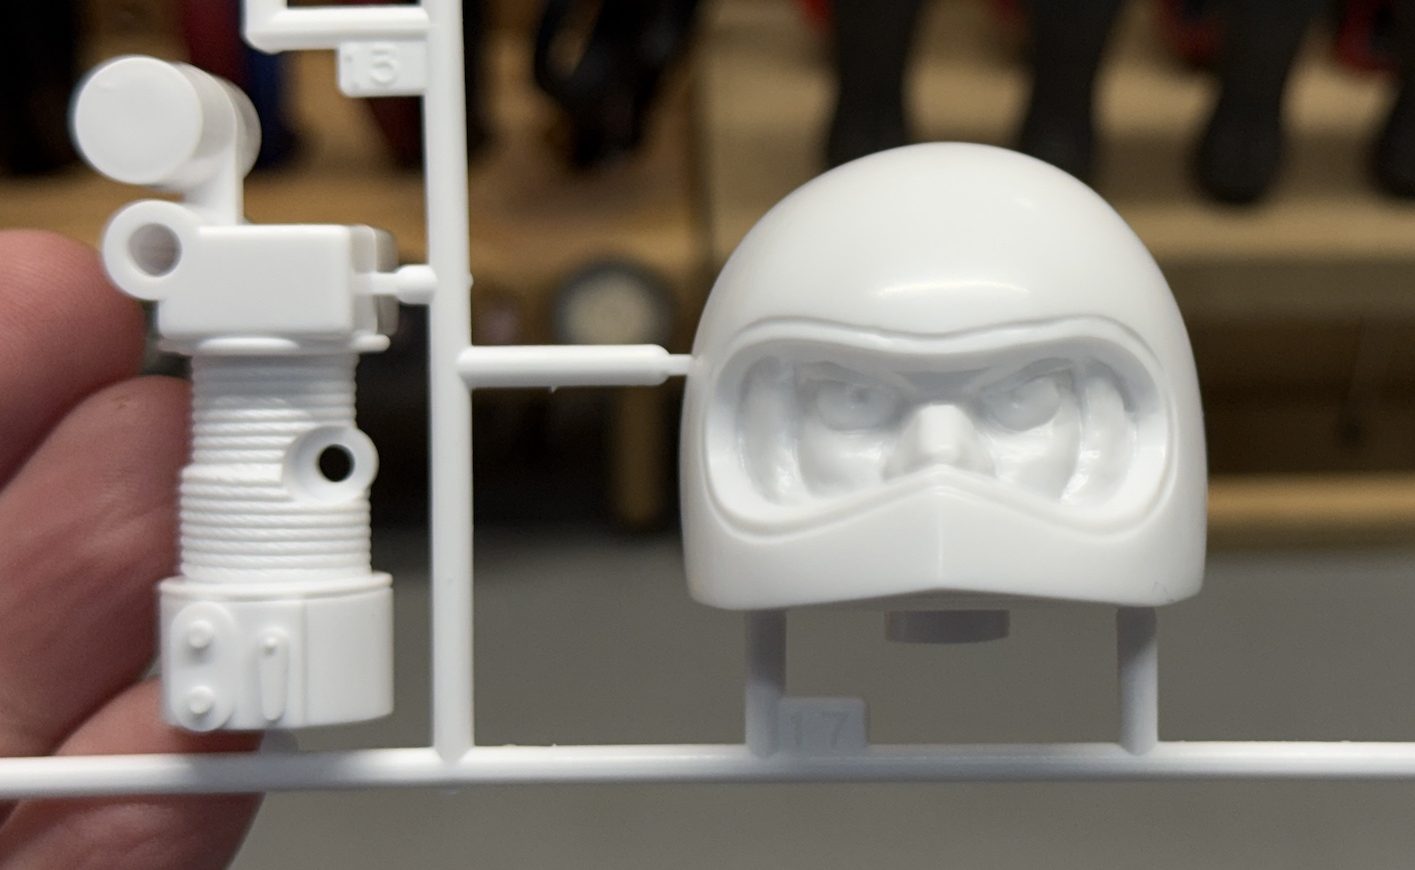
Willy’s a determined-looking guy, I gotta say.
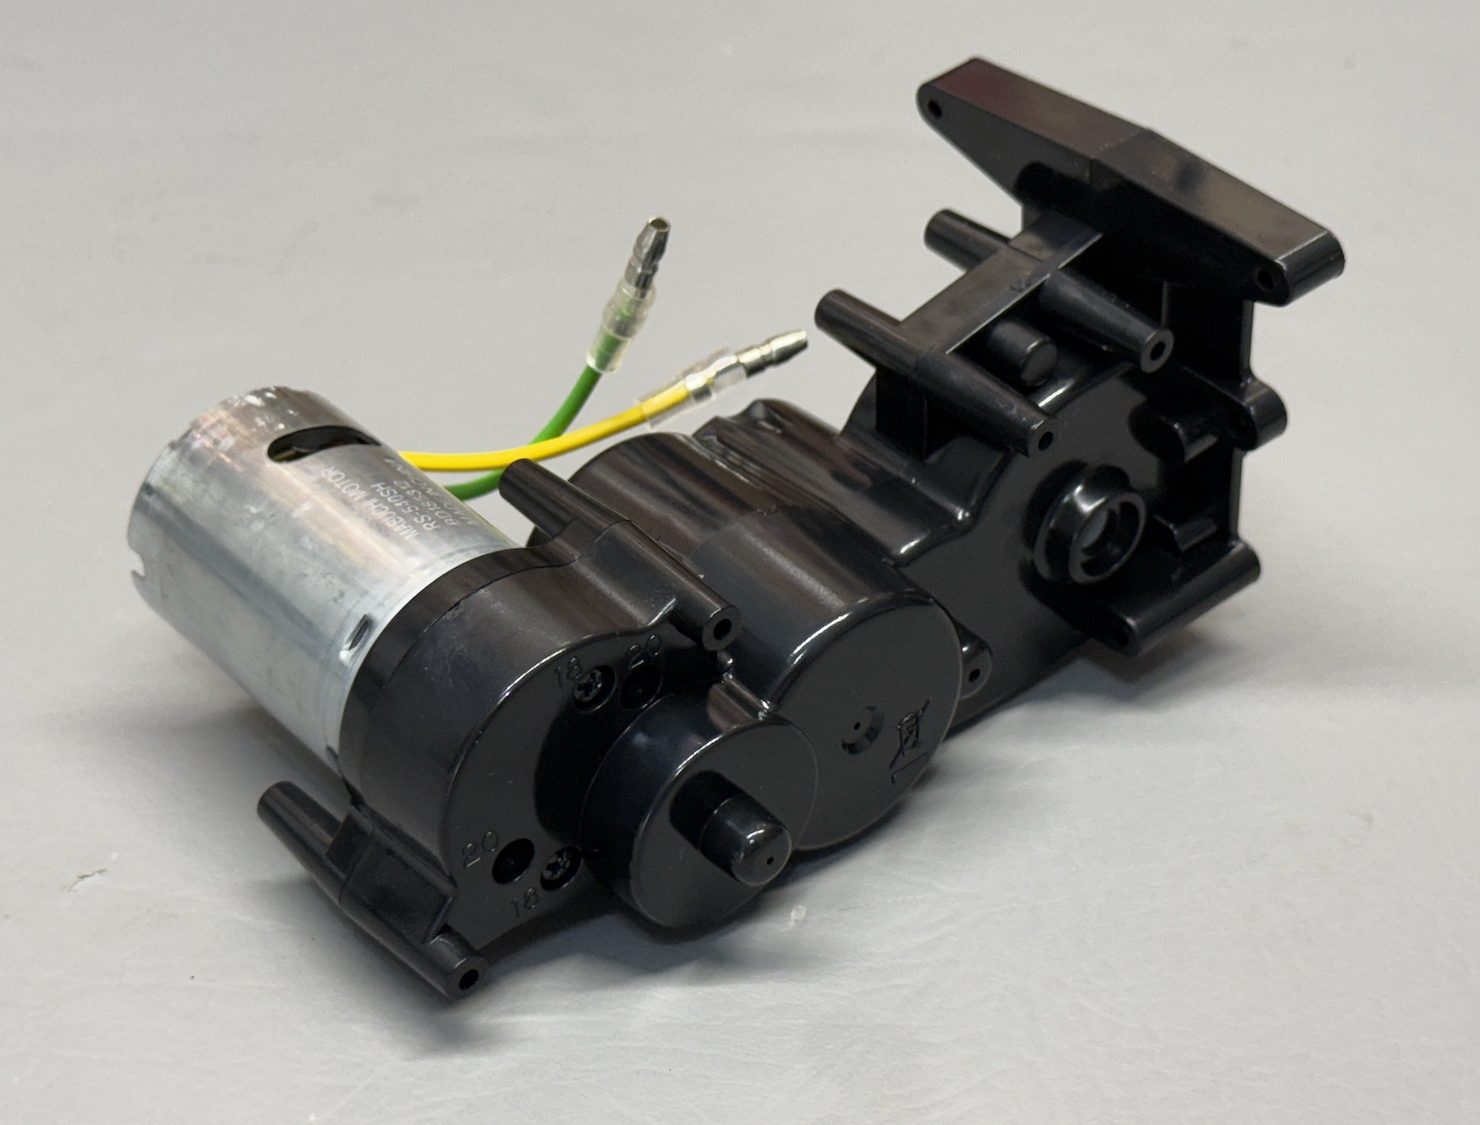
A slight bummer for me is the factory-assembled gearbox. I wanted to do it myself, Tamiya! No matter, I can still take it apart. And why would I bother? So I can install ball bearings, that’s why. Nylon bushings are standard. You can see the installed Mabuchi 540 brushed motor, the quintessential stock motor for 1/10 scale models. Much, much faster (and brushless) motors are available, but for Wild Willy, the silver-can 540 is enough.
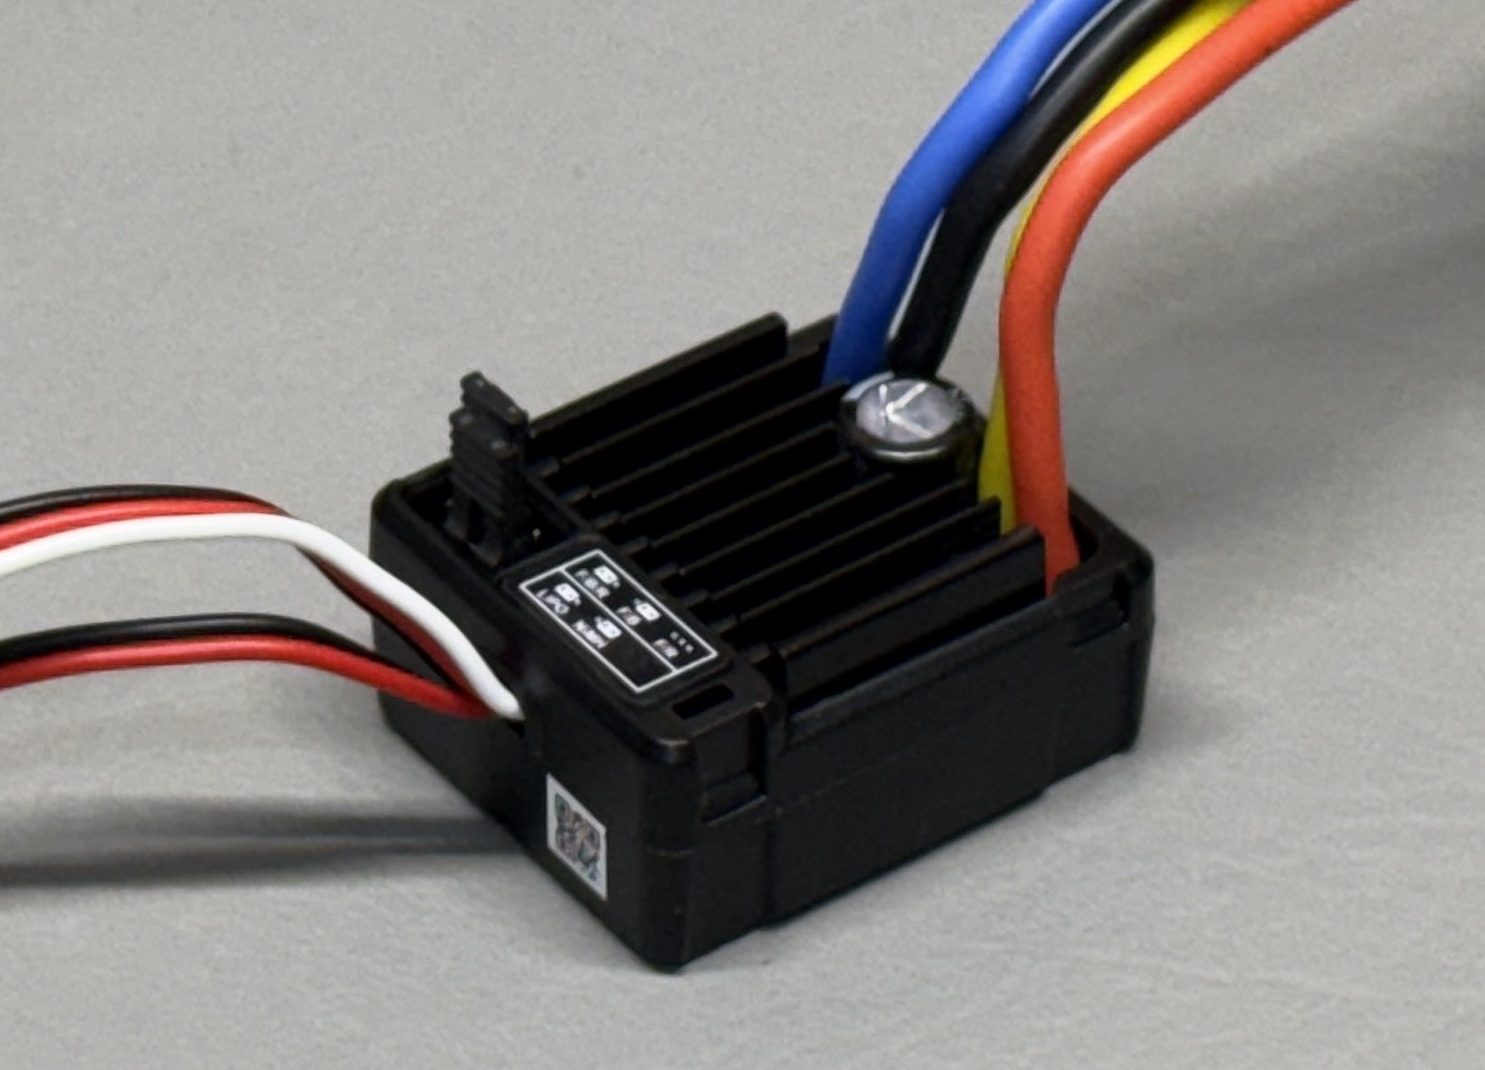
Tamiya supplies an electronic speed control made by popular brand HobbyWing, but you’ll need to provide a two-channel transmitter and steering servo to complete the model, as well as a battery and charger to power it.
Before any assembly, I did some disassembly and installed ball bearings in the transmission. This set was just ten bucks at Amazon.
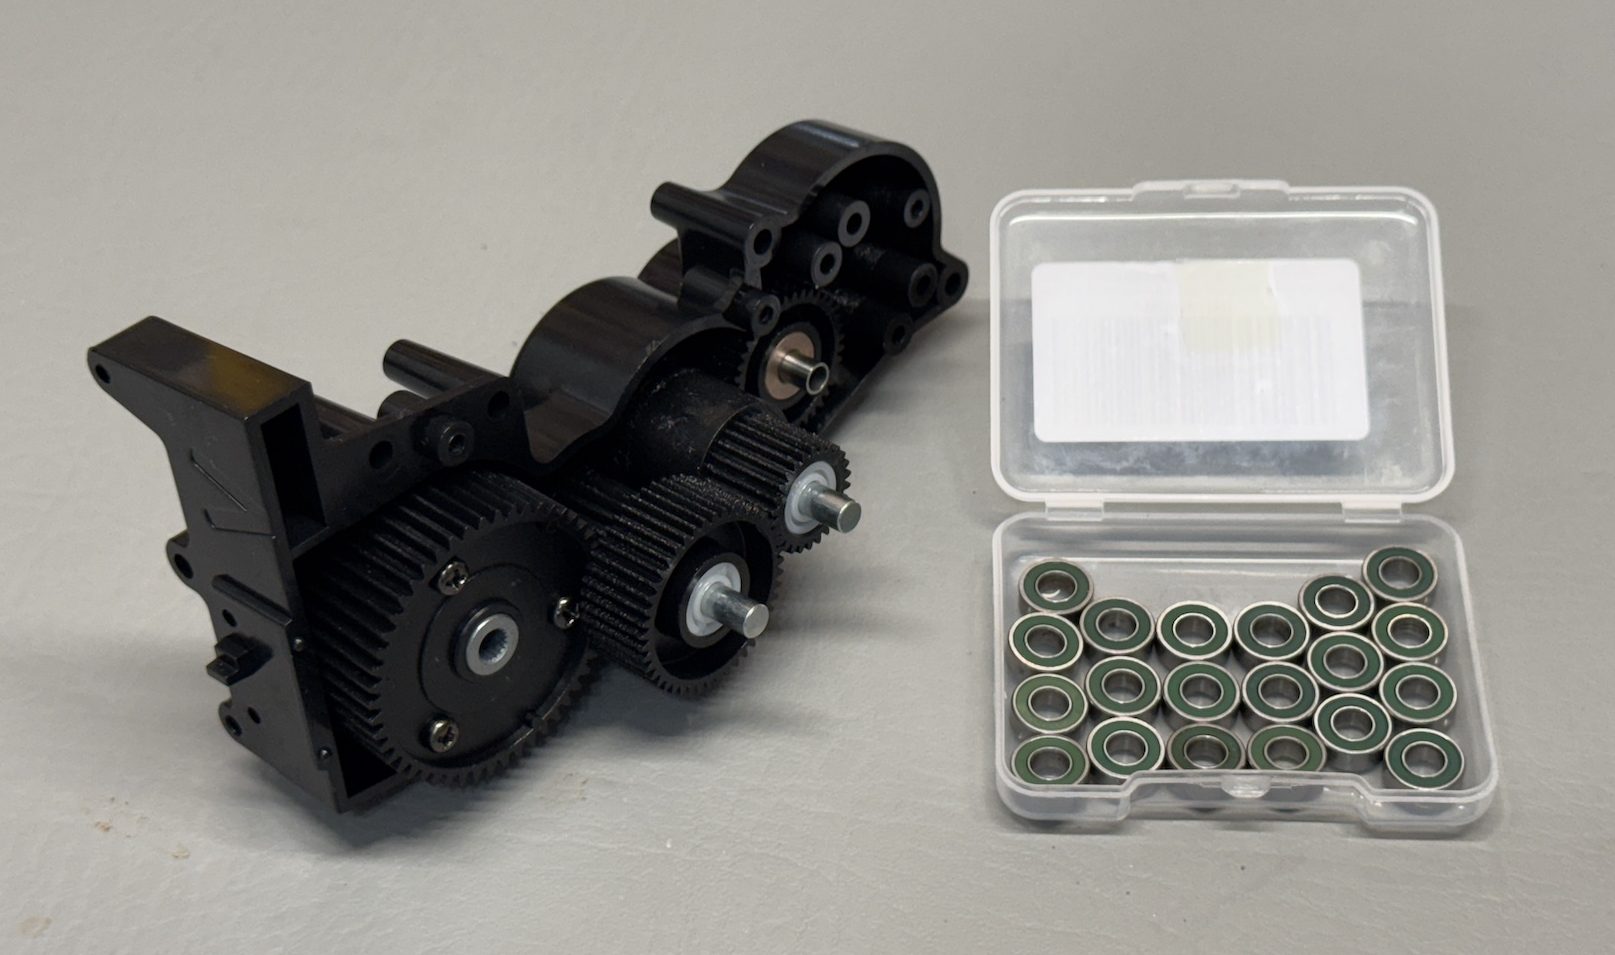
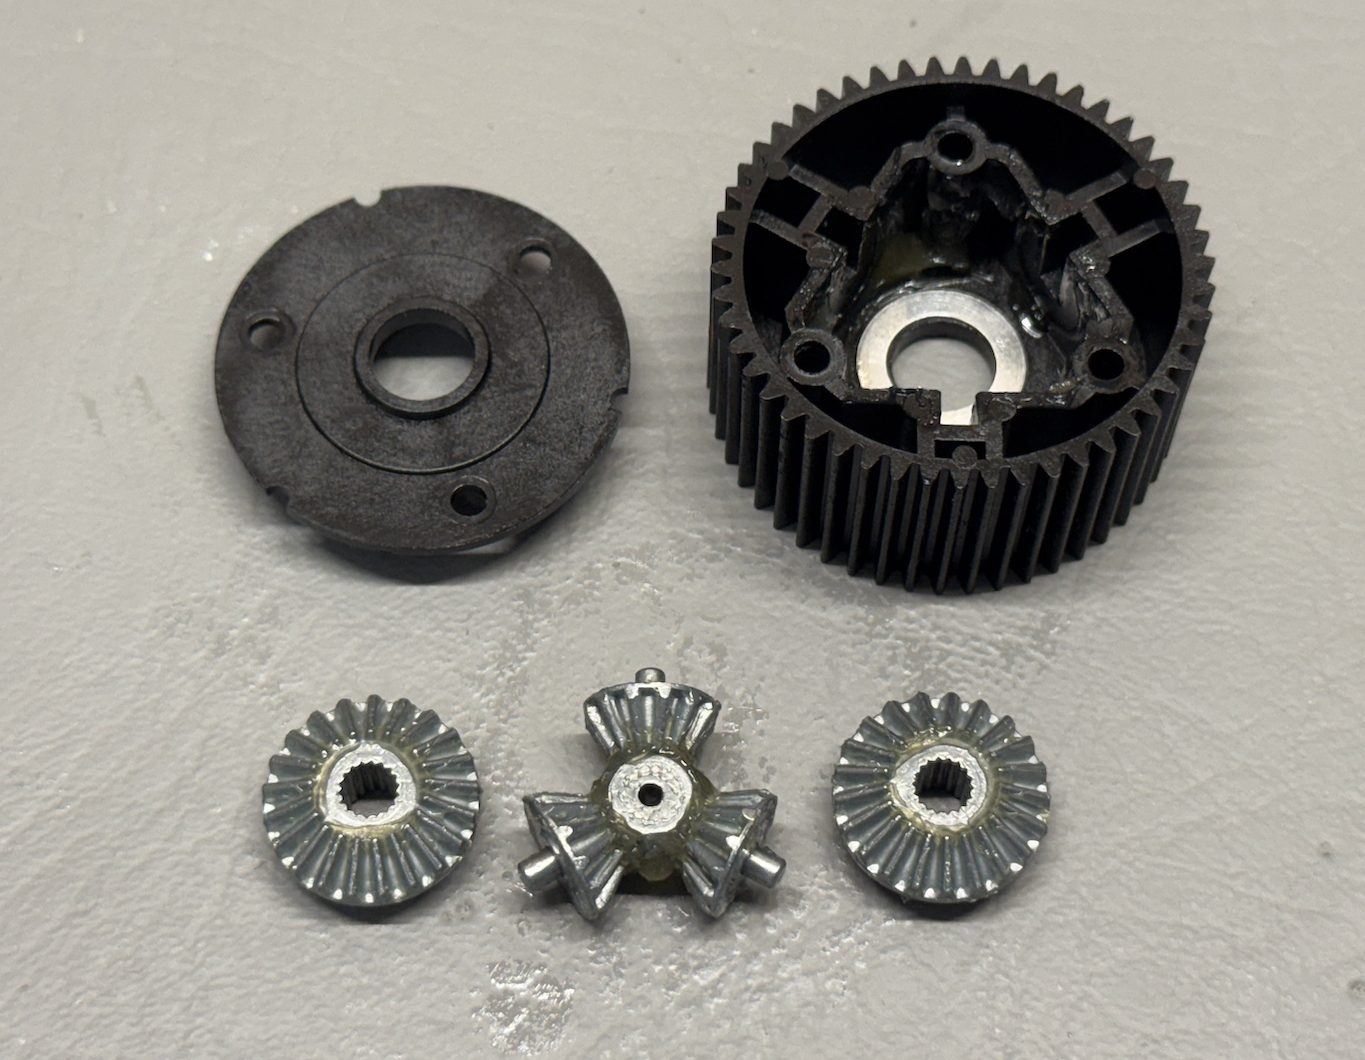
The WW2 uses a gear differential, which I opened up so you can get a peek inside. The gears are pressure-cast metal.
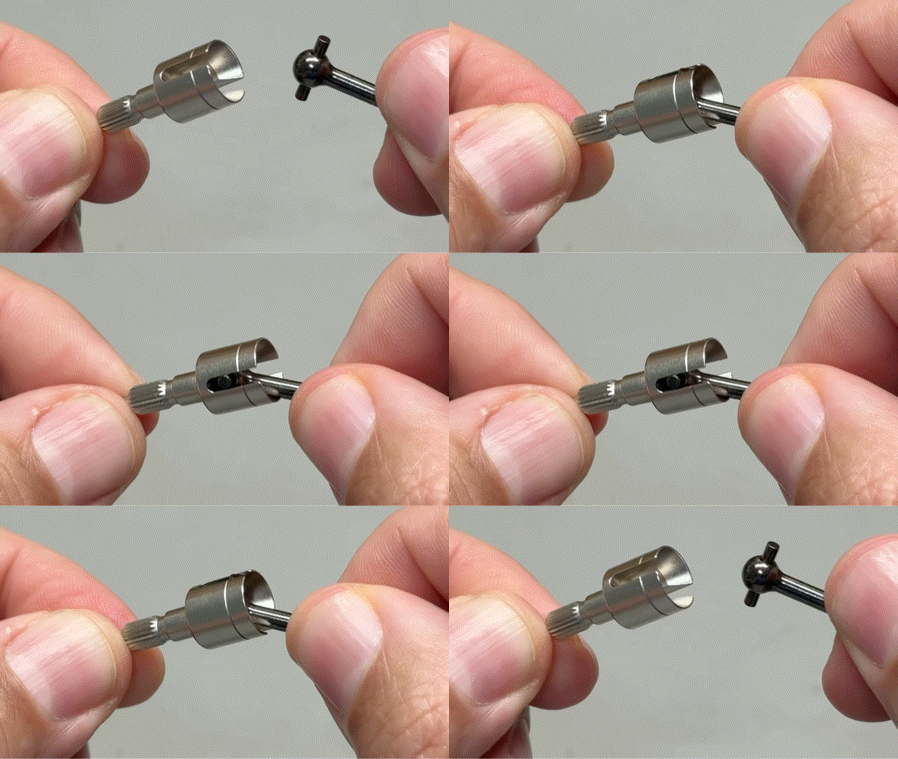
Power is transmitted from the diff outputs to the rear wheels via “dogbones,” a simple solution that allows for smooth suspension movement and accommodates the change in distance between the wheel hubs and differential as the suspension cycles.
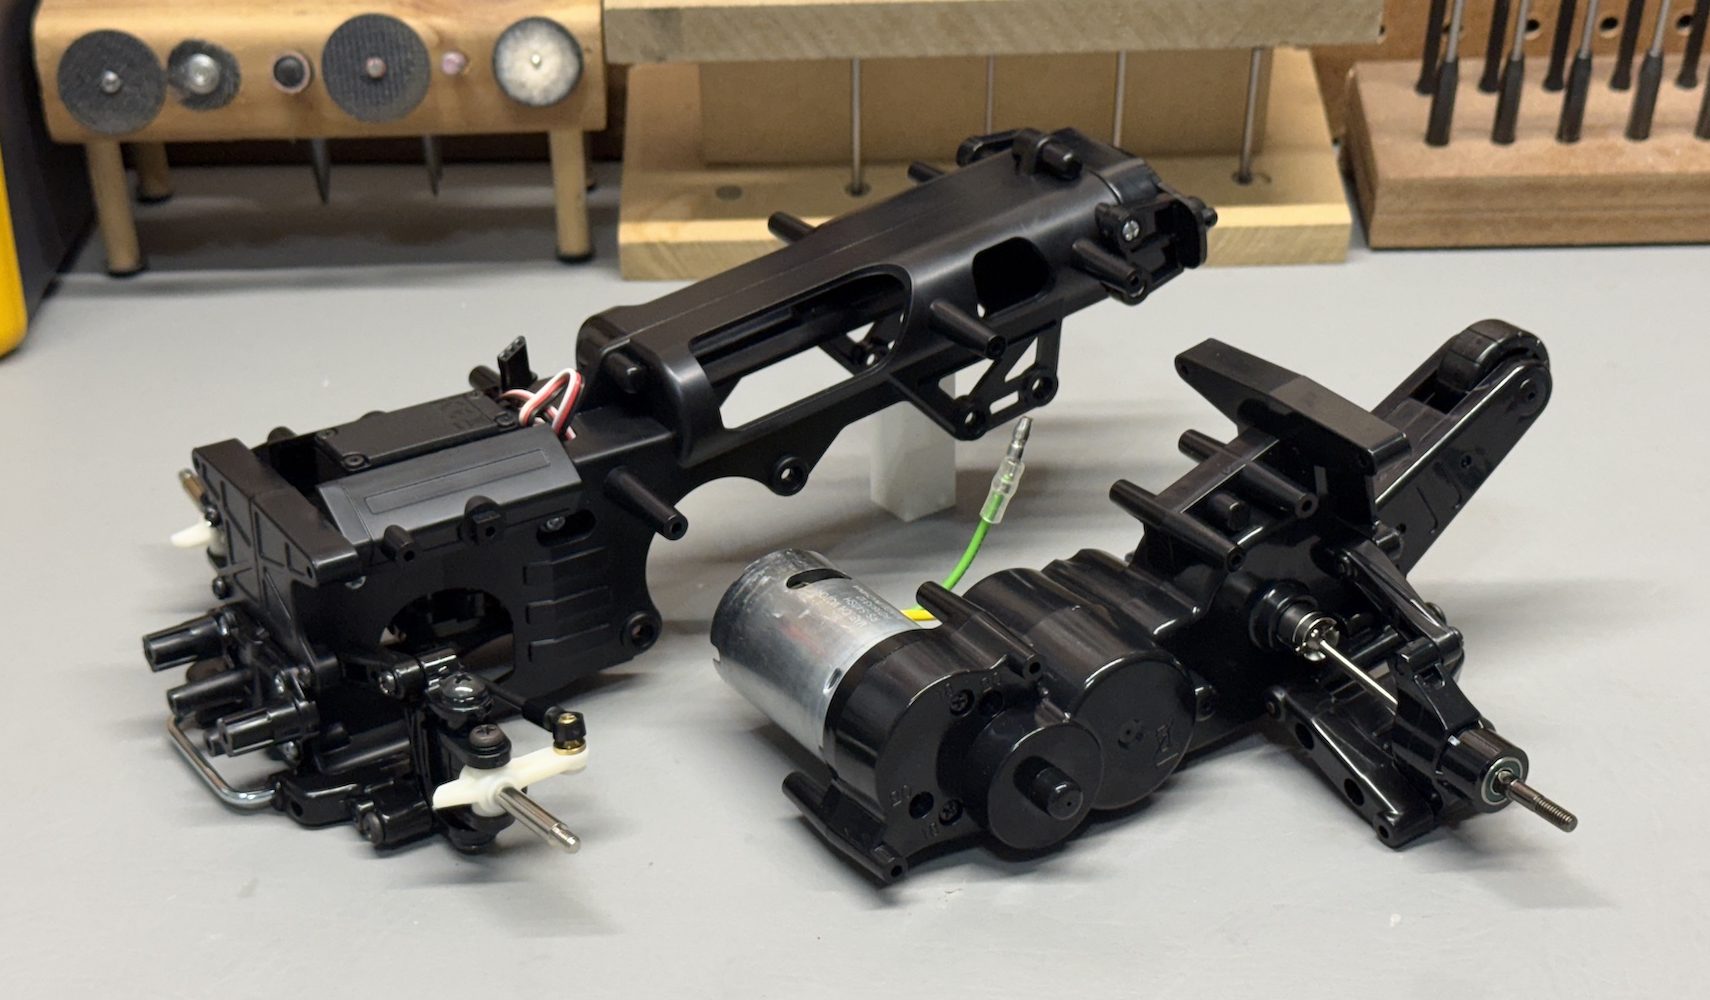
The WR-02 chassis is modular, with the front and rear subassemblies completed individually and then joined together.
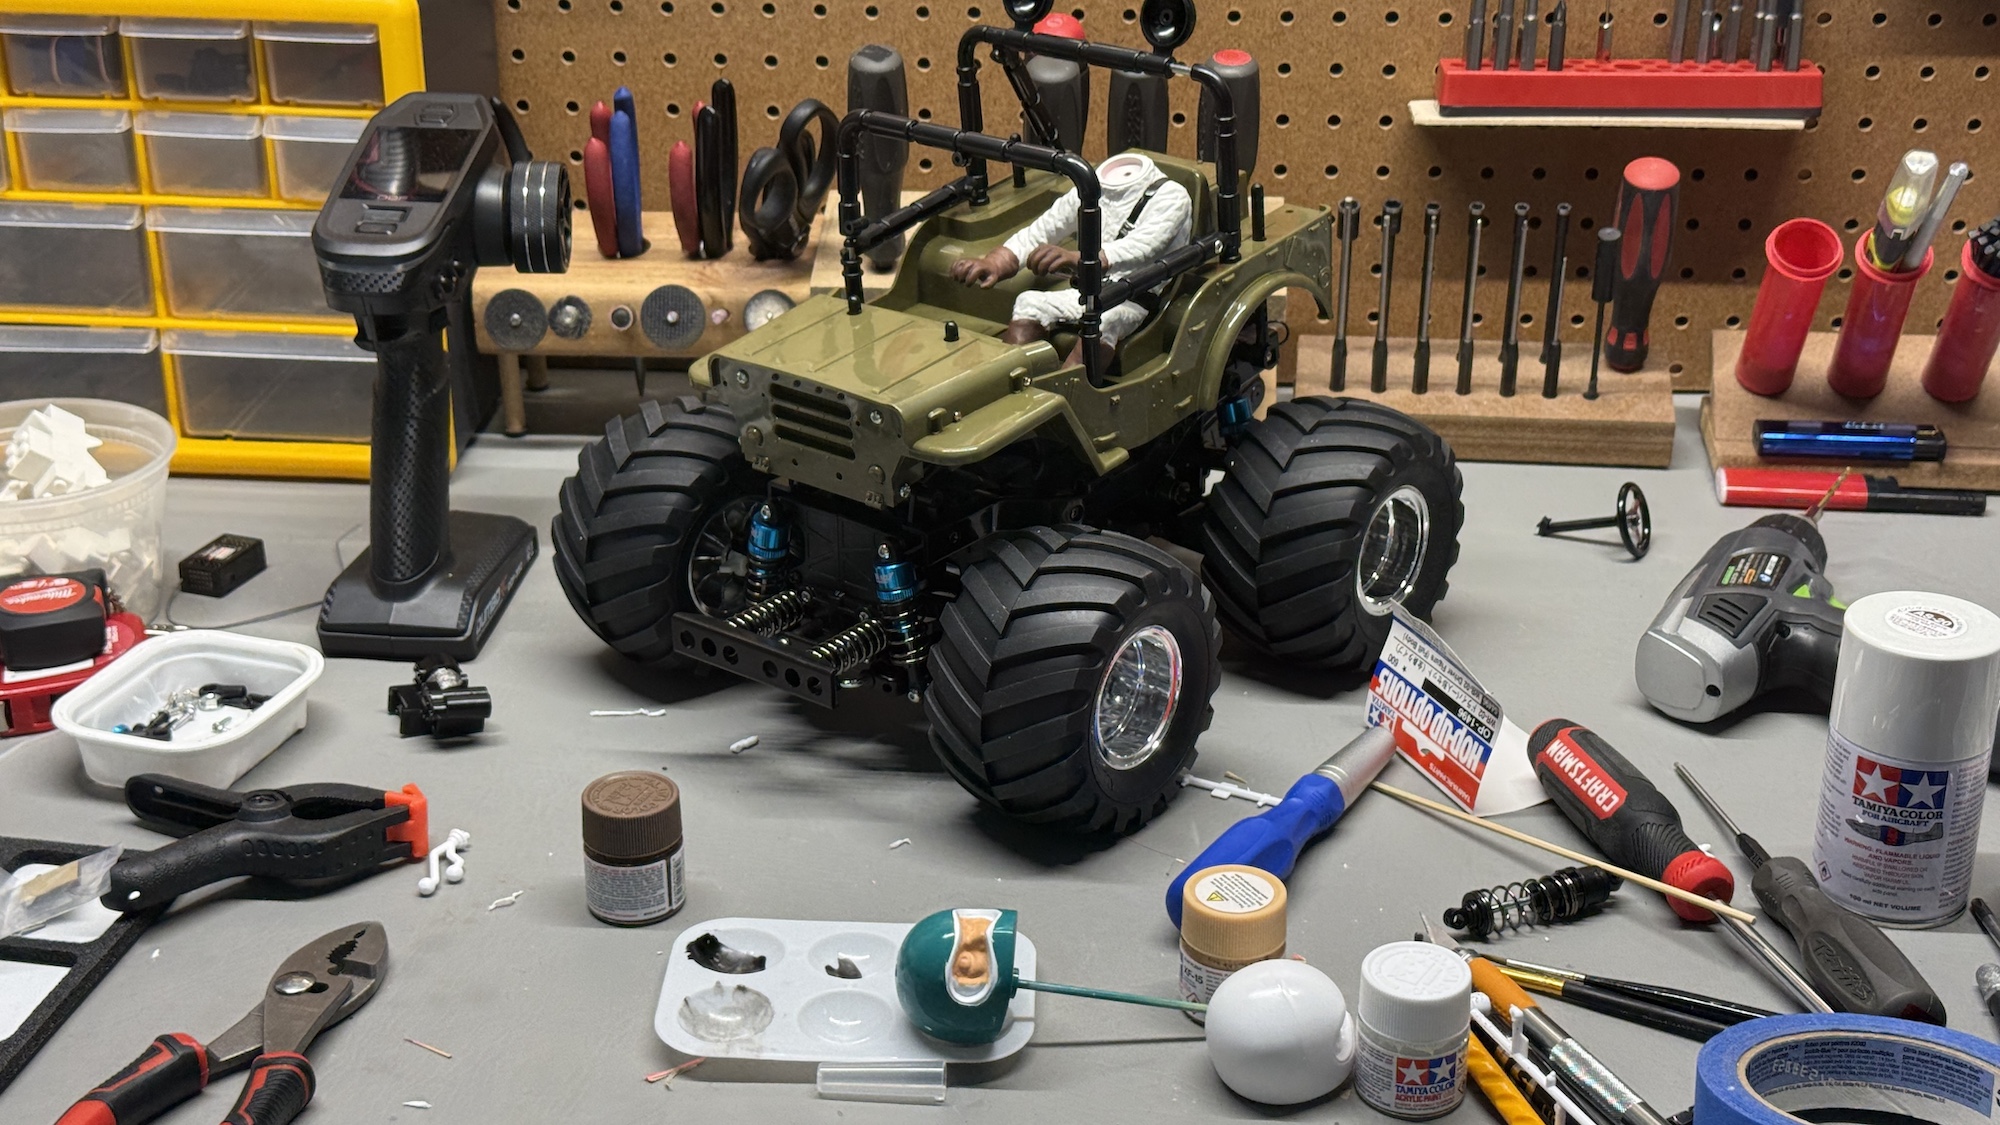
It’s getting there …
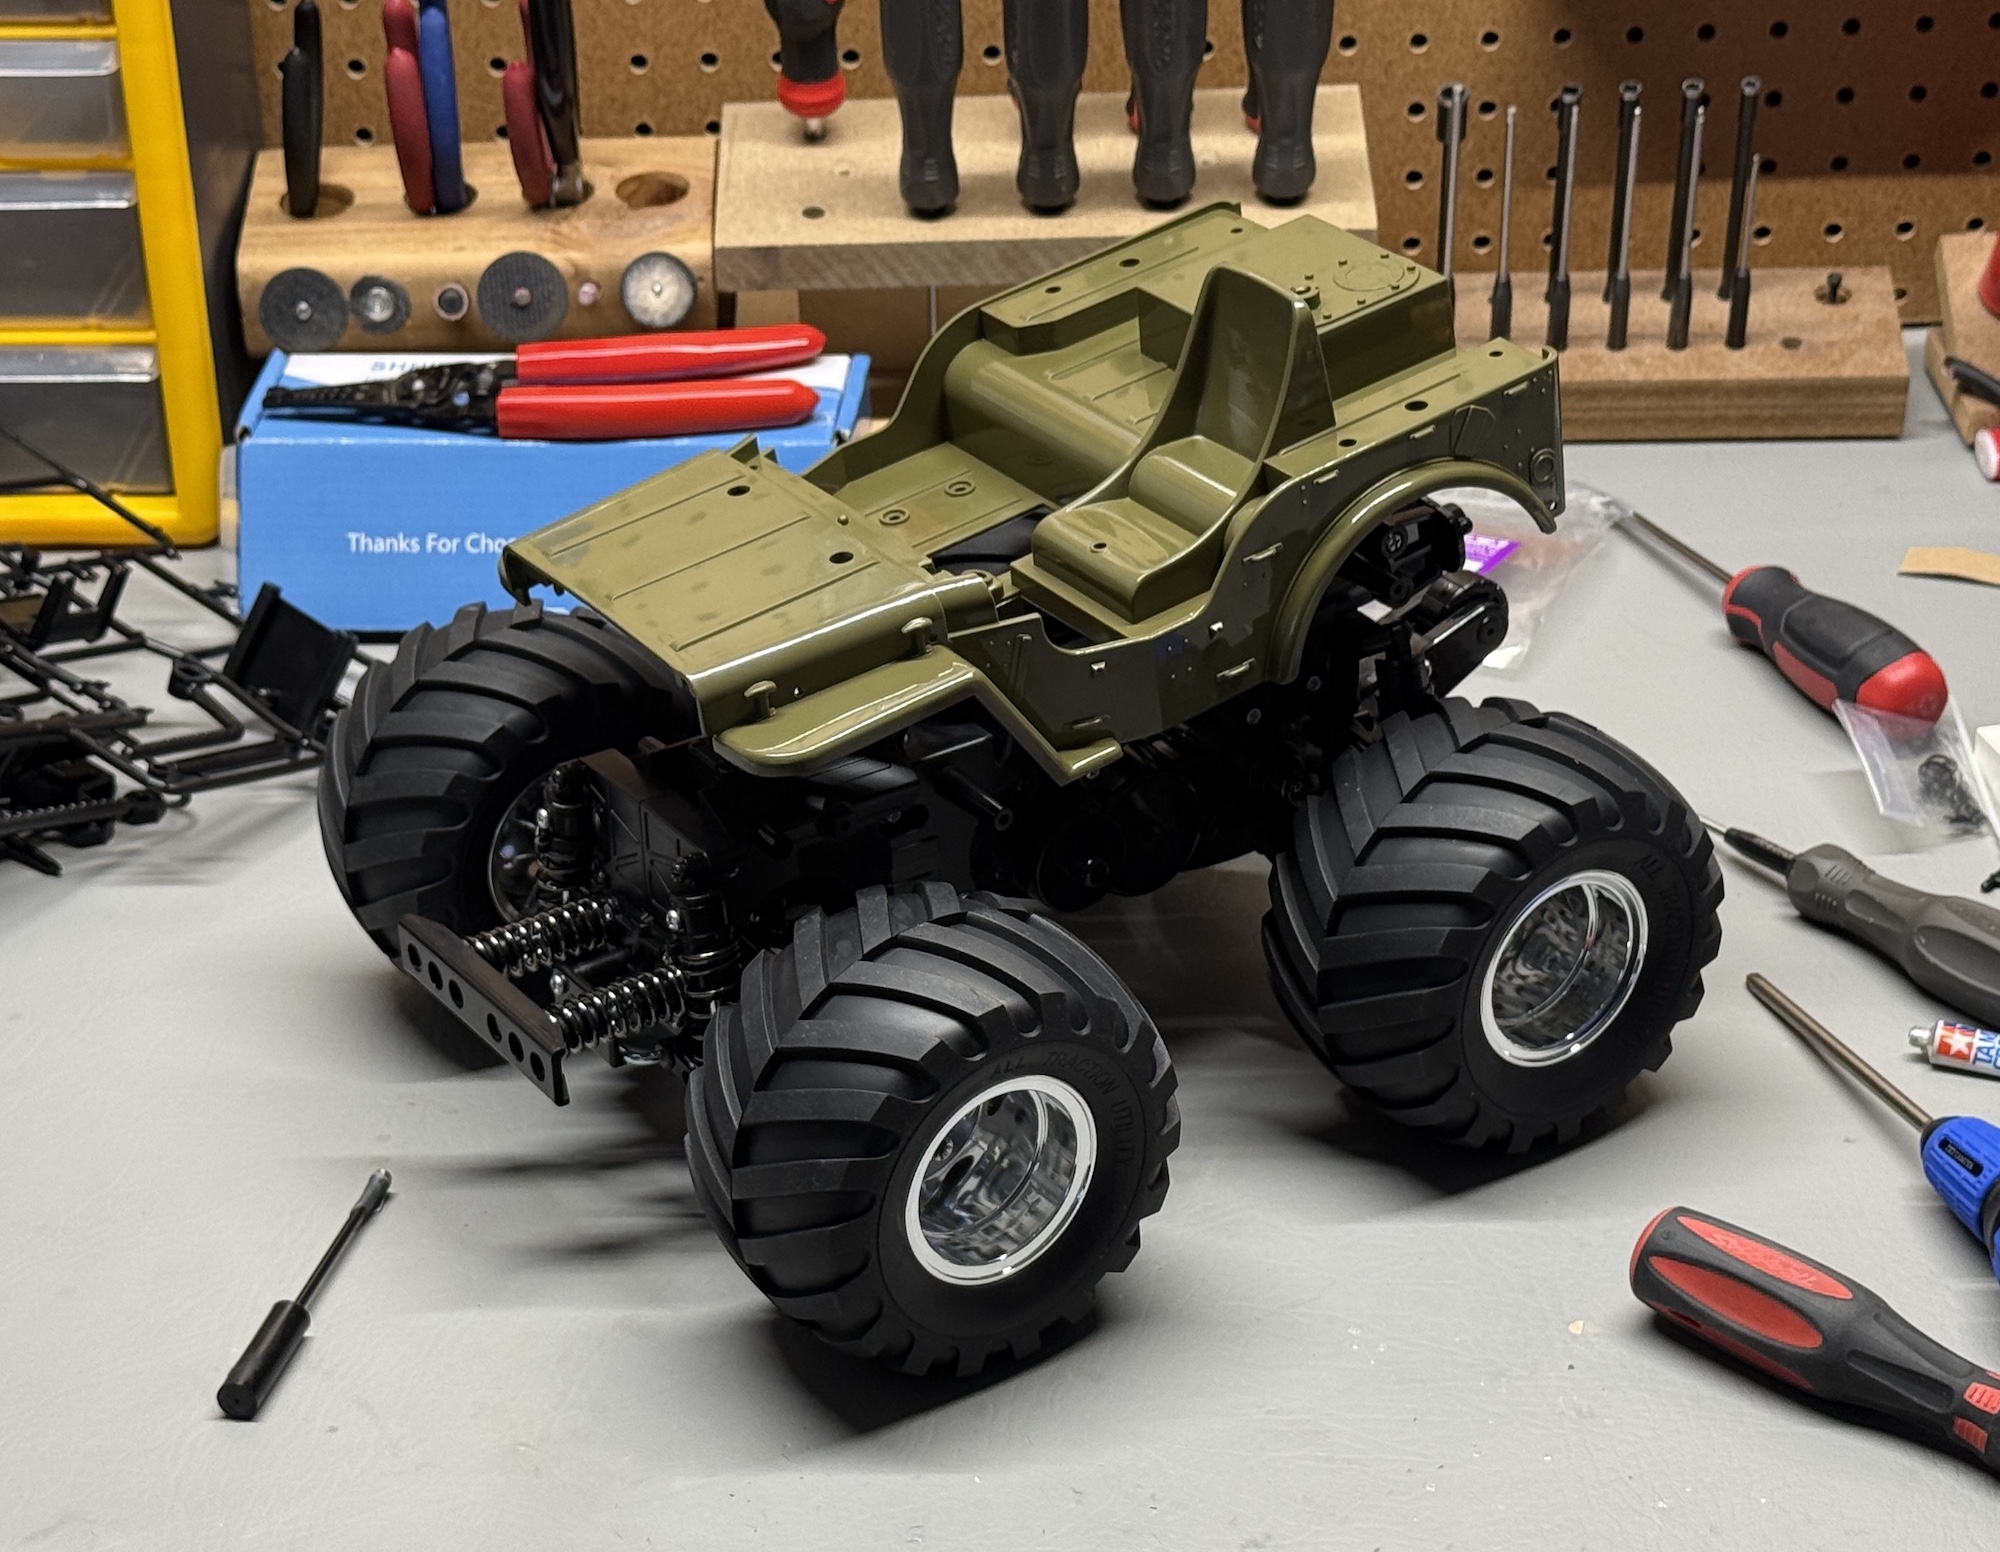
Figure painting underway. If your hobby bench isn’t a mess, you’re doing it wrong.
Along with the ball-bearing upgrade, a wanted to give my WW2 a better set of shocks right from the get-go. I don’t mind plastic shocks, but the WW2’s friction-damped units are pretty meh. A screw head is pushed and pulled through a greased rubber sleeve to provide damping force. It works, kinda, but the feel is terrible.

I picked up a set of cheap aluminum oil-damped shocks when I ordered the ball bearings. Incredibly, I didn’t even need to fill them; they arrived full of oil, ready to install.
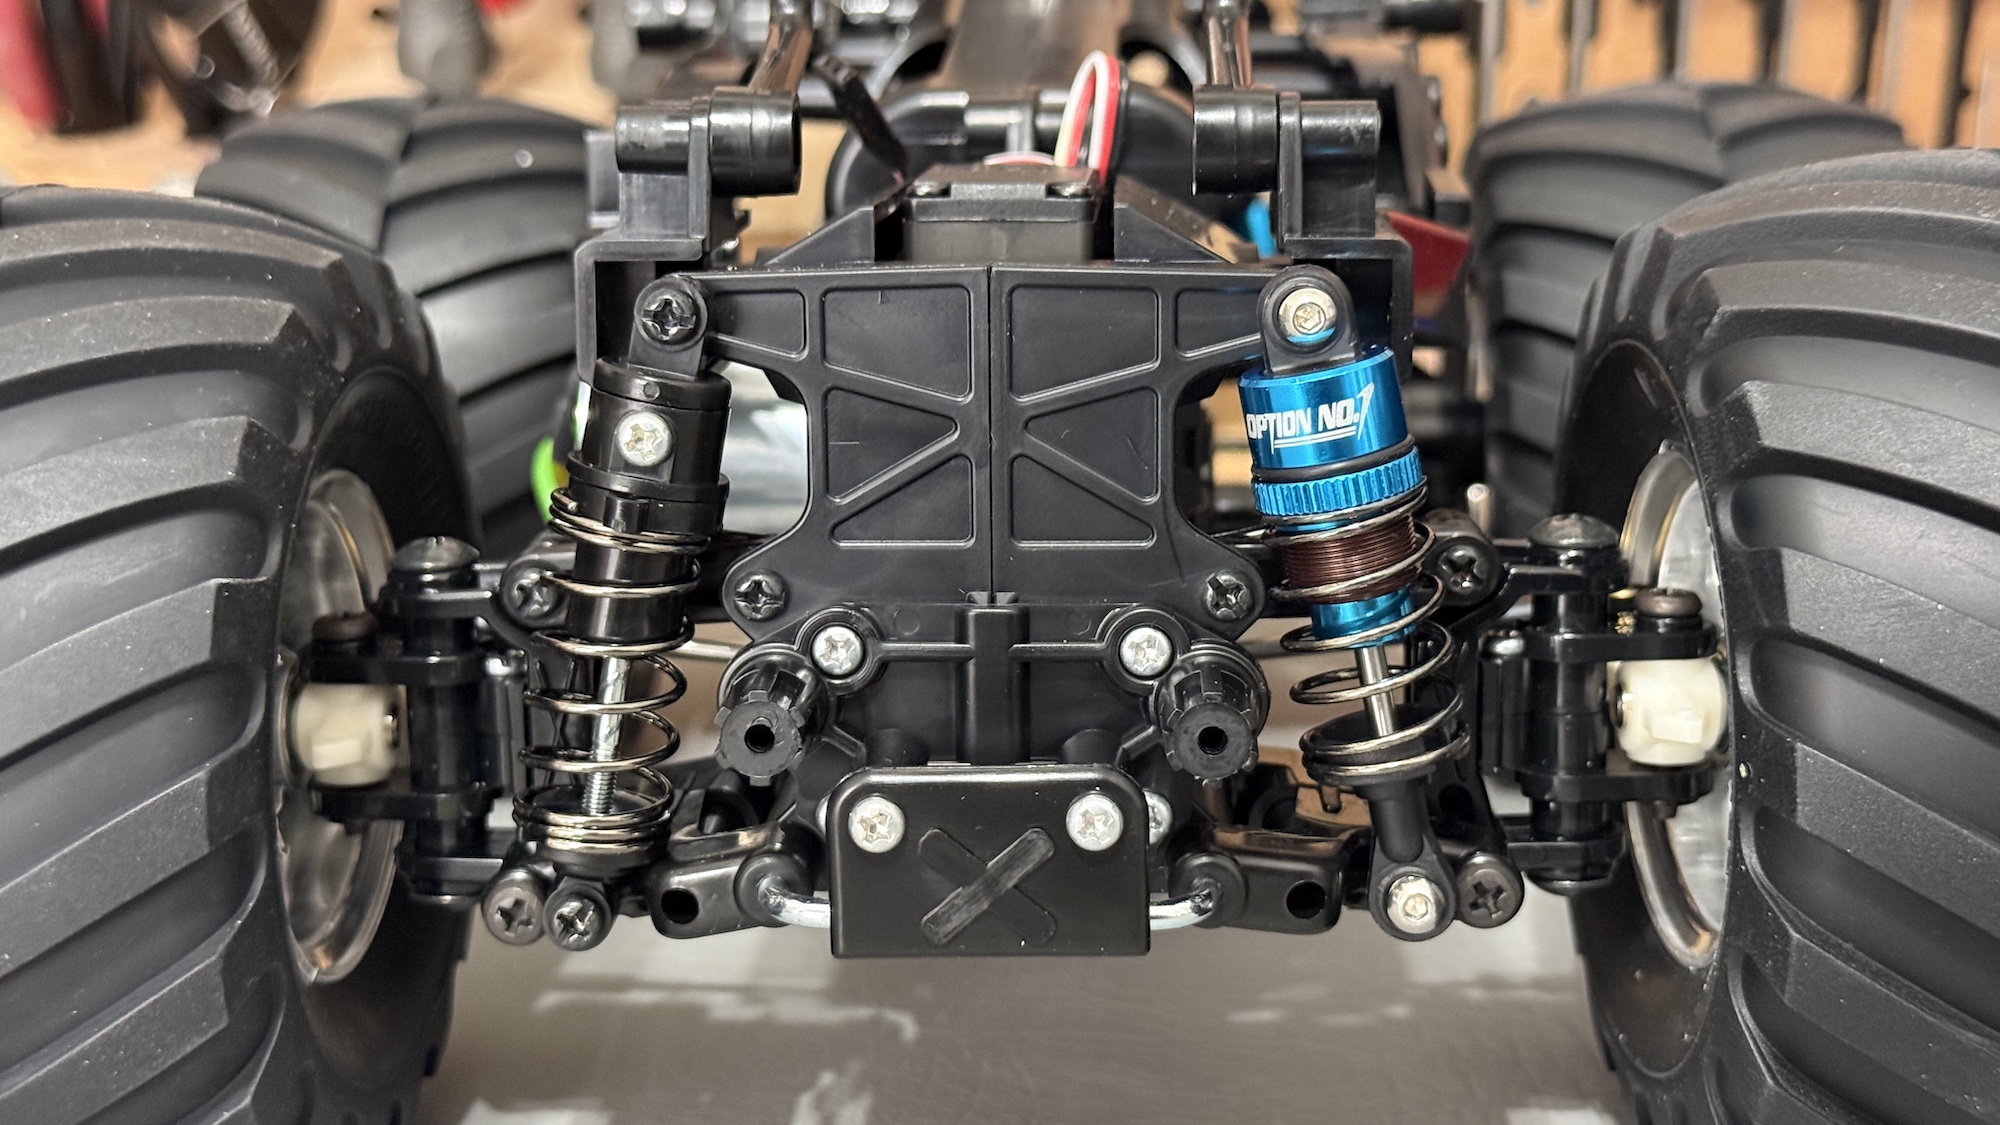
Plastic on the left, fancy aluminum on the right (obviously). In addition to better bump-eating ability, I also bought the shocks purely for a bit of anodized color amongst all the black.
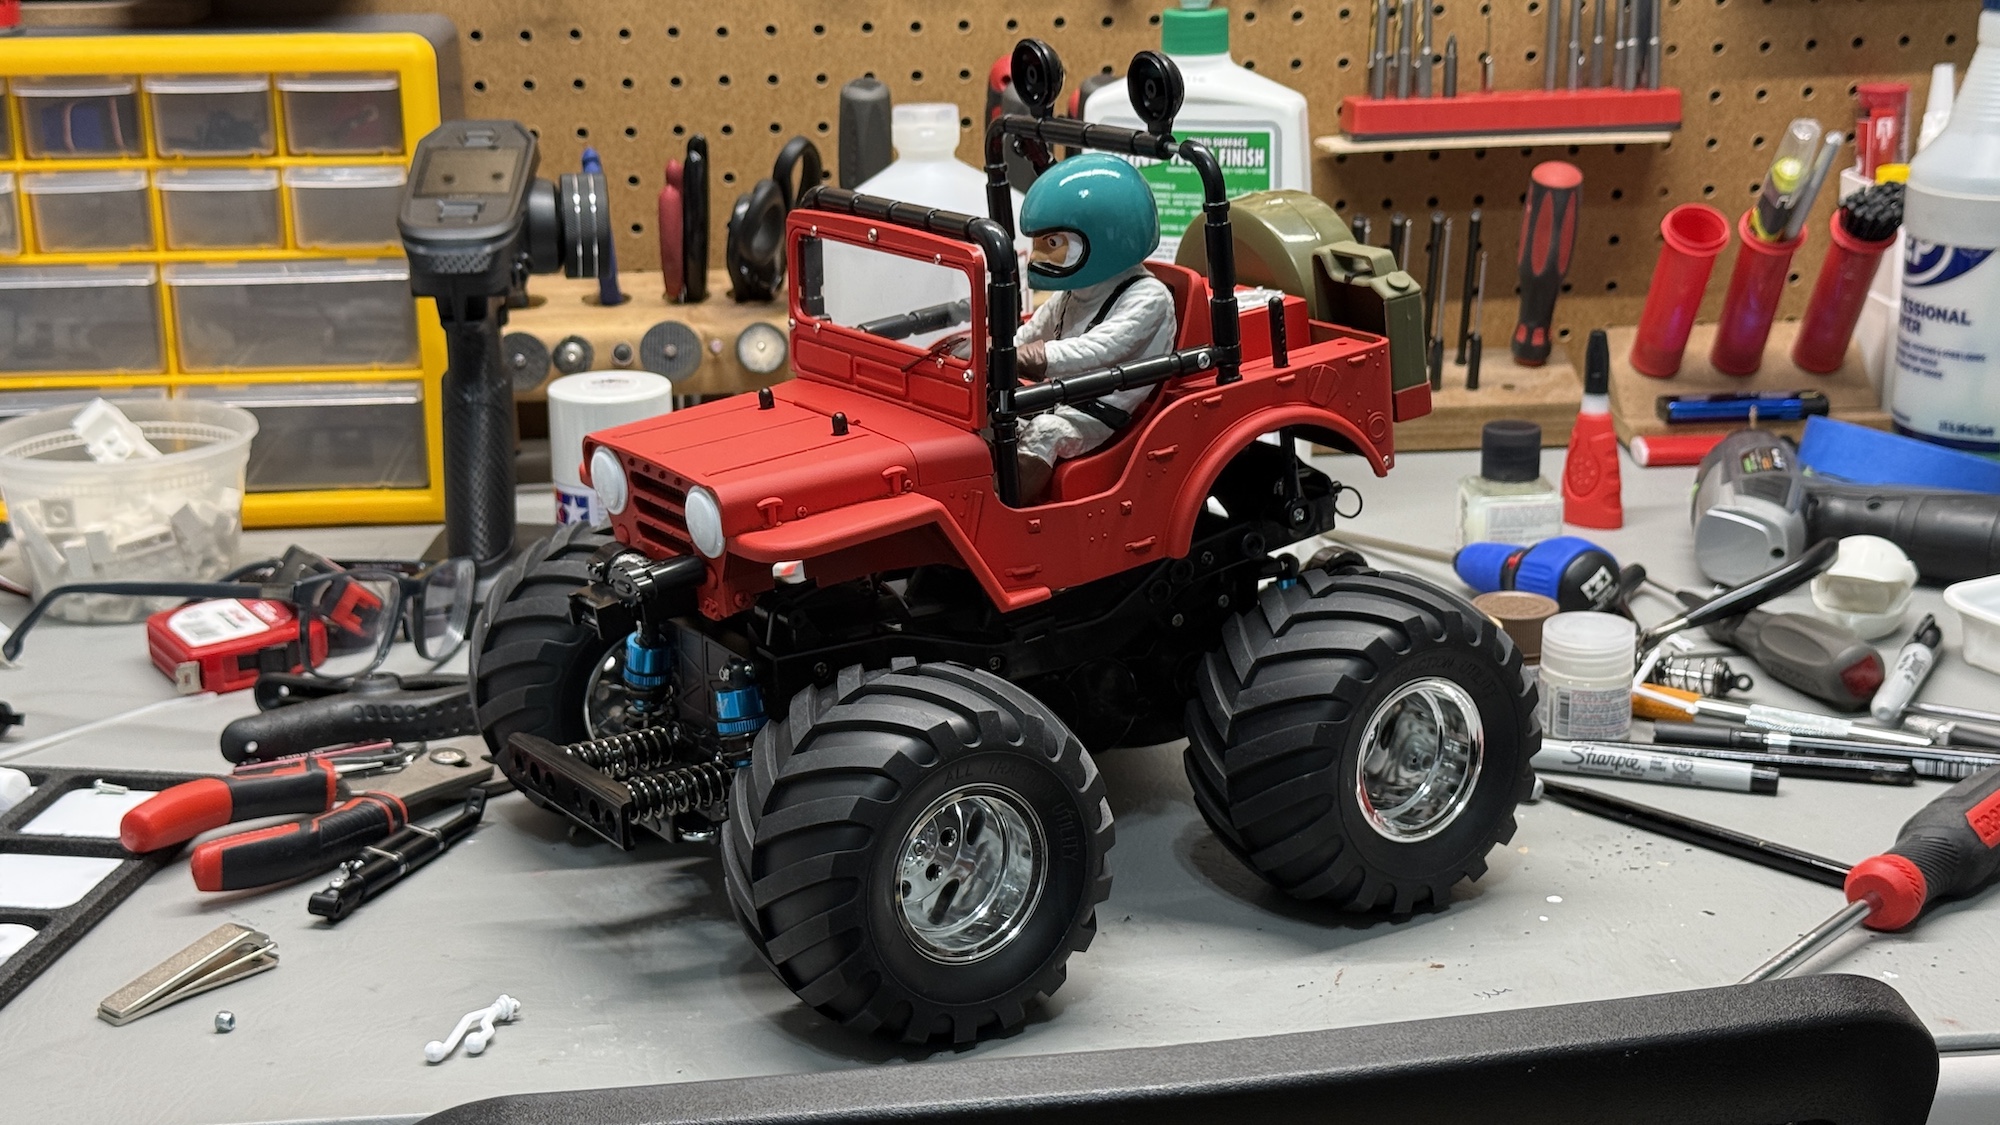
Getting close! Just need to paint a few more details …
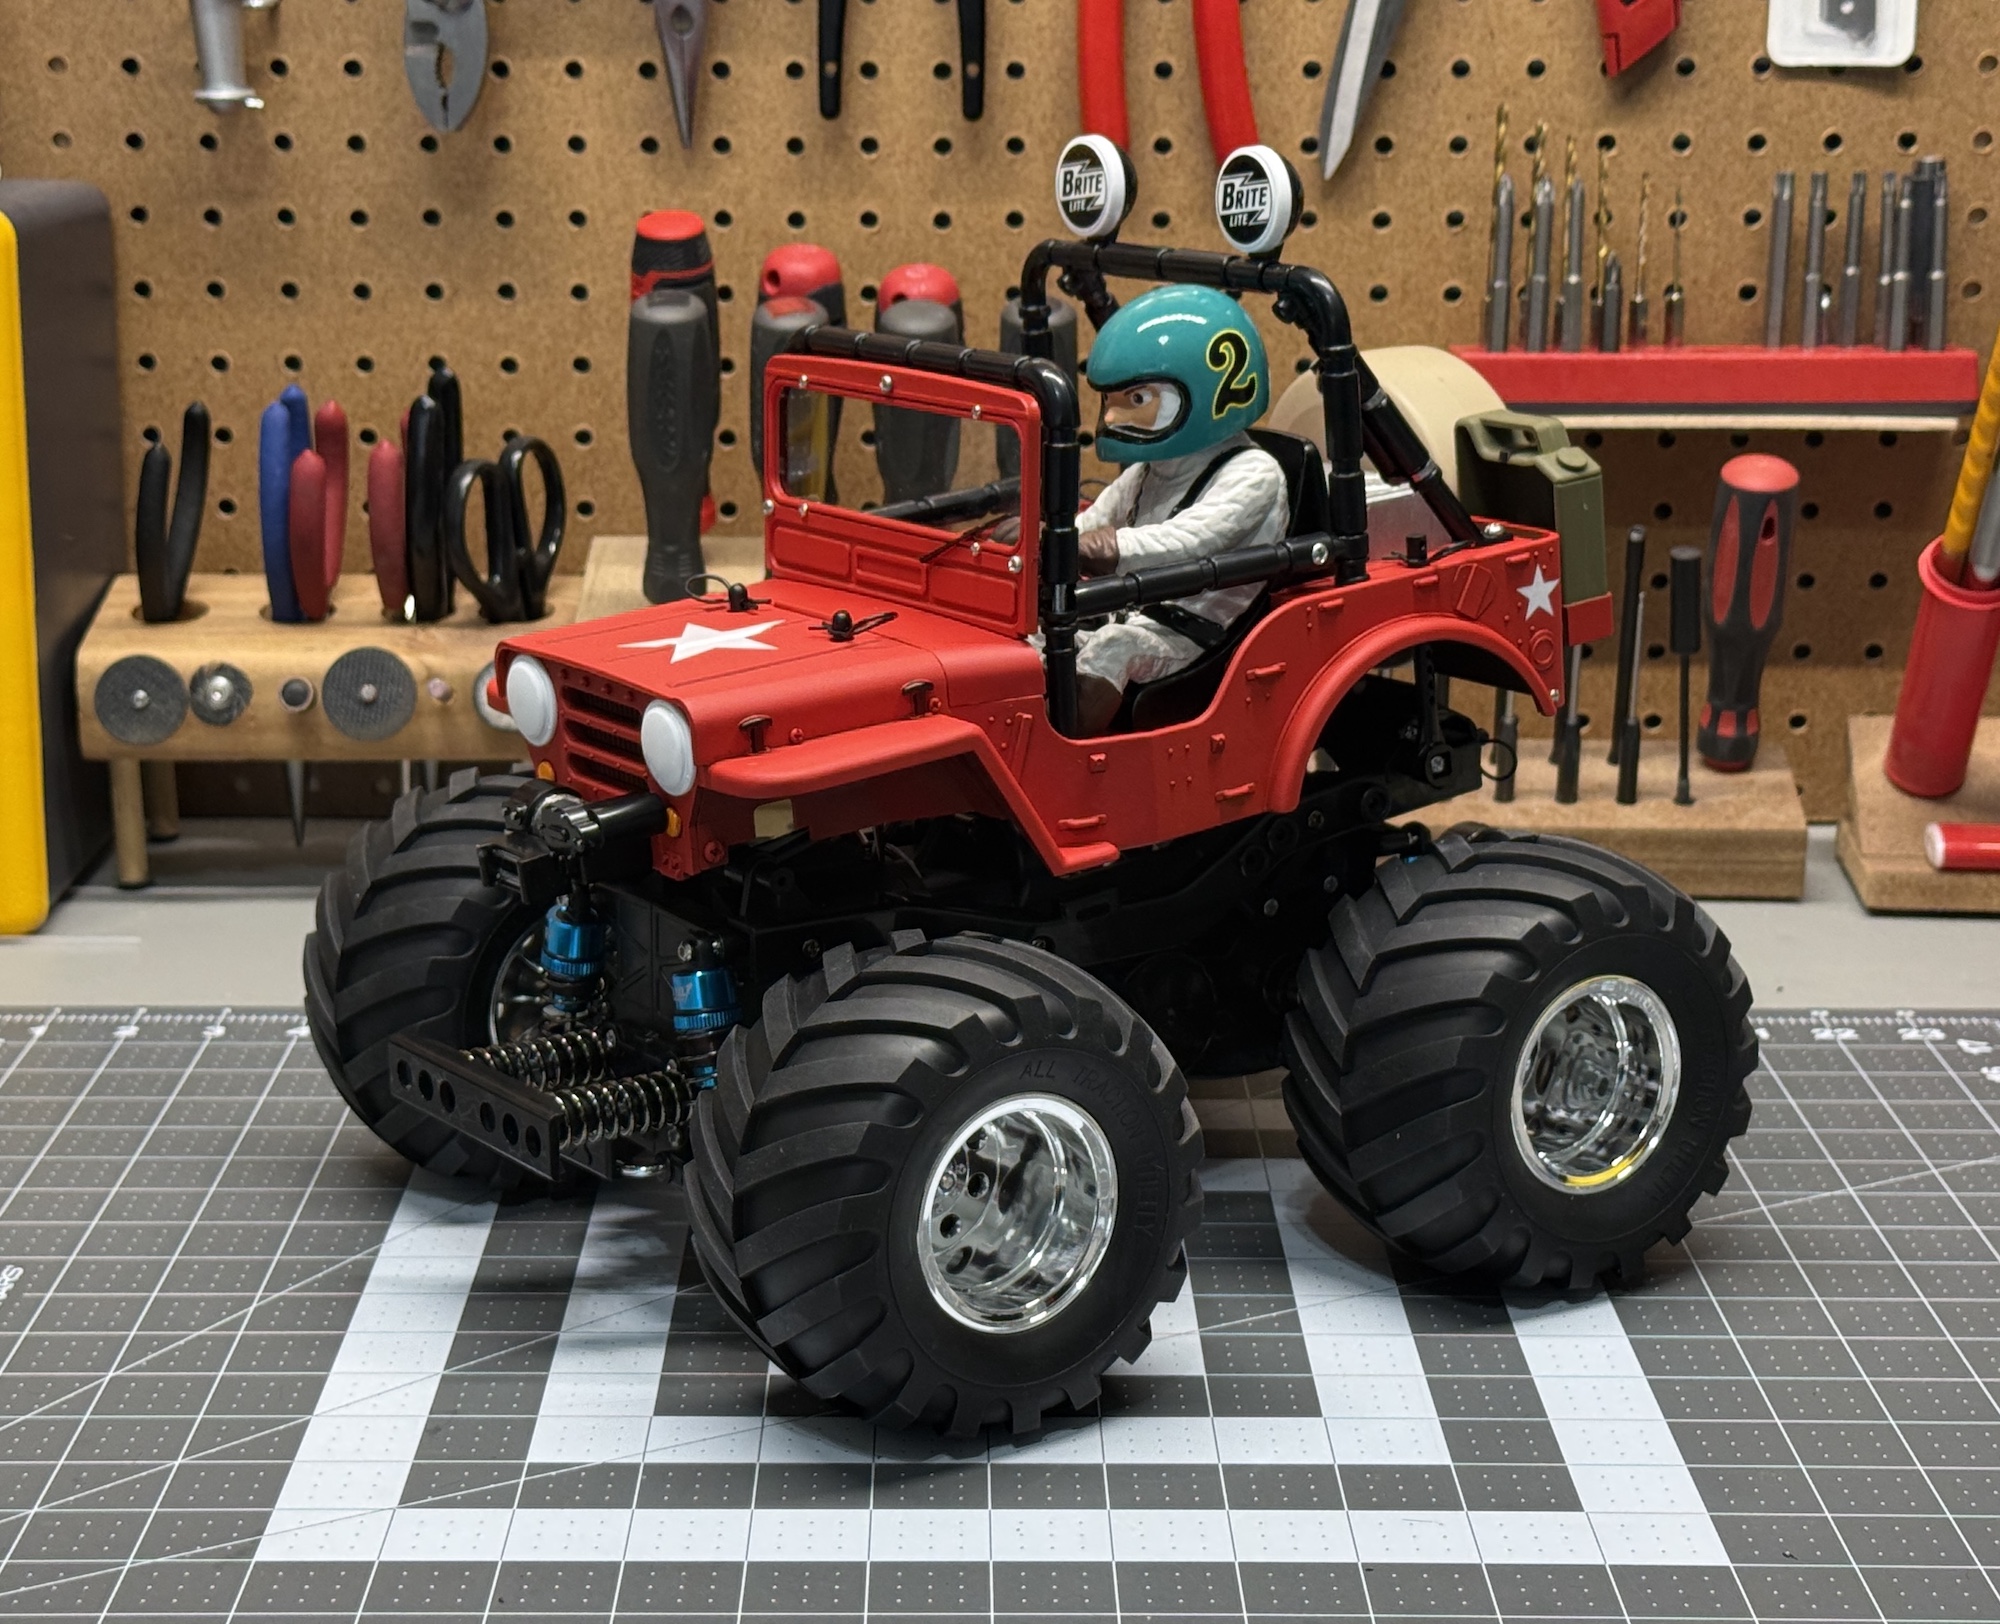
Et voila, there he is, Wild Willy ready to go wild.
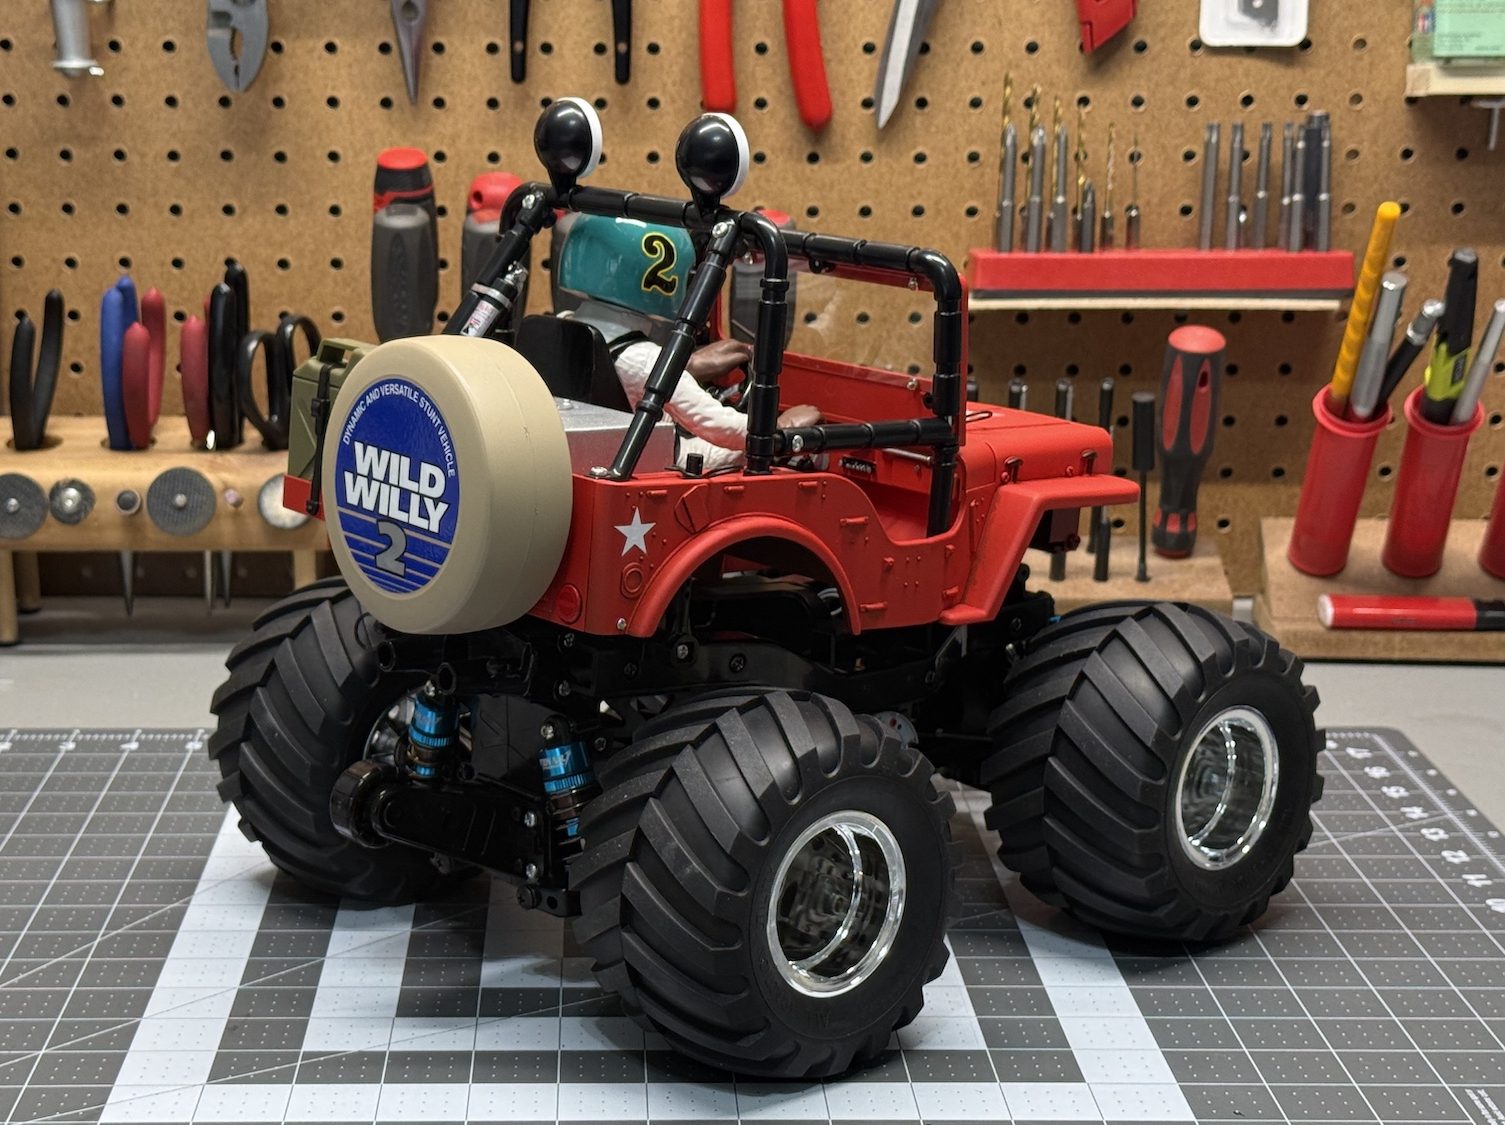
Note the wheelie bar tucked between the shocks.
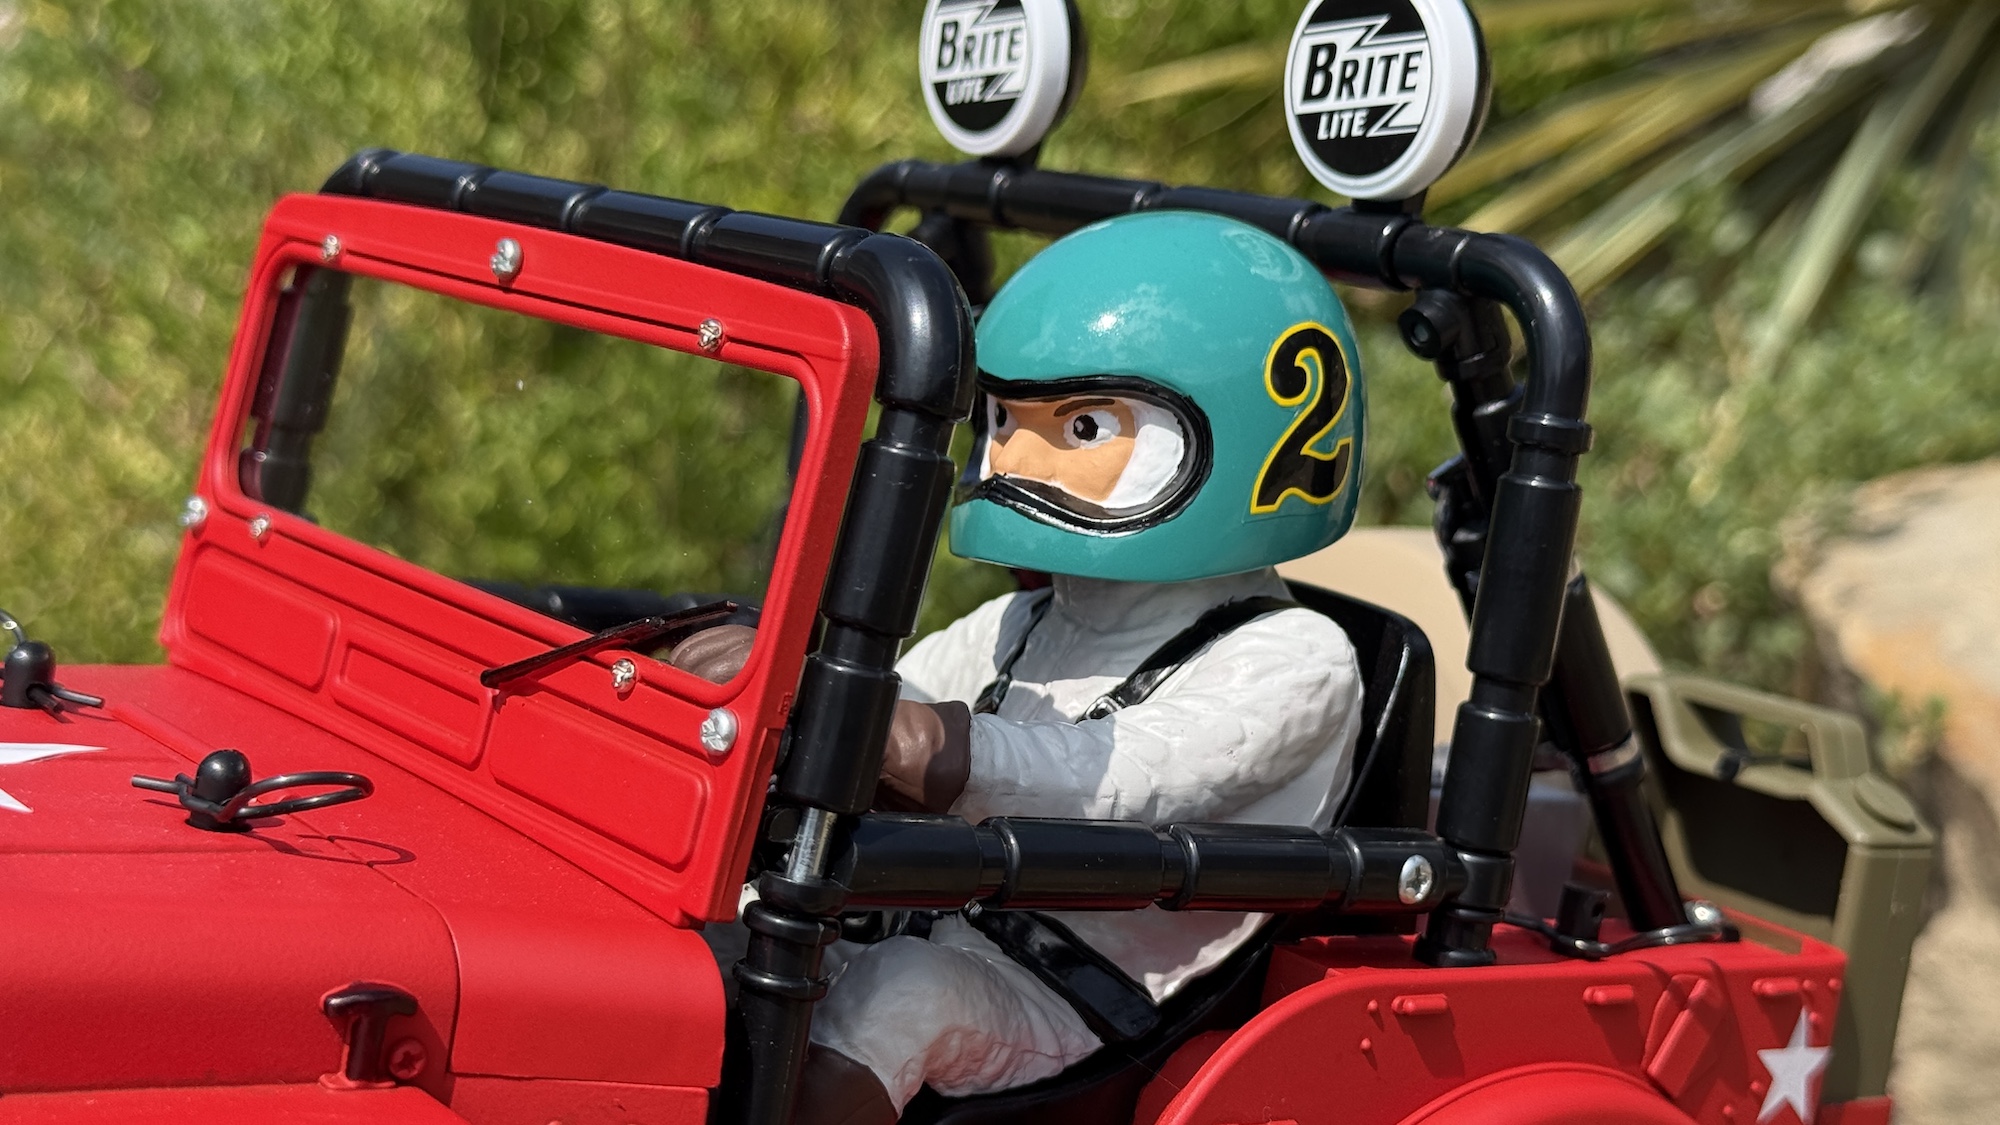
I’d give my figure painting job a firm six out of ten. I’d go higher, but the detail and realism the guys who score 10 can achieve is way too impressive for me to be higher than a six.
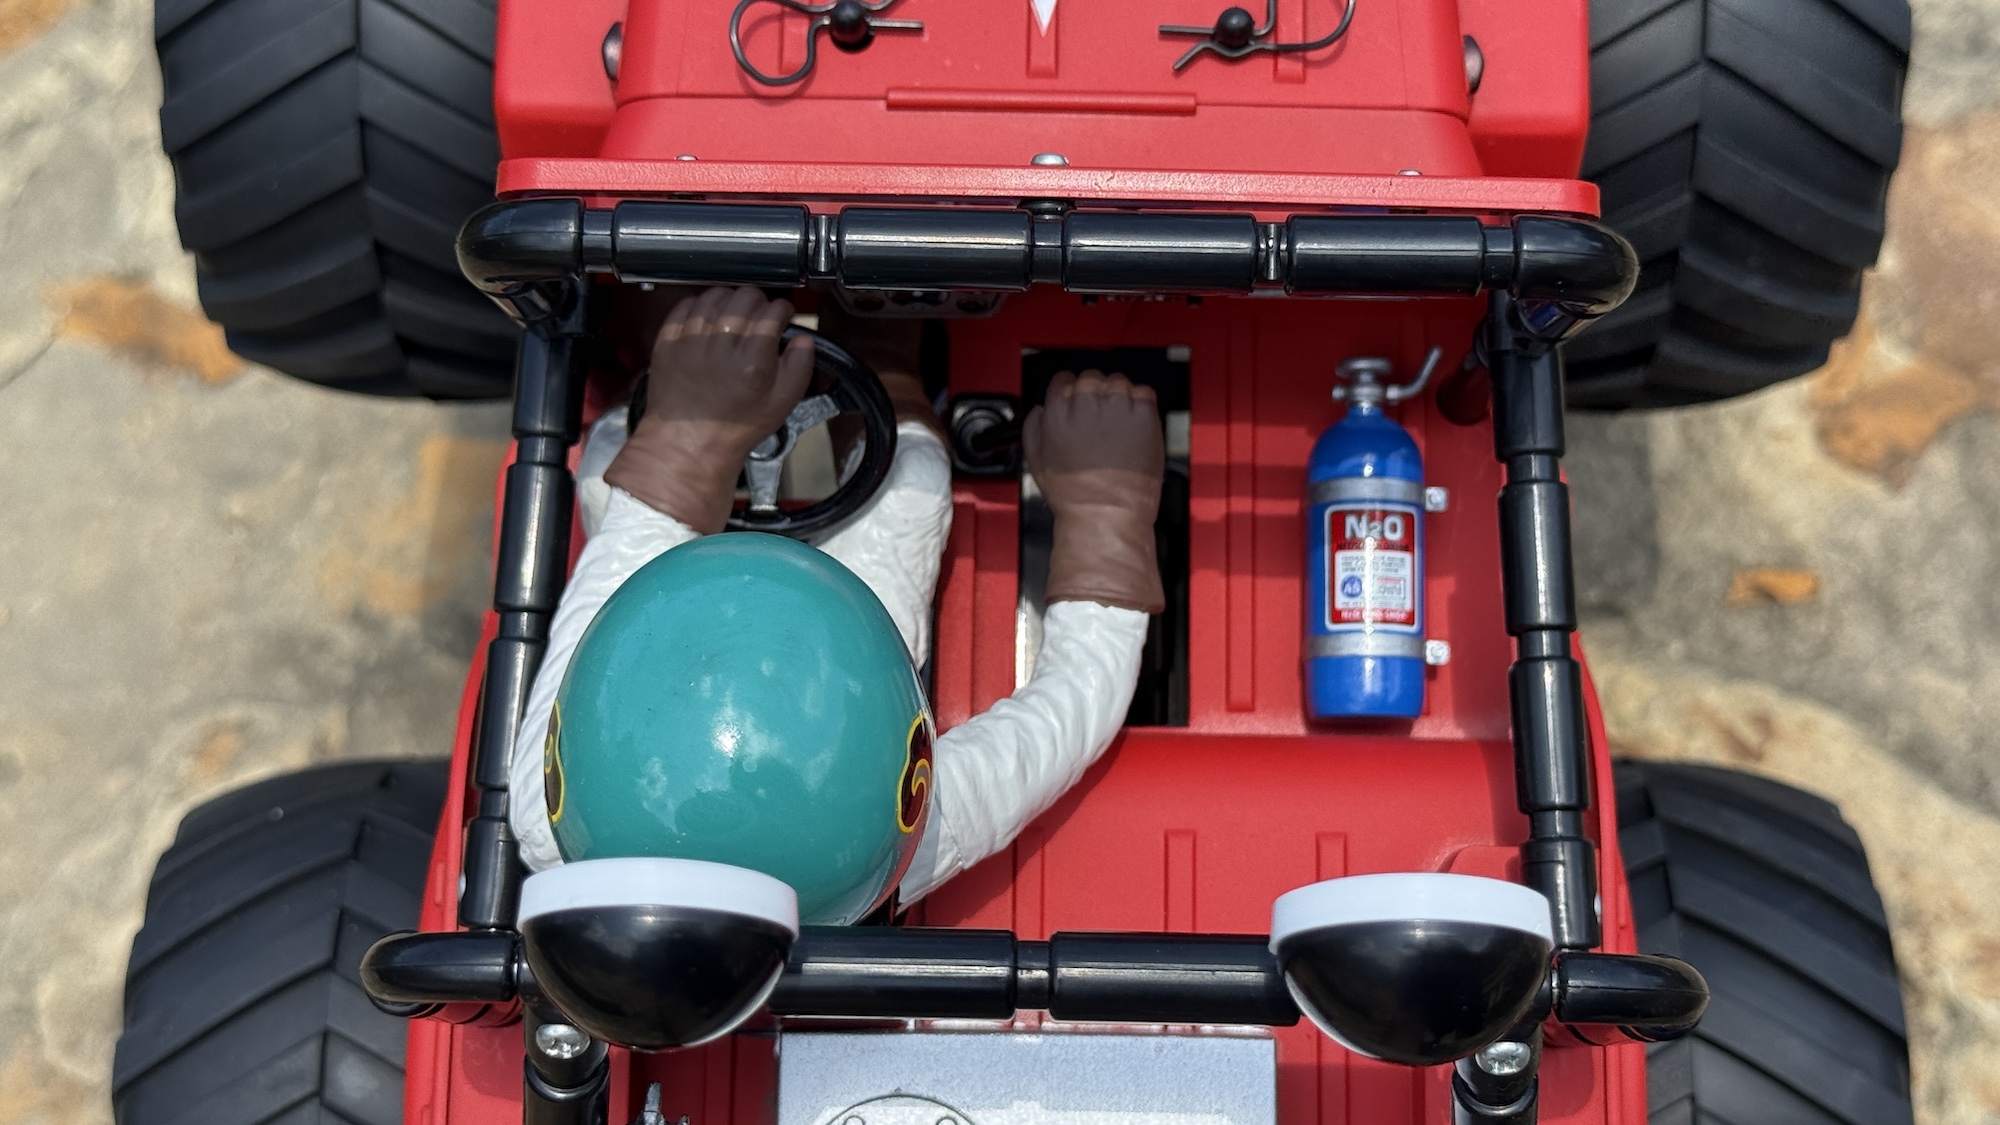
Willy’s got NOS! It’s not hooked up to anything, but he’s got it. I’ll make a little tubing for it on a rainy day.
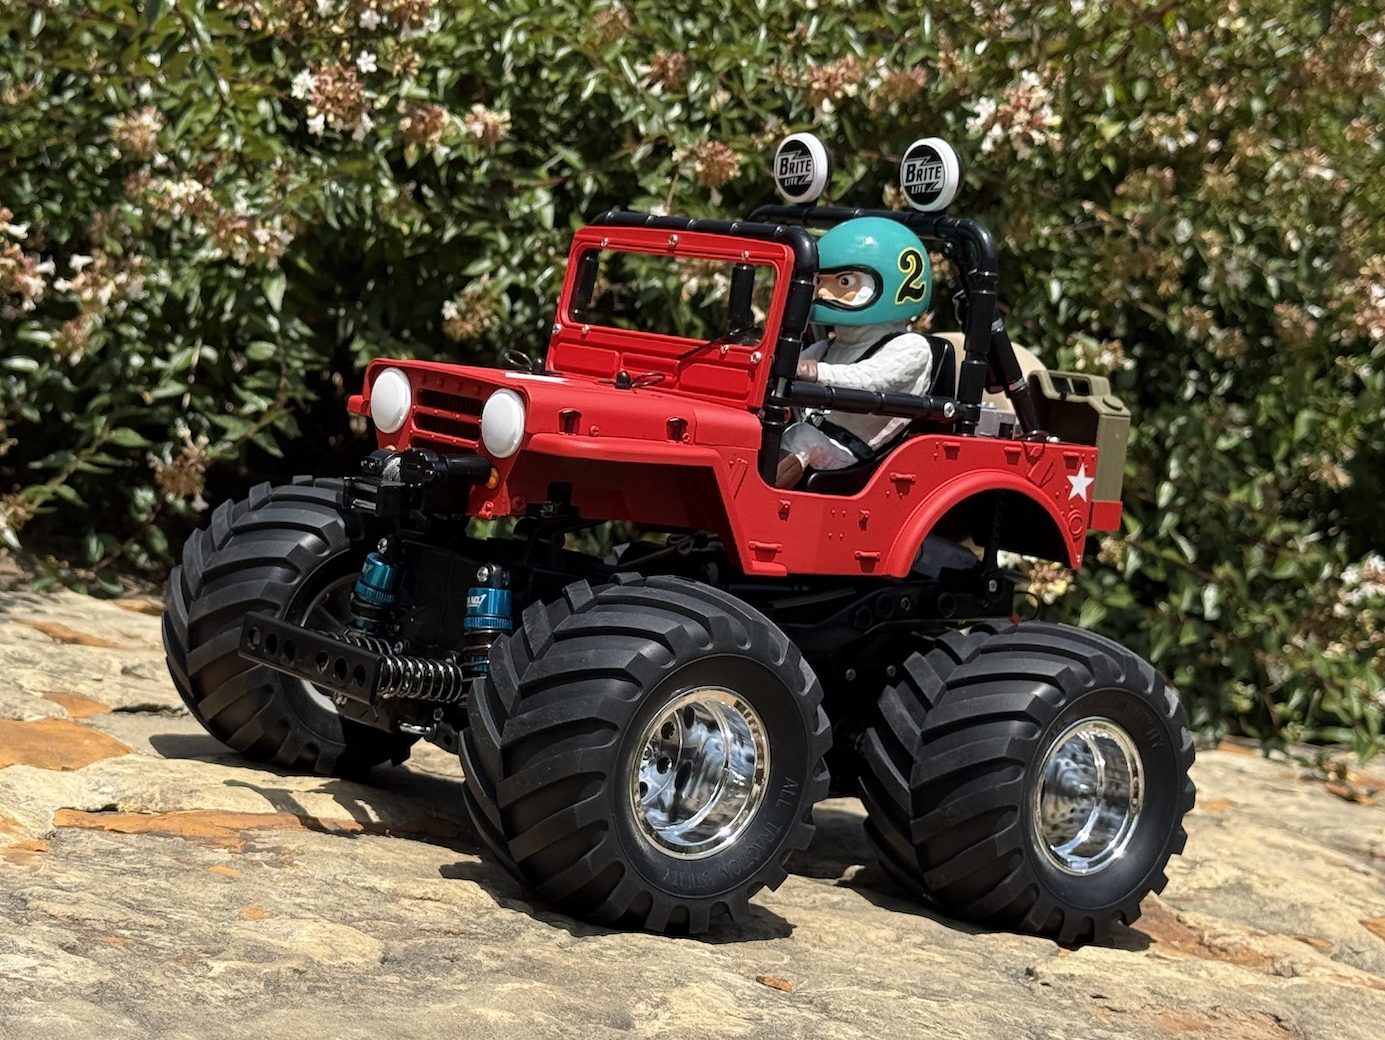
Lots of fun! I’ll share video on socials when I get a chance to give Willy a good shakedown run. Hopefully you enjoyed hanging out for the build, and maybe you’re even inspired to build a Wild Willy (or Racy Tracy) of your own.
Story images: Peter Vieira
Top image graphics: Tamiya; Peter Vieira



Woohoo, loving the addition of RC content! My other favorite website is the Scale Builders Guild (all about custom scale RC builds) so it’s nice to get a little overlap on my two interests here.
Wild Willy is a classic. Looks great!